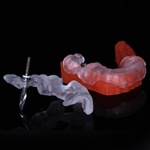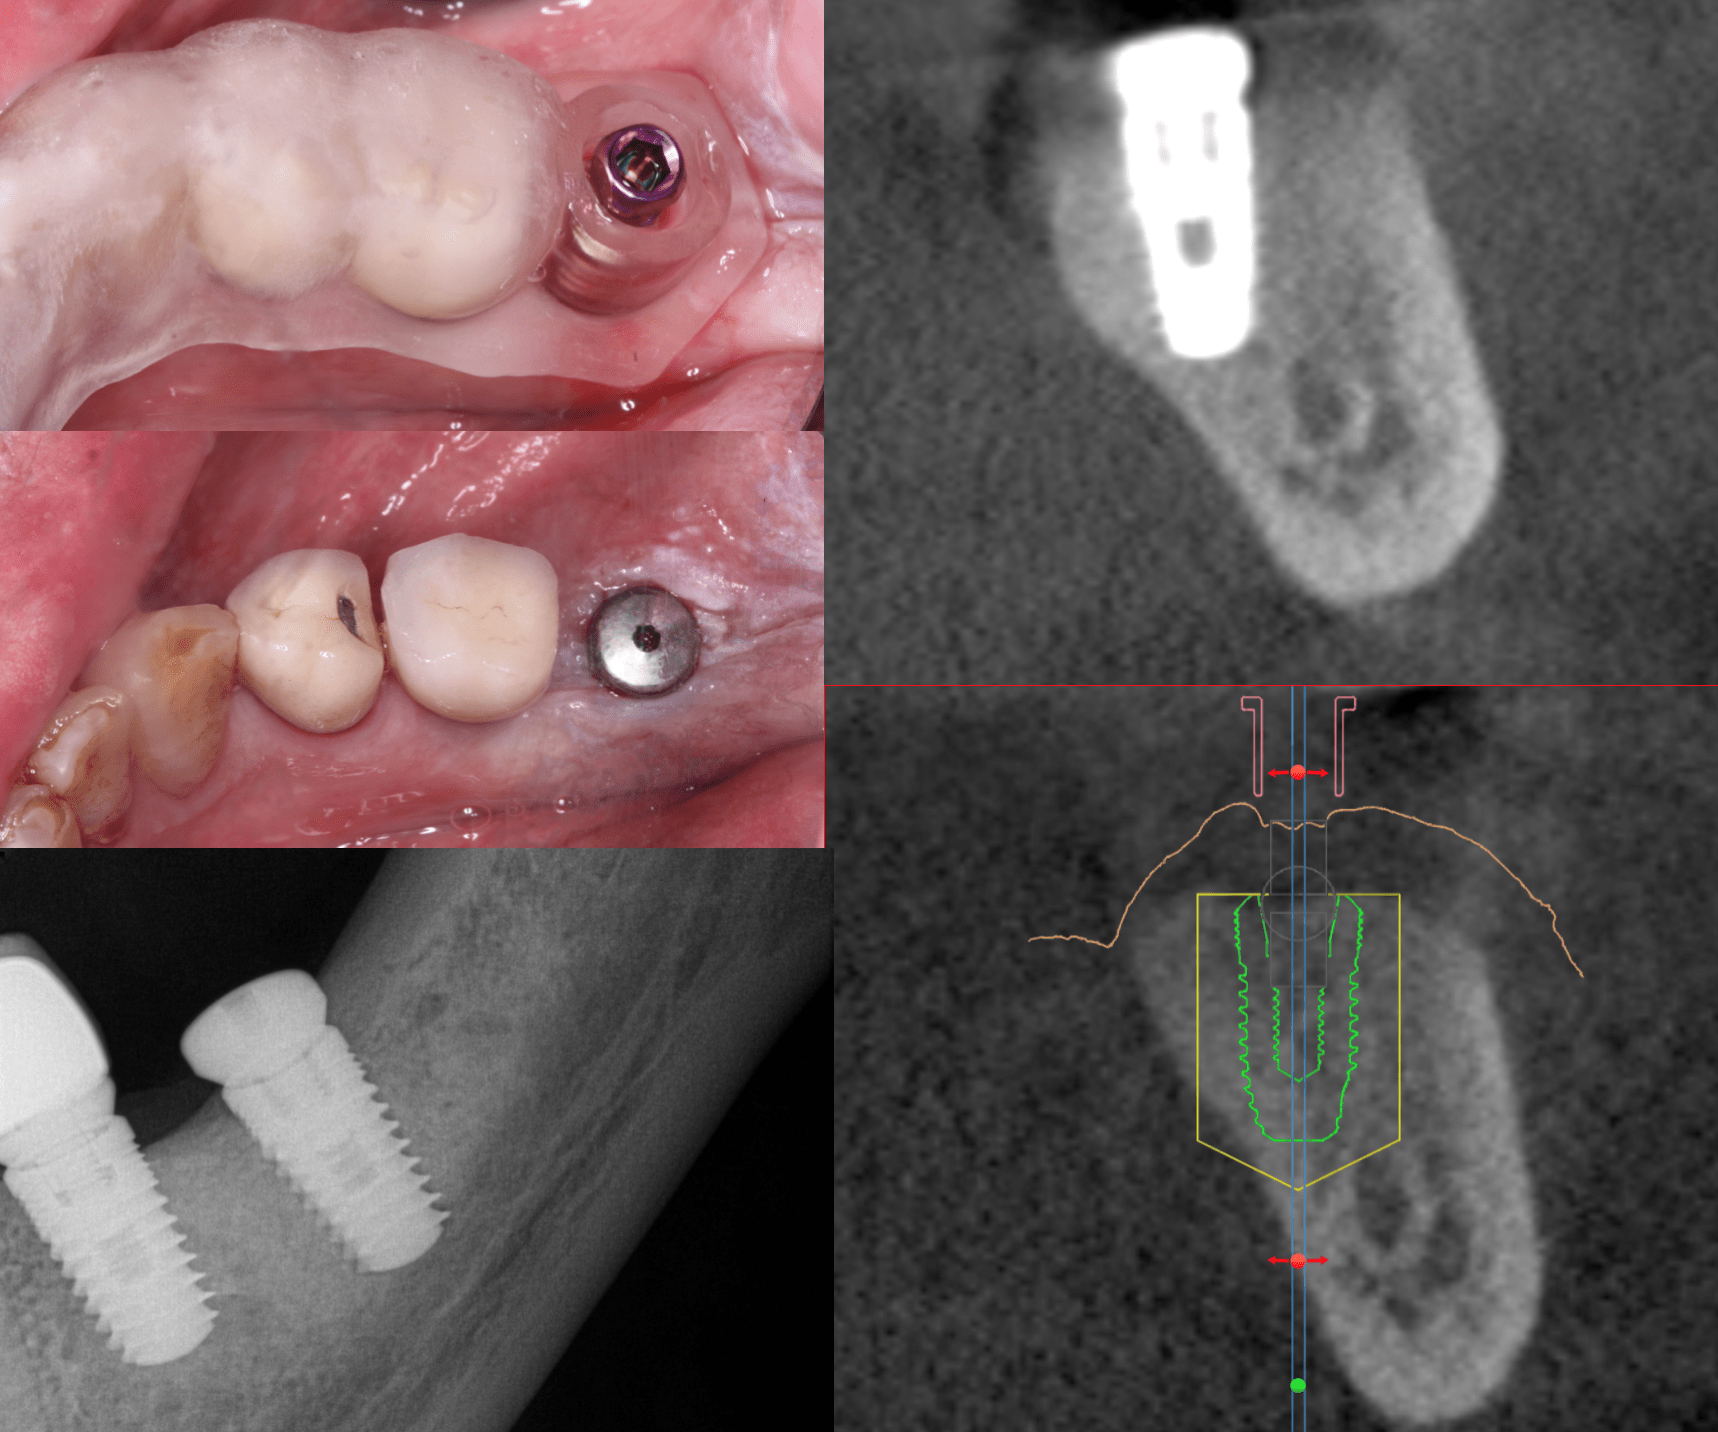
Here is a finished case I wanted to show highlighting a few labs out there that can really help you deliver high quality restorations and a really great price. Labs can use pucks instead of blocks and as a result, their cost per unit is much less than ours. We printed a guide using Dentiq Guide. I was worried as we were close to the nerve but it worked out well in the end.
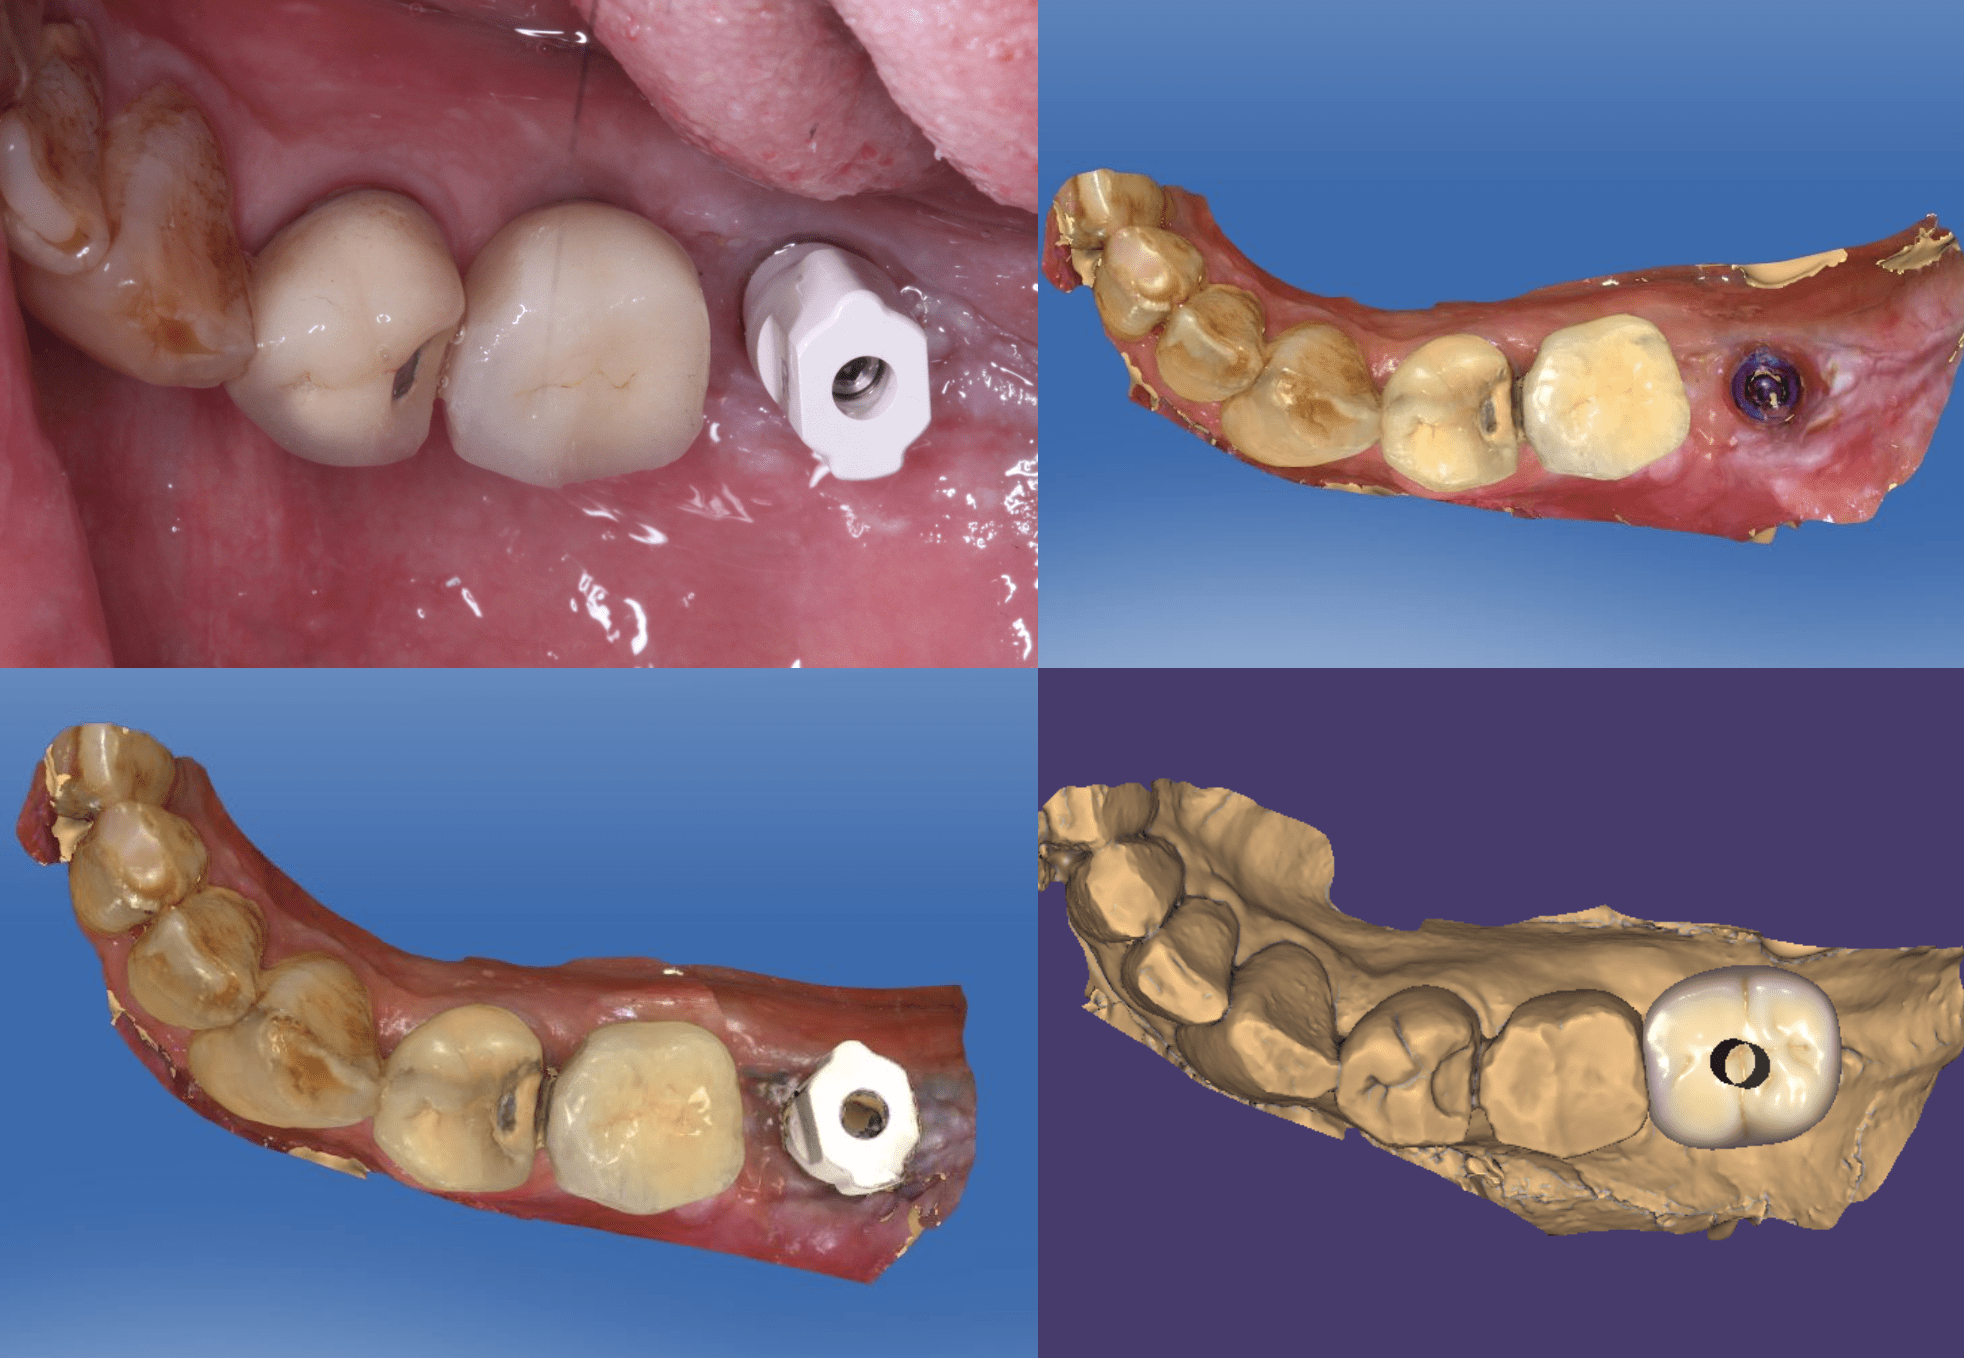
Evolve Dentistry has been really huge in my education of CAD/CAM systems like ExoCAD. I had no idea they were a full service lab as well. If you have read some of my stuff, I have been playing around lately with design centers and milling centers. That is a great way to really reduce the costs of digital dentistry. Alien mills and sinters, but sends you the restoration to finish. For someone like me, who has a porcelain furnace, its a no brainer. But many don’t or may not be as adept as a lab tech in making zirconia look good, Enter Evolve Dentistry. For around $85 Evolve will design, mill, stain and glaze the translucent Zirconia portion of a screw retain crown, you just buy a Ti Base for around $60. So the total cost is around $145. Roughly the same for an Emax block and a CEREC Ti base, but someone else designs and finishes. Turnaround is 2 days.
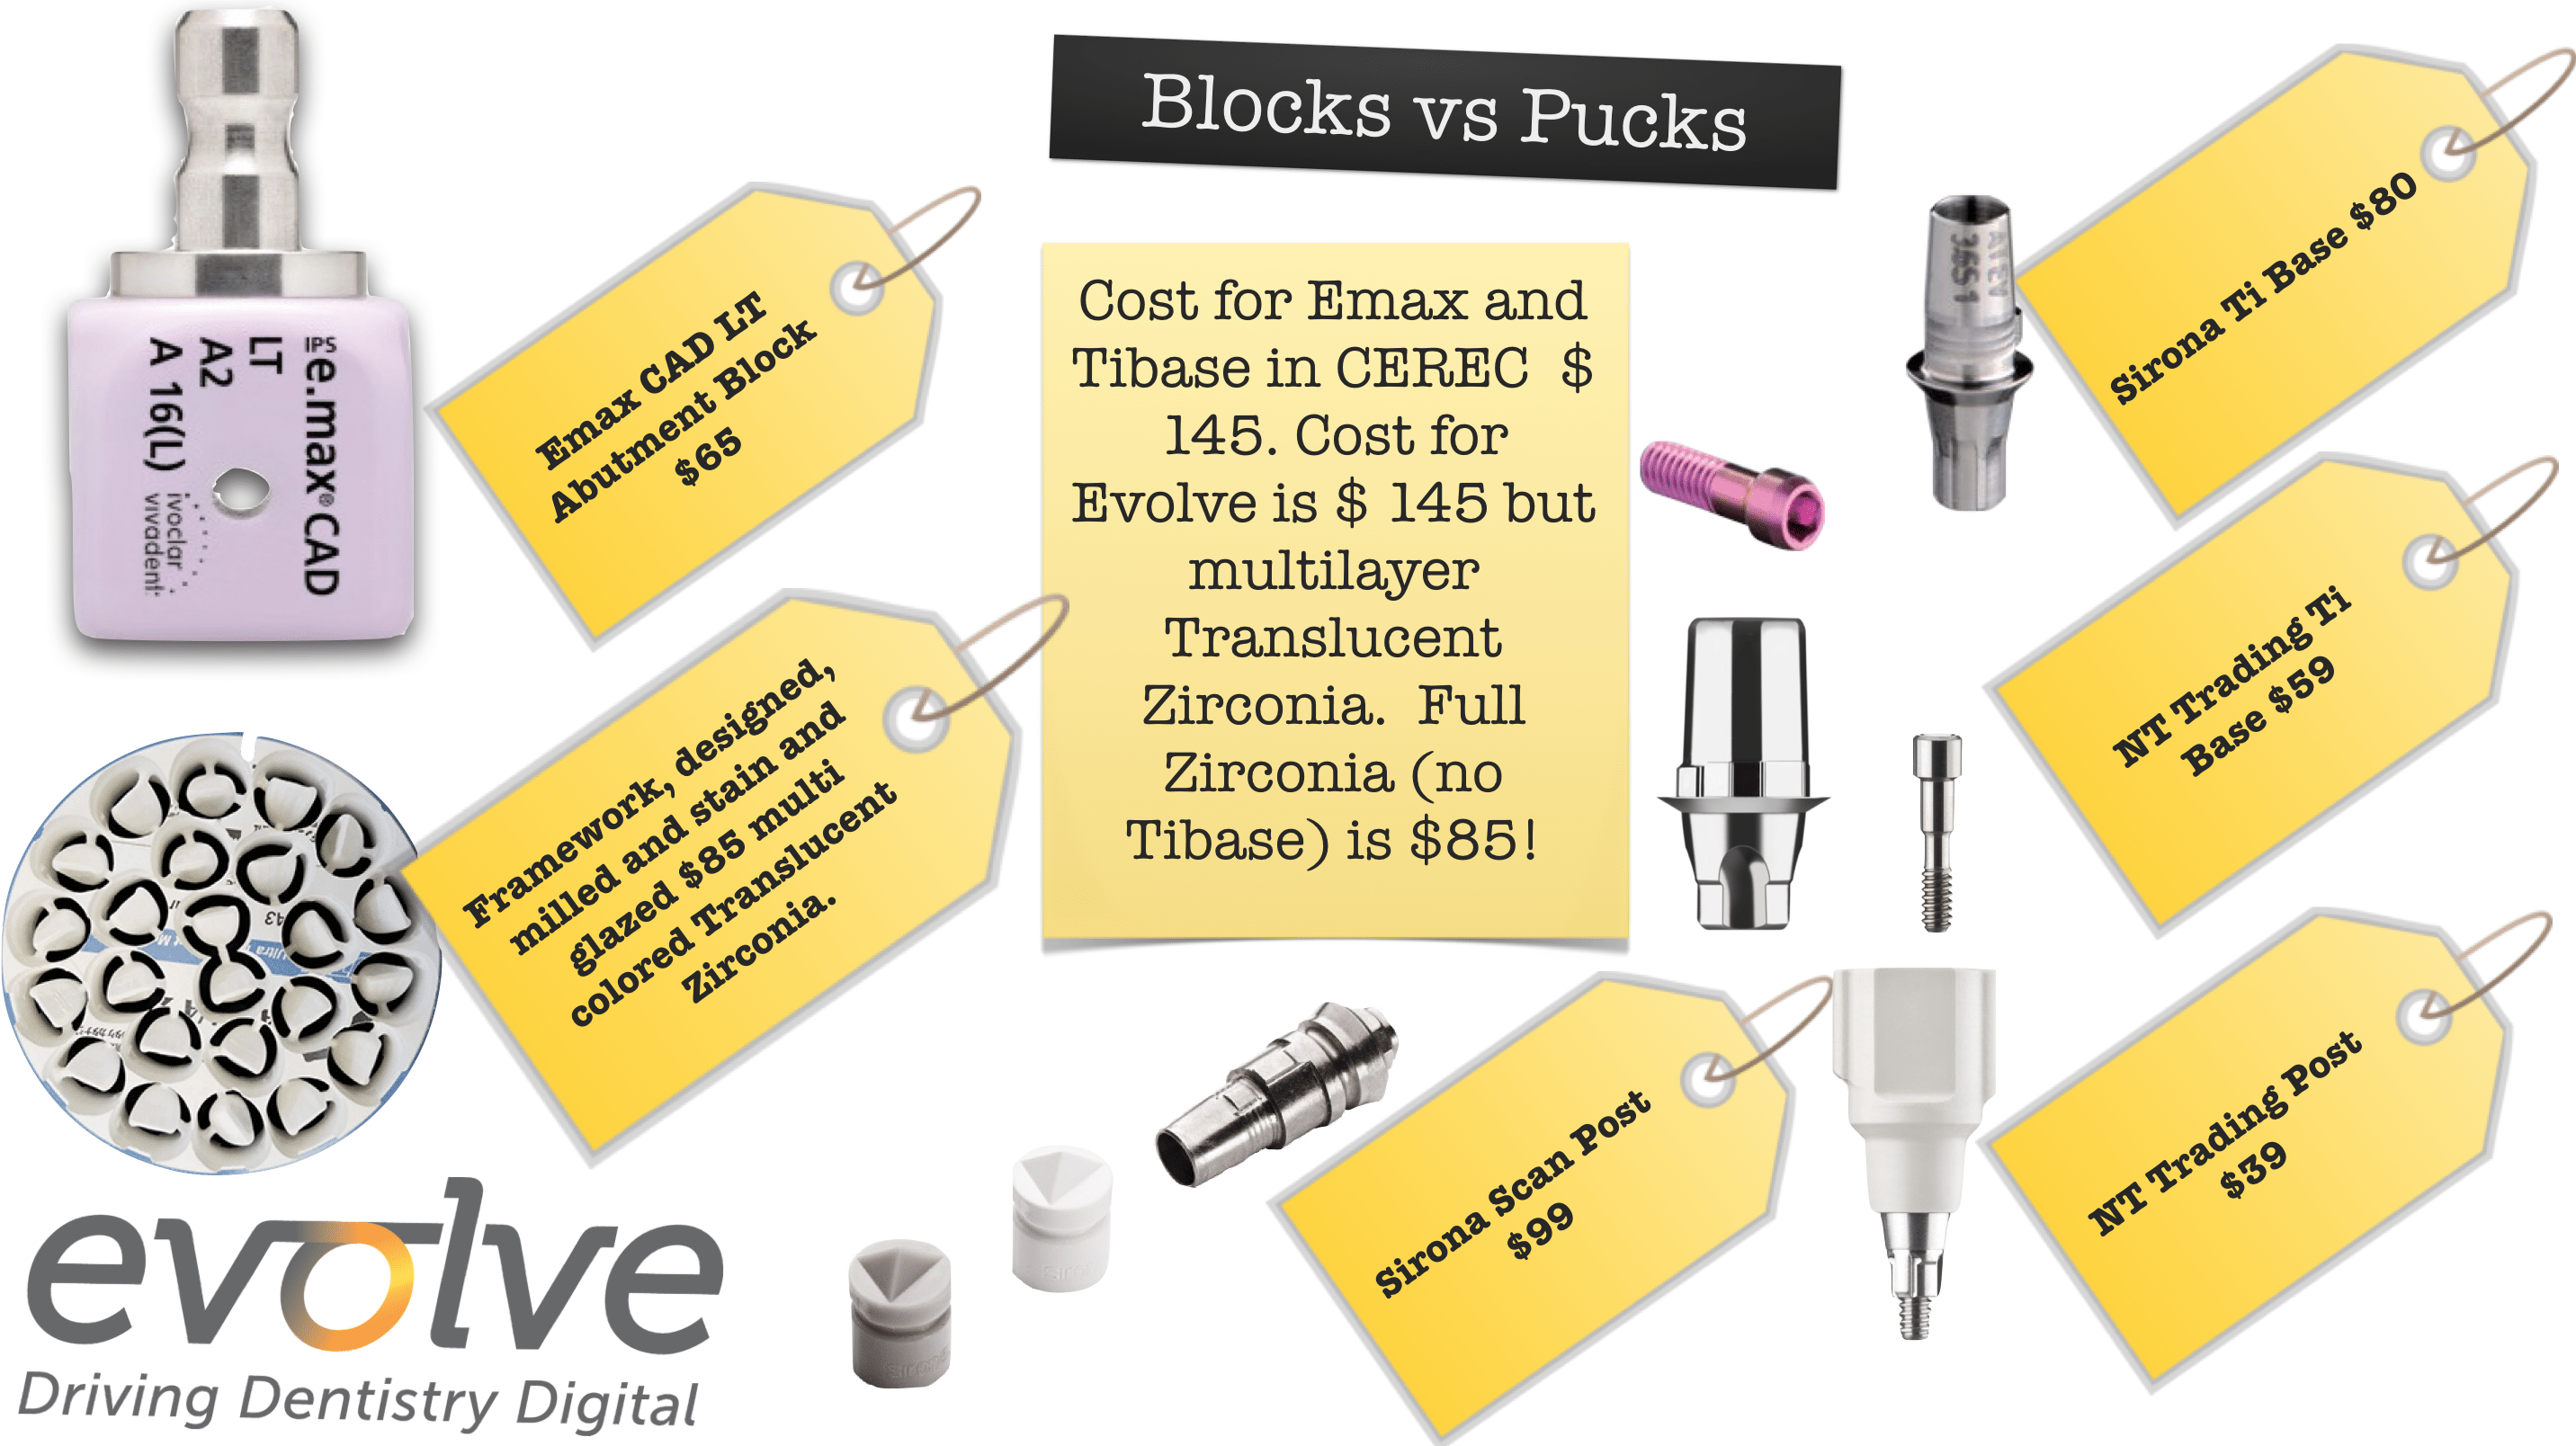
Because labs can use pucks instead of individual blocks, the cost savings can get past onto you. Now comparing parts and pieces it is a wash. But in the end, you get a translucent 980 MPa restoration. I don’t do many same day implant restorations, so for me the turnaround is about what I would expect in my office on a two day crown. I will say that the NT trading scan post are really easy to scan, yet are pretty bulky.
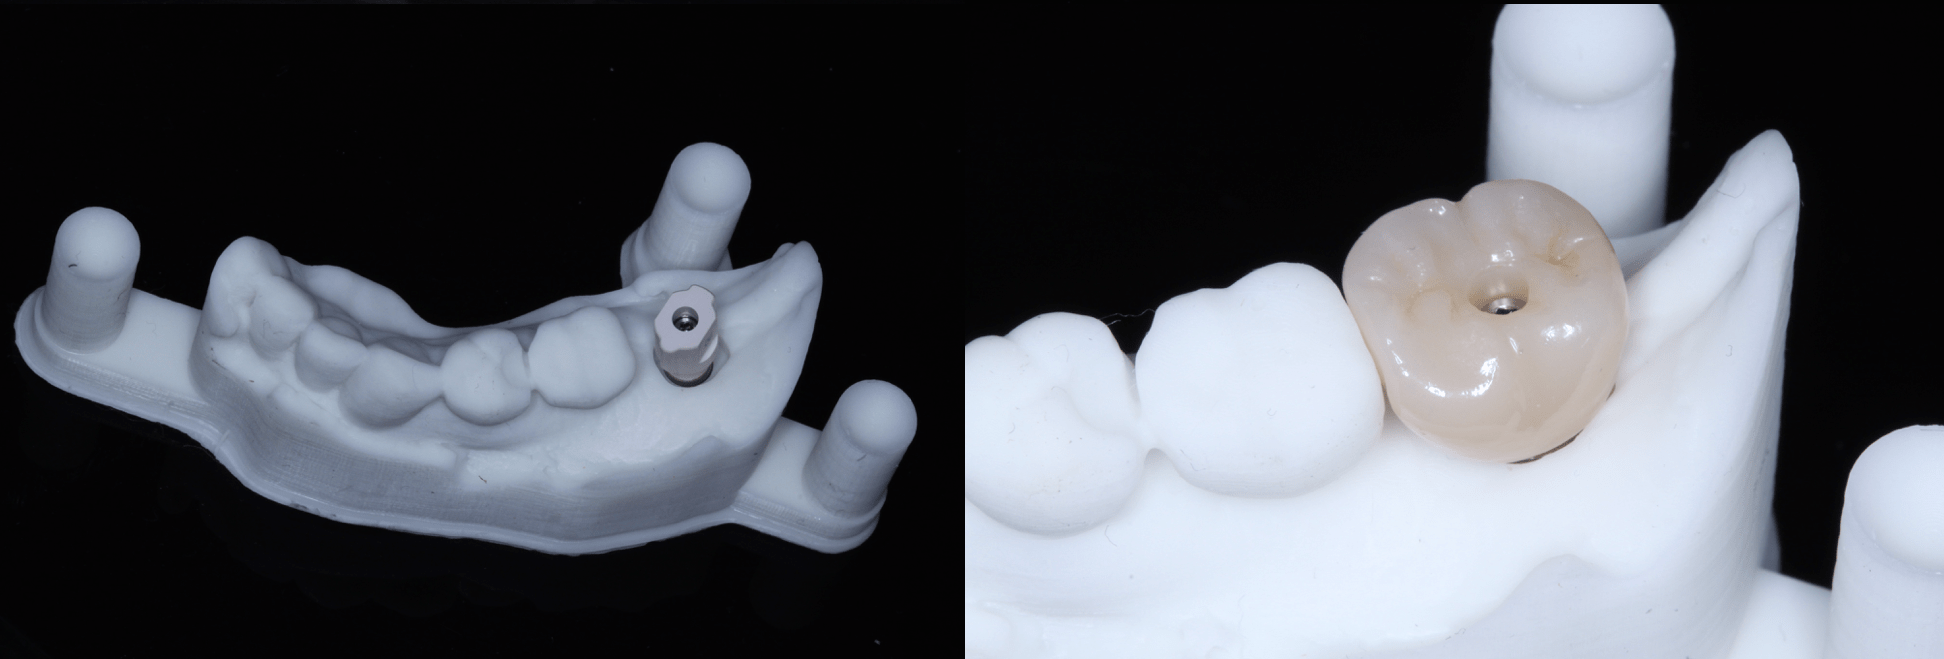
If you want, for $15 Evolve will design the implant analog model. If you have read some of my stuff, I am just in love with the concept of re usable digital analogs. They have a screw that inserts at the bottom of the model. Just pop them out when done, no more digging around for analogs.
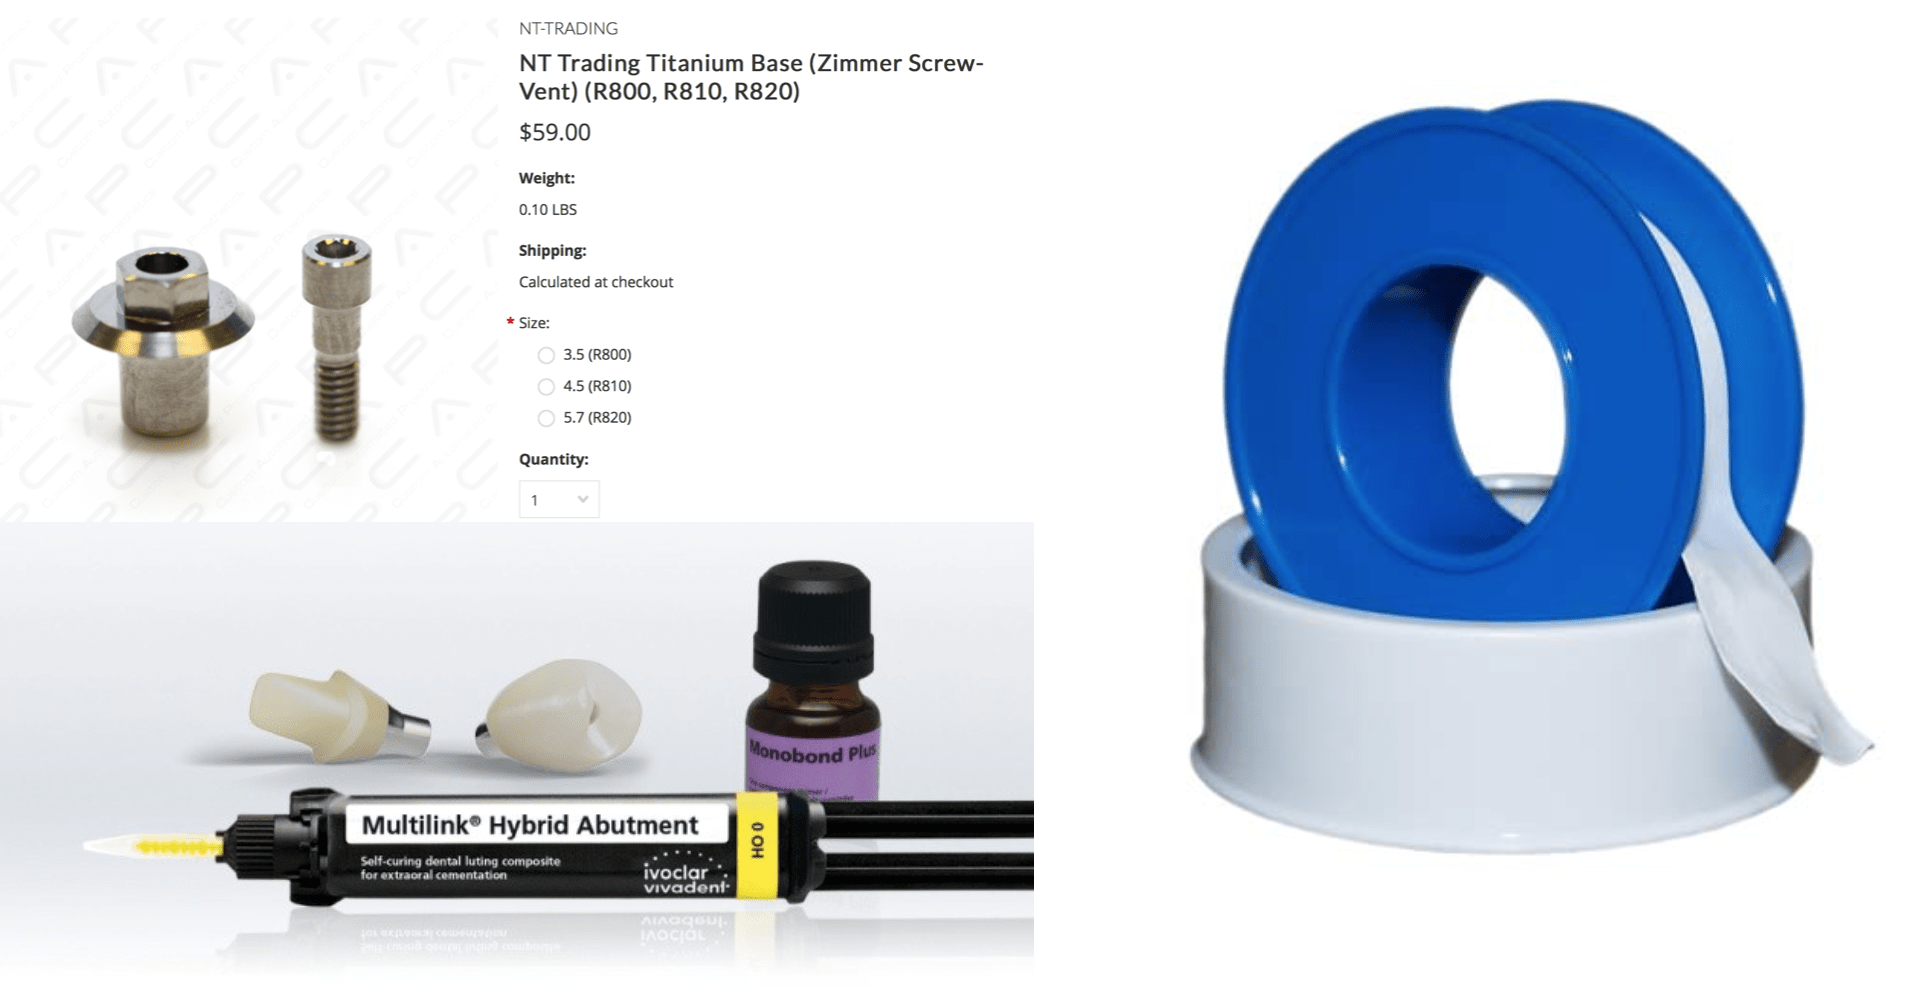
You can buy the NT Trading Ti Bases from CAP or Axys for $59. I like Ivoclar Multi Link Hybrid Abutment cement. Its a dual cured material that is really opaque. My dental assistant, Isabel Diosdado came up with a cool technique to make for really fast clean up.
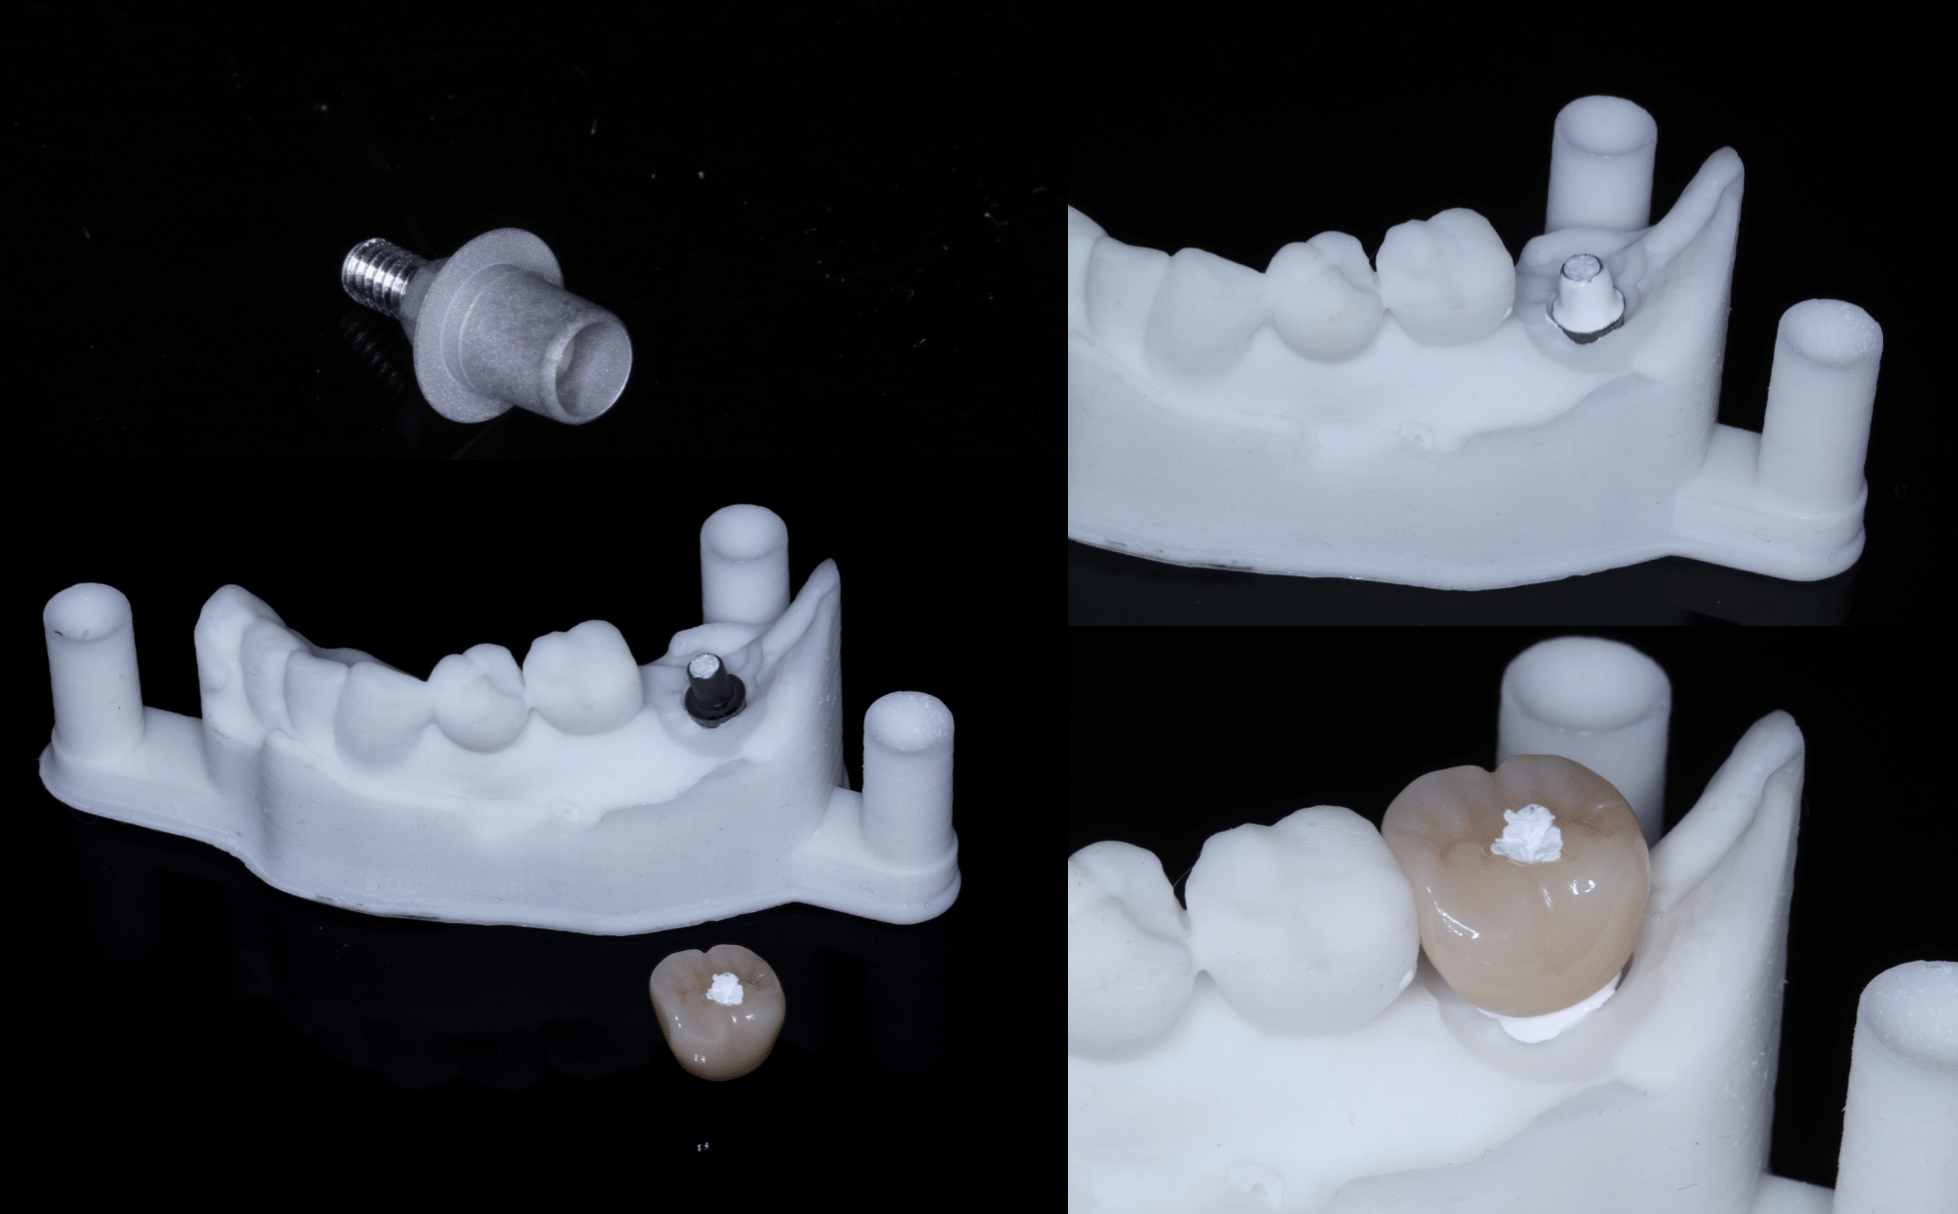
One thing you need to get used to, if you use blocks that have a hole in it for the ti base, is that those have a really nice tight fit to the ti base. Milled zirconia “holes” don’t fit as tight, so its a good idea to either cement the ti base in the mouth, which makes this more of a “screwmentable” set up, or use the printed model. BTW this was printed on the Phrozen Shuffle which is printing die models and implant analog models like a champ and at $506 and using $60/L Snow White resin from FTD I am just loving this printer. After the cement sets, remove the teflon tape and just clean the excess in the cervical.
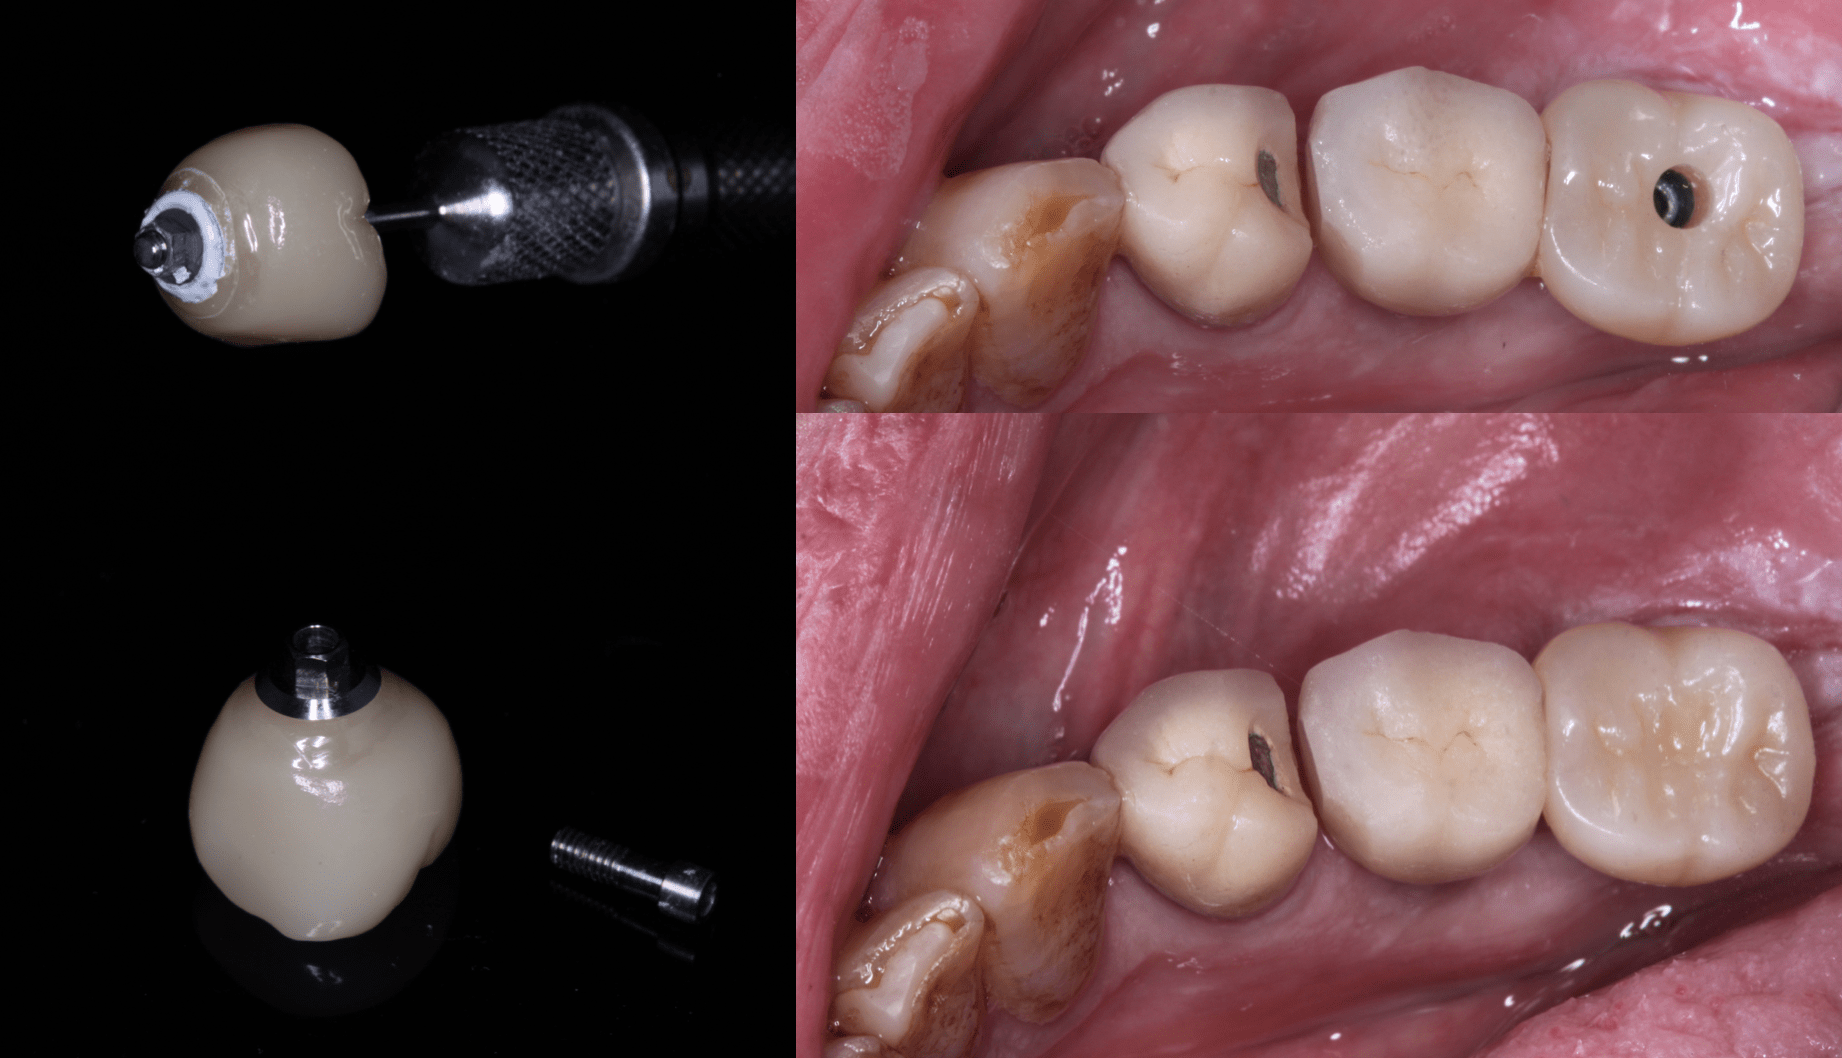
Excess cement was cleaned up outside of the mouth and the abutment screw torqued to 30 Ncm. Access was filled with teflon tape and opaque and regular A3.5 composite. Super stress free, and at $140 definitely somethings I will be working with Evolve on in the future !
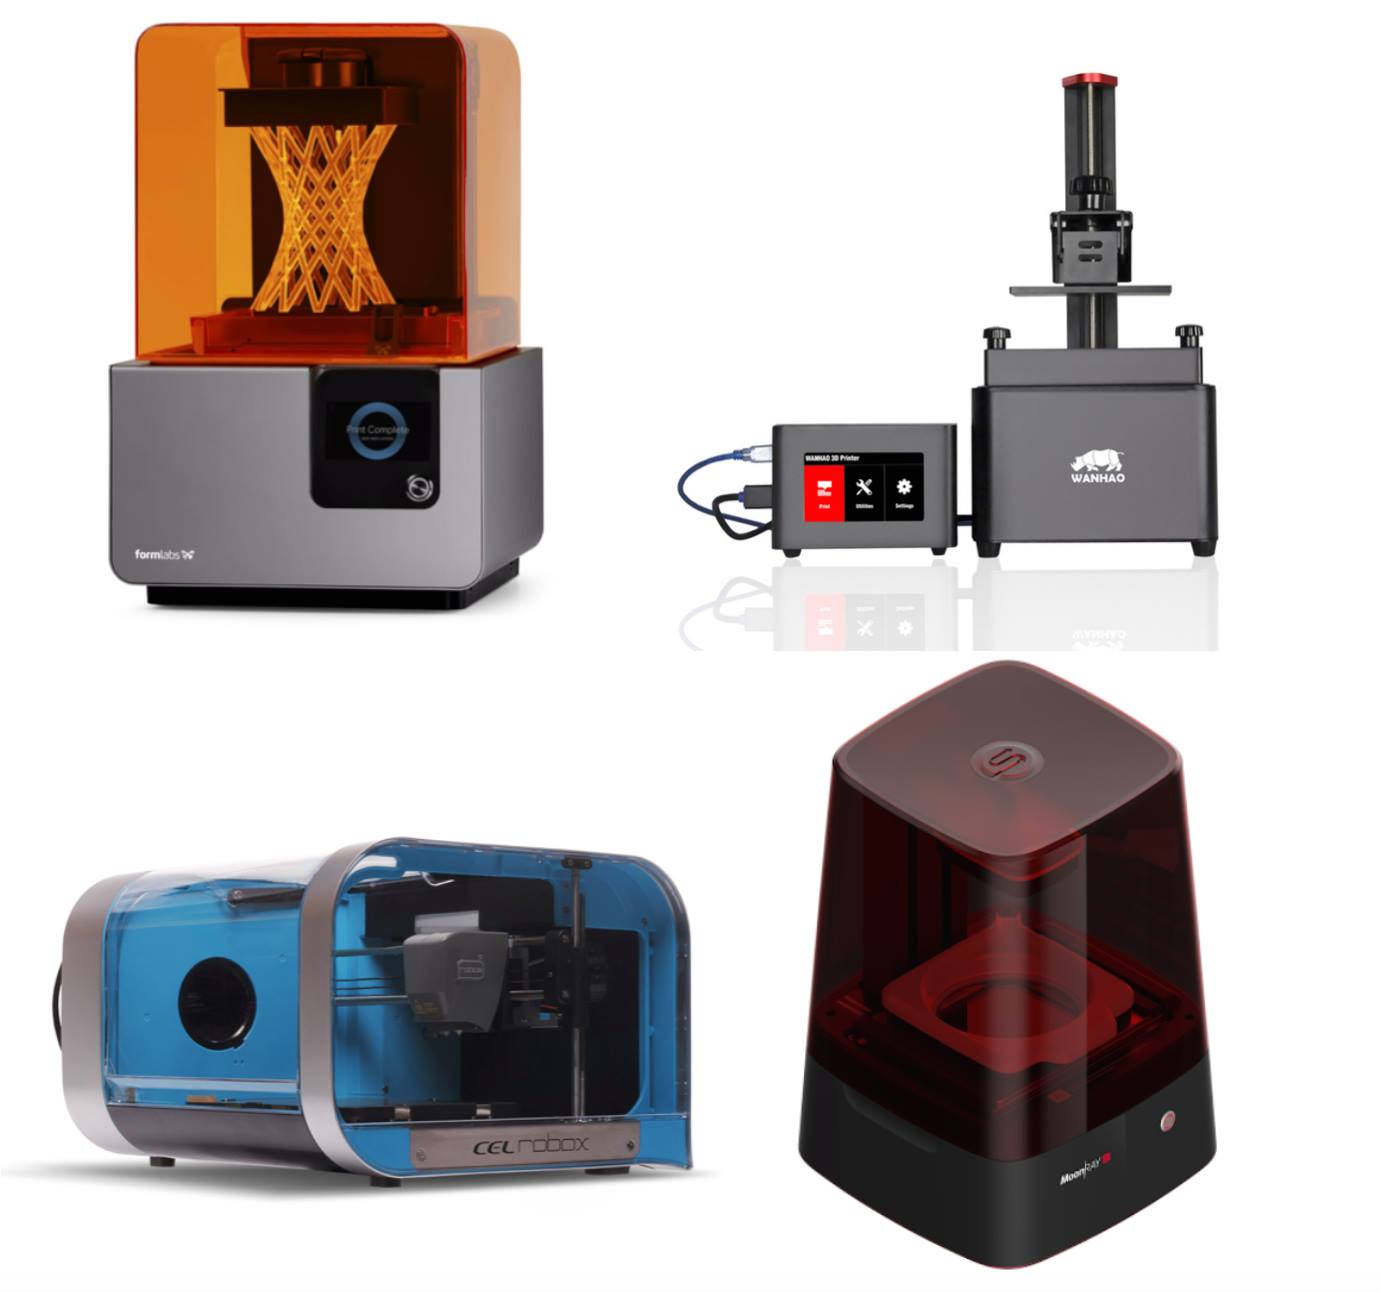
Want to learn more about sending to labs digitally and 3D Printing? Come to the next Dental 3D Printing Party in Austin Oct 12 and 13!! Register Below!!
https://www.eventbrite.com/e/dental-3d-printing-party-austin-tickets-43271505237


