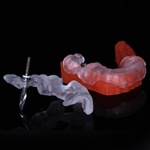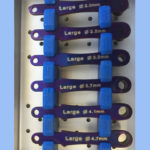
Here is another case that I could not do chairside guided. The orange (small) reference body was just too wide for the edentulous space. Patient broke off an all ceramic crown, not a lot of tooth to play with. Thick Bio-type and really shallow pockets.

Still scanned her and added the CEREC overlay just to get a feel for the angulation of the bone and crown. If we place the implant right we should have a good amount of gap distance and should still be out the cingulum with or screw access. The implant should be placed about 4 mm below the CEJ to get a nice result with a stock abutment for the temporary at least.

Came in with a lance to make my purchase and then straightened things out with the 2.3 and 2.8. You can see by the length “notches” I’m a little deeper than I need to be, so with the 3.4 drill I went shorter. Good amount of Gap distance on the pilot and more or less centered in the mesio-distal dimension.

Placed the implant, hard to see but good gap distance with the screw hole directed towards the cingulum.

Final, this demonstrates my pet peeve with 2D radiography. it looks like I am really close to the canine, but you can see in the platform image that I am centered.

I really wanted to use this stock Zirconia abutment, however after prepping it interproximally I was showing too much of the Ti-base, so I opted to use the freebie stock abutment that came with the Legacy 3 fixture mount.

I feel like such a moron for not utilizing my CEREC more for long term “temporaries”!!! So easy and fast with the omnicam. In my defense I always worried about powder with the implant and the osteotomy but that goes away with the Omni. Empress CAD Multi with opaque Max Cem. Will cut a hole in the lingual and make this a screw retained temp in 4 months when the I need to do the final. I want to go with a custom Zirconia abutment to get rid of the grey. Zoom in on the abutment shot in the CEREC and you can see the Gap Distance, pretty cool!


