Picky Picky! Got an DM from a doc on Facebook that felt my video was too long and he liked the photo based case presentation format better. So here you go!
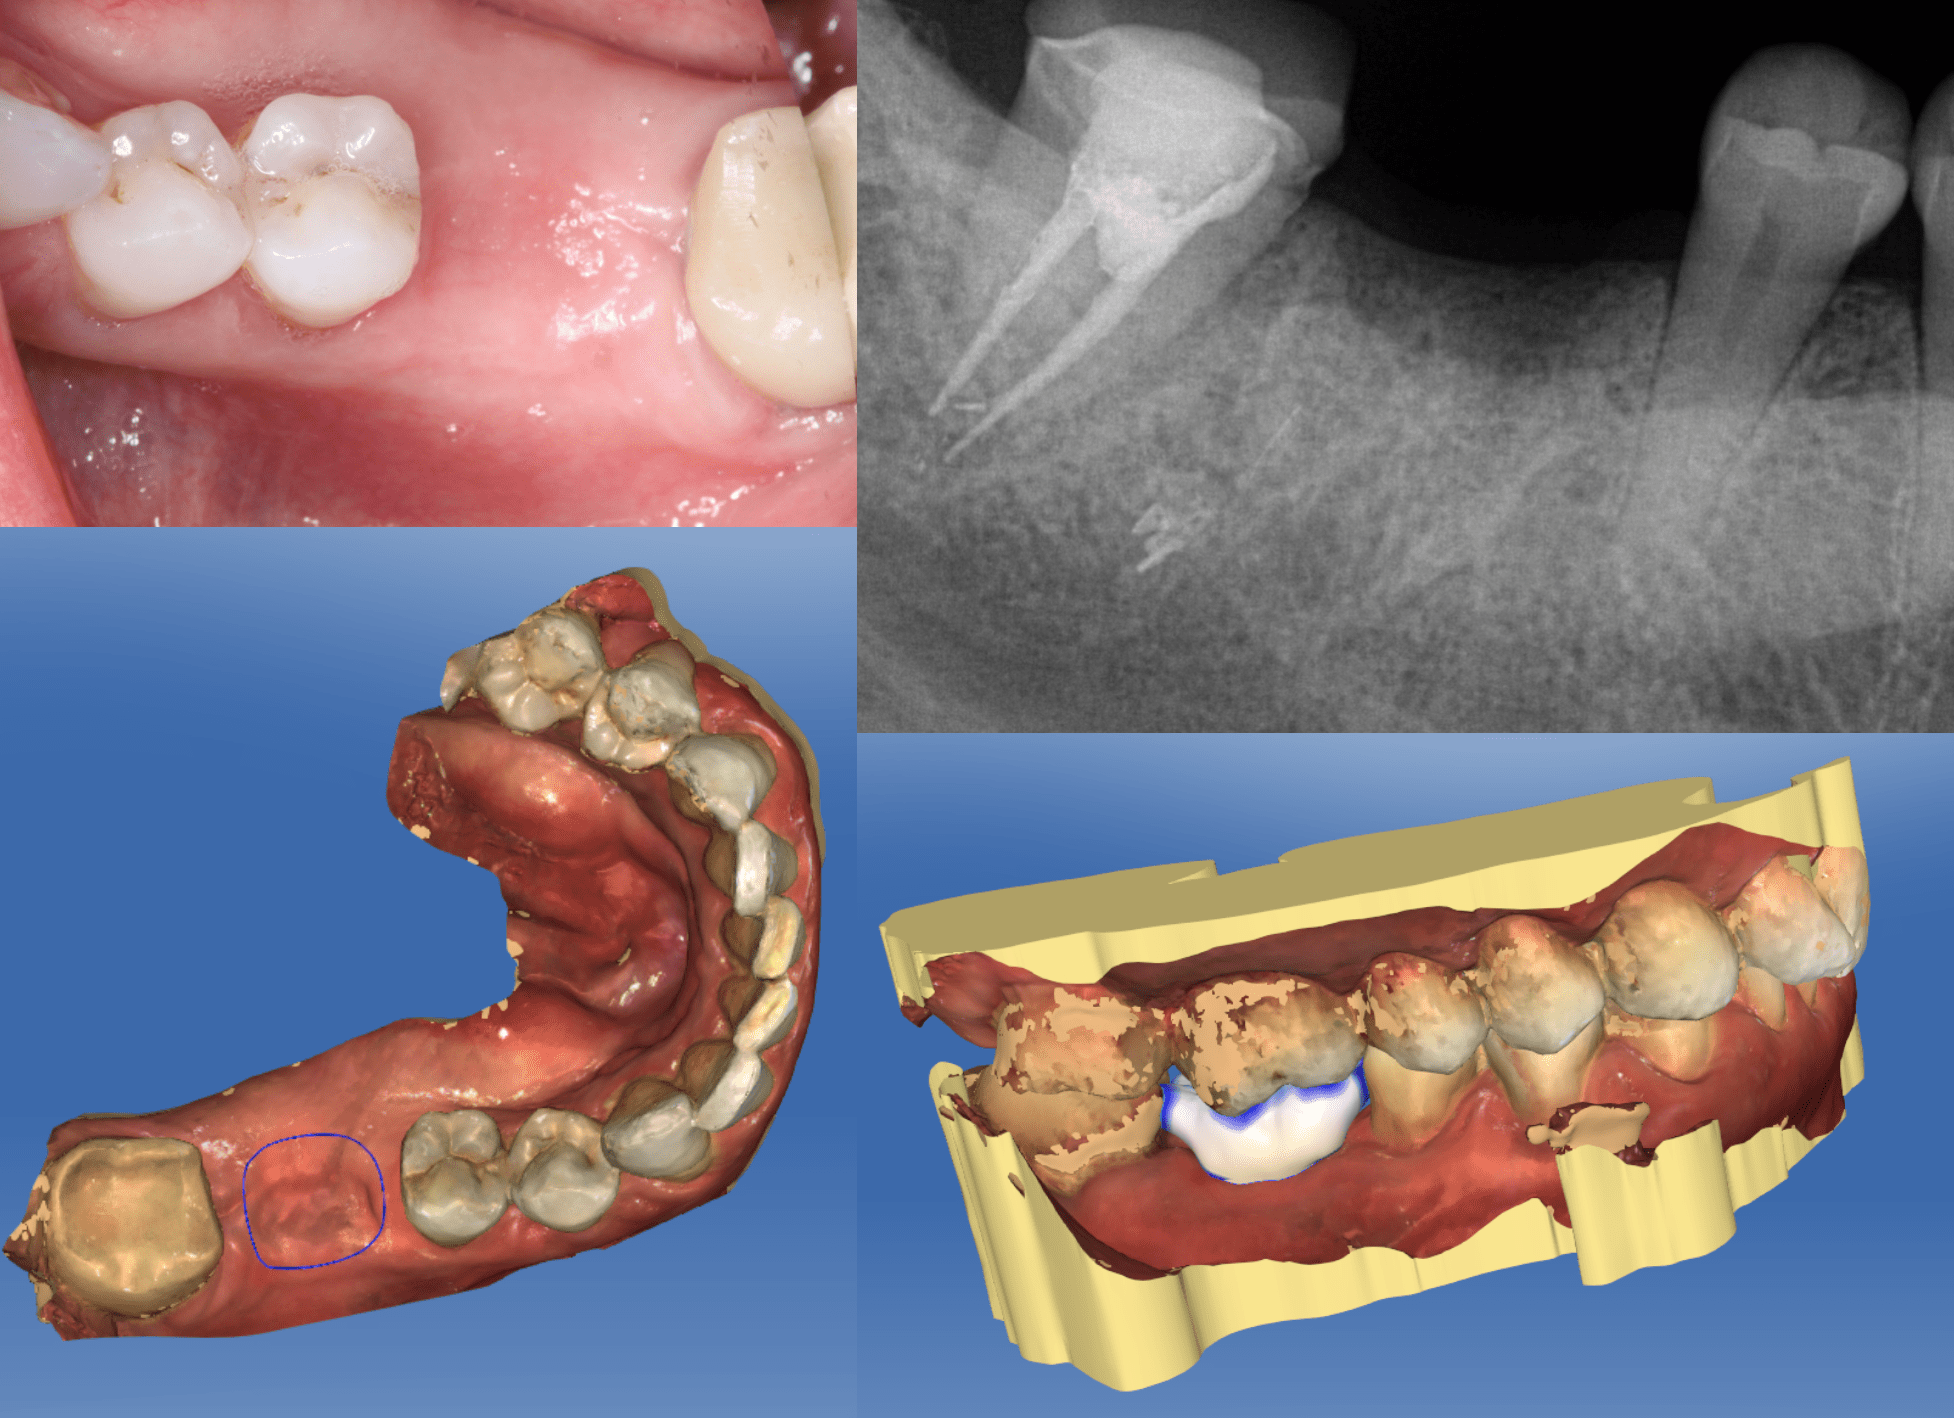
Here is the case I presented in the video. The perfect first case in I think, everyone’s opinion. Tons of space from the crest of the ridge to the nerve (you can’t even see it in the PA its so low), crazy wide ridge both bucco lingually and mesio distally. The two problems in this case are that #31 is a little more tipped mesially than I would like and #3 is supra erupted. We discussed with the patient crowning #3 which she did not want and just explained that #30 may look a little “smooshed” but she was cool with that.
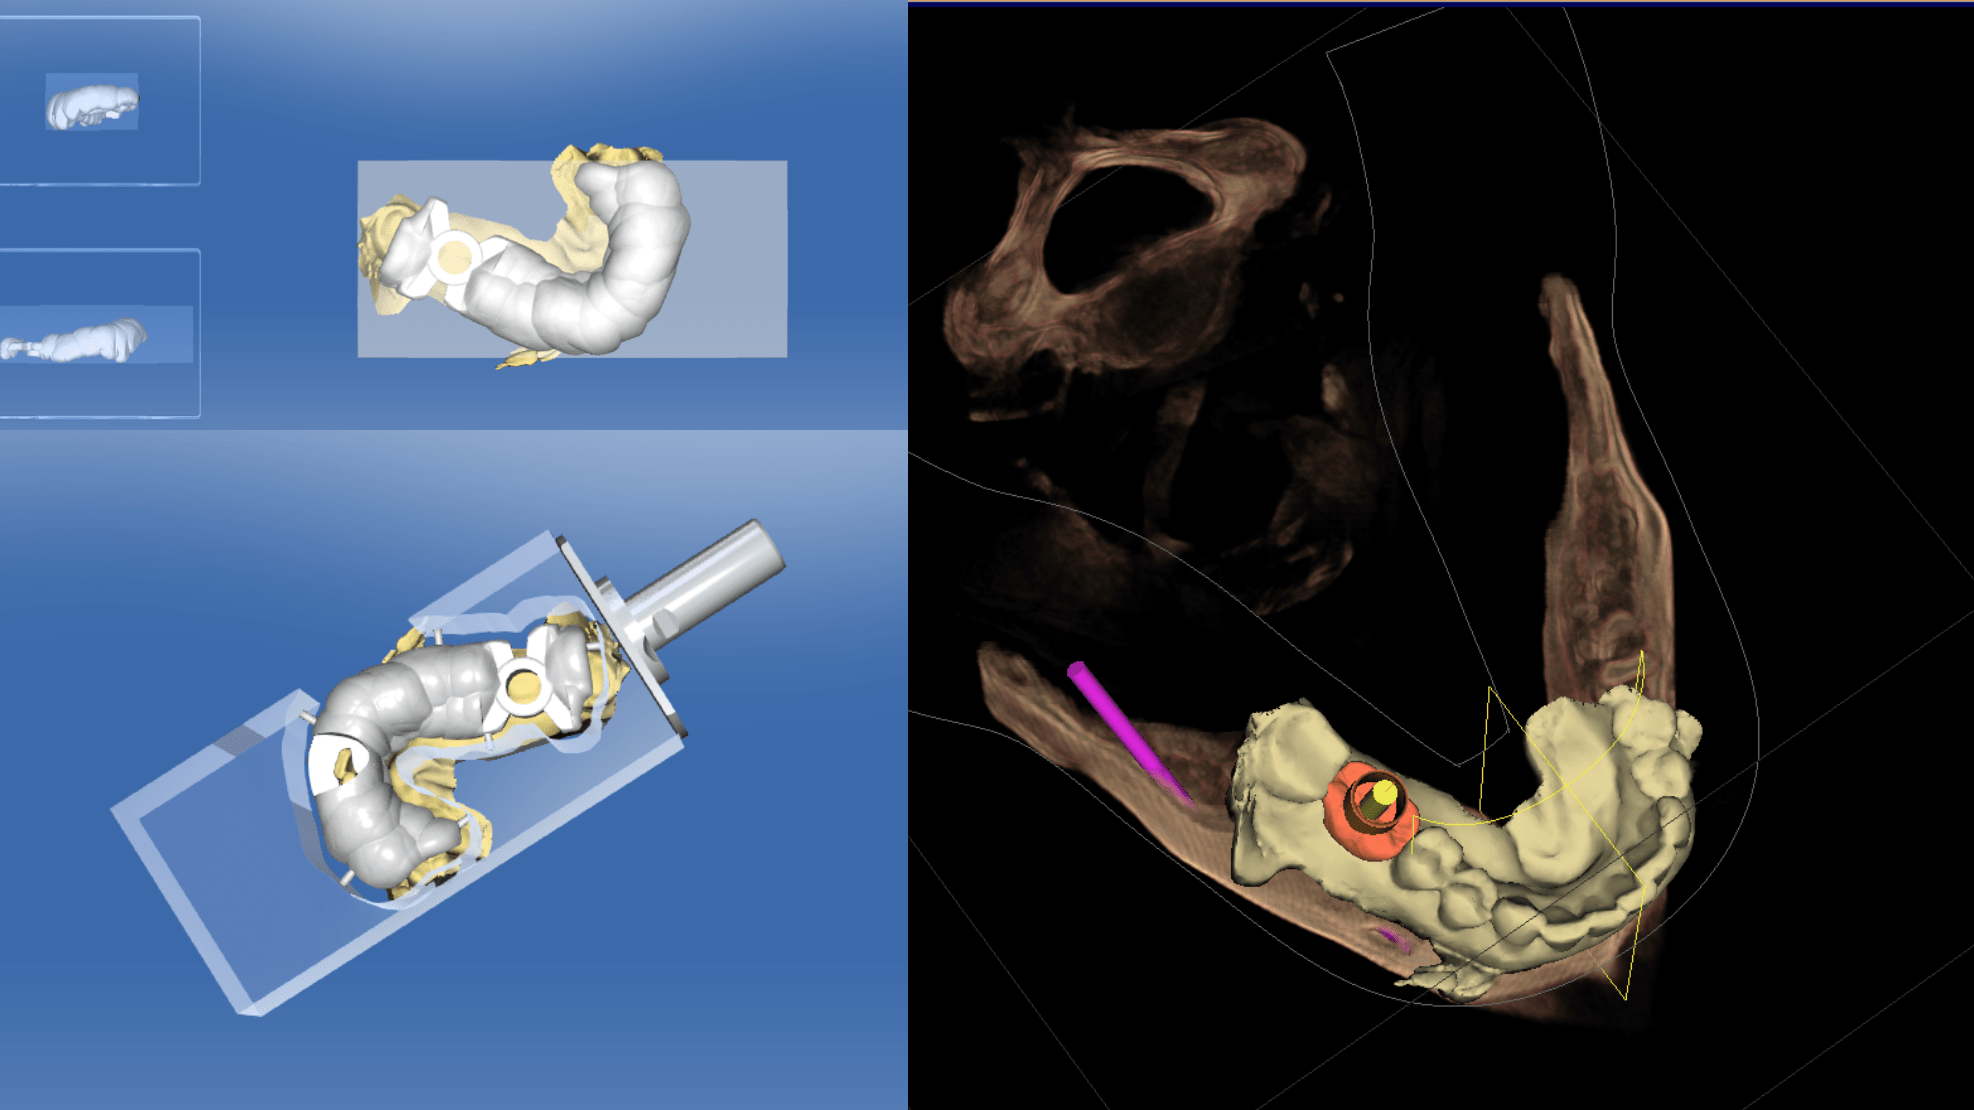
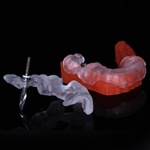
See some of the previous videos but I always like to Clip the model and view the plan from the occlusal. When exporting to CEREC, its always important to get as much contra lateral teeth for stability as well as set up a viewing window in the Anterior
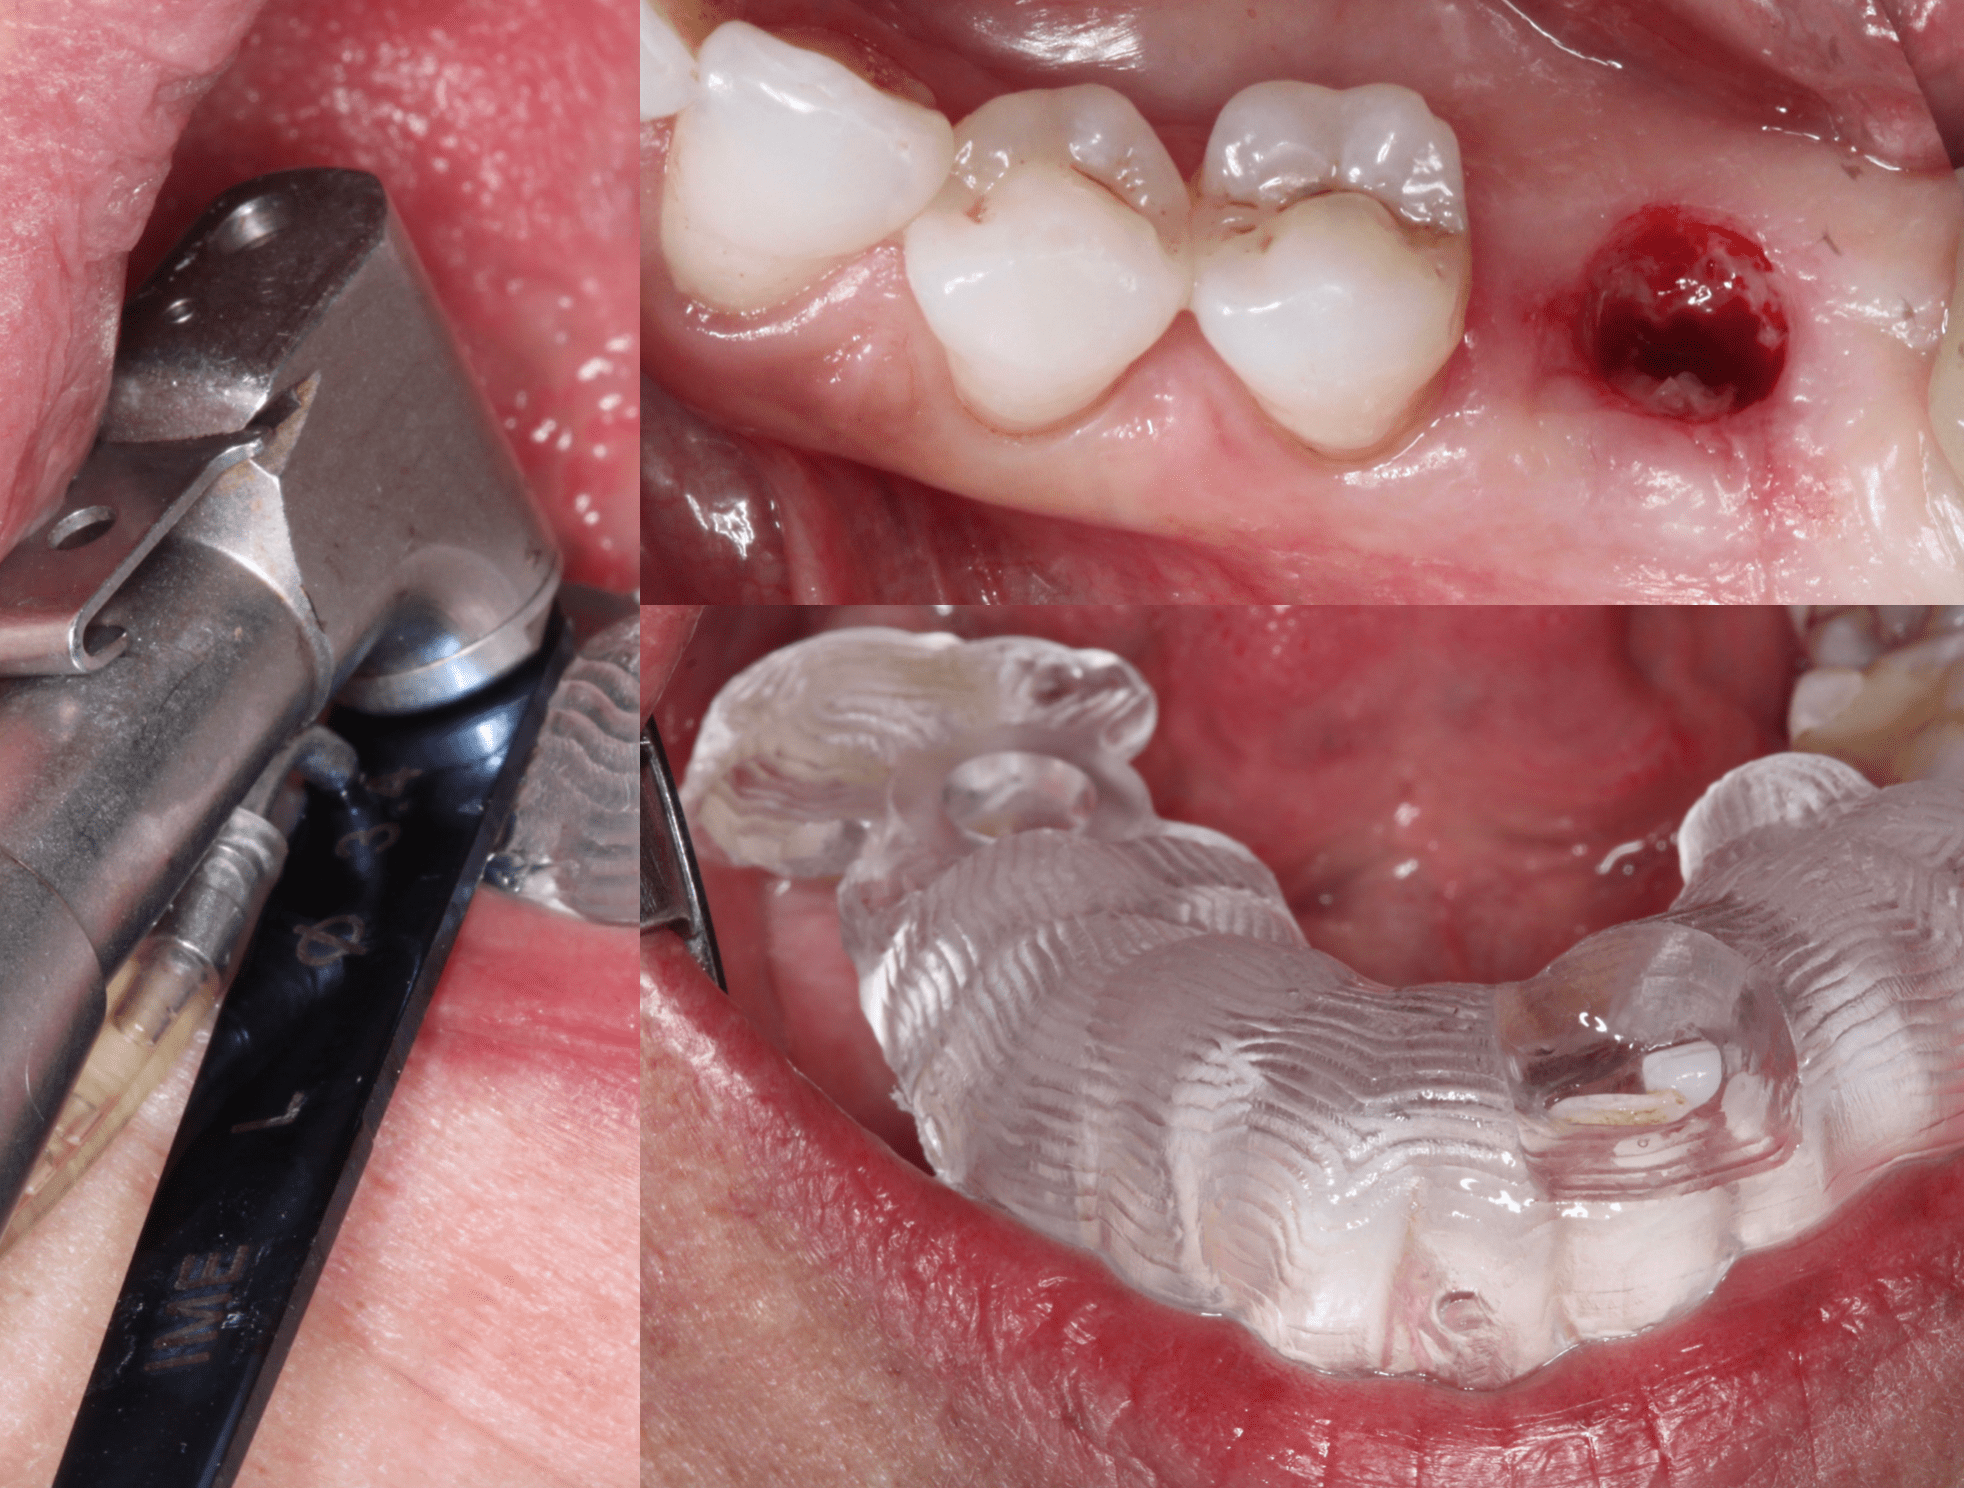
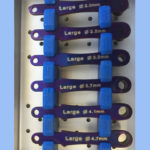
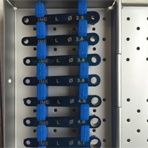
Remember the Implant Direct drills have no stops. They were set up to be visually depth guided. So if you set the D2 in Galileos to the length of the drill from the pointy end to the head of the hand piece and subtract the thickness of the handle (1mm) you can use the head of the hand piece as your stop. As the patient had a ton of tissue you used a punch and you can see the value of the anterior viewing window.
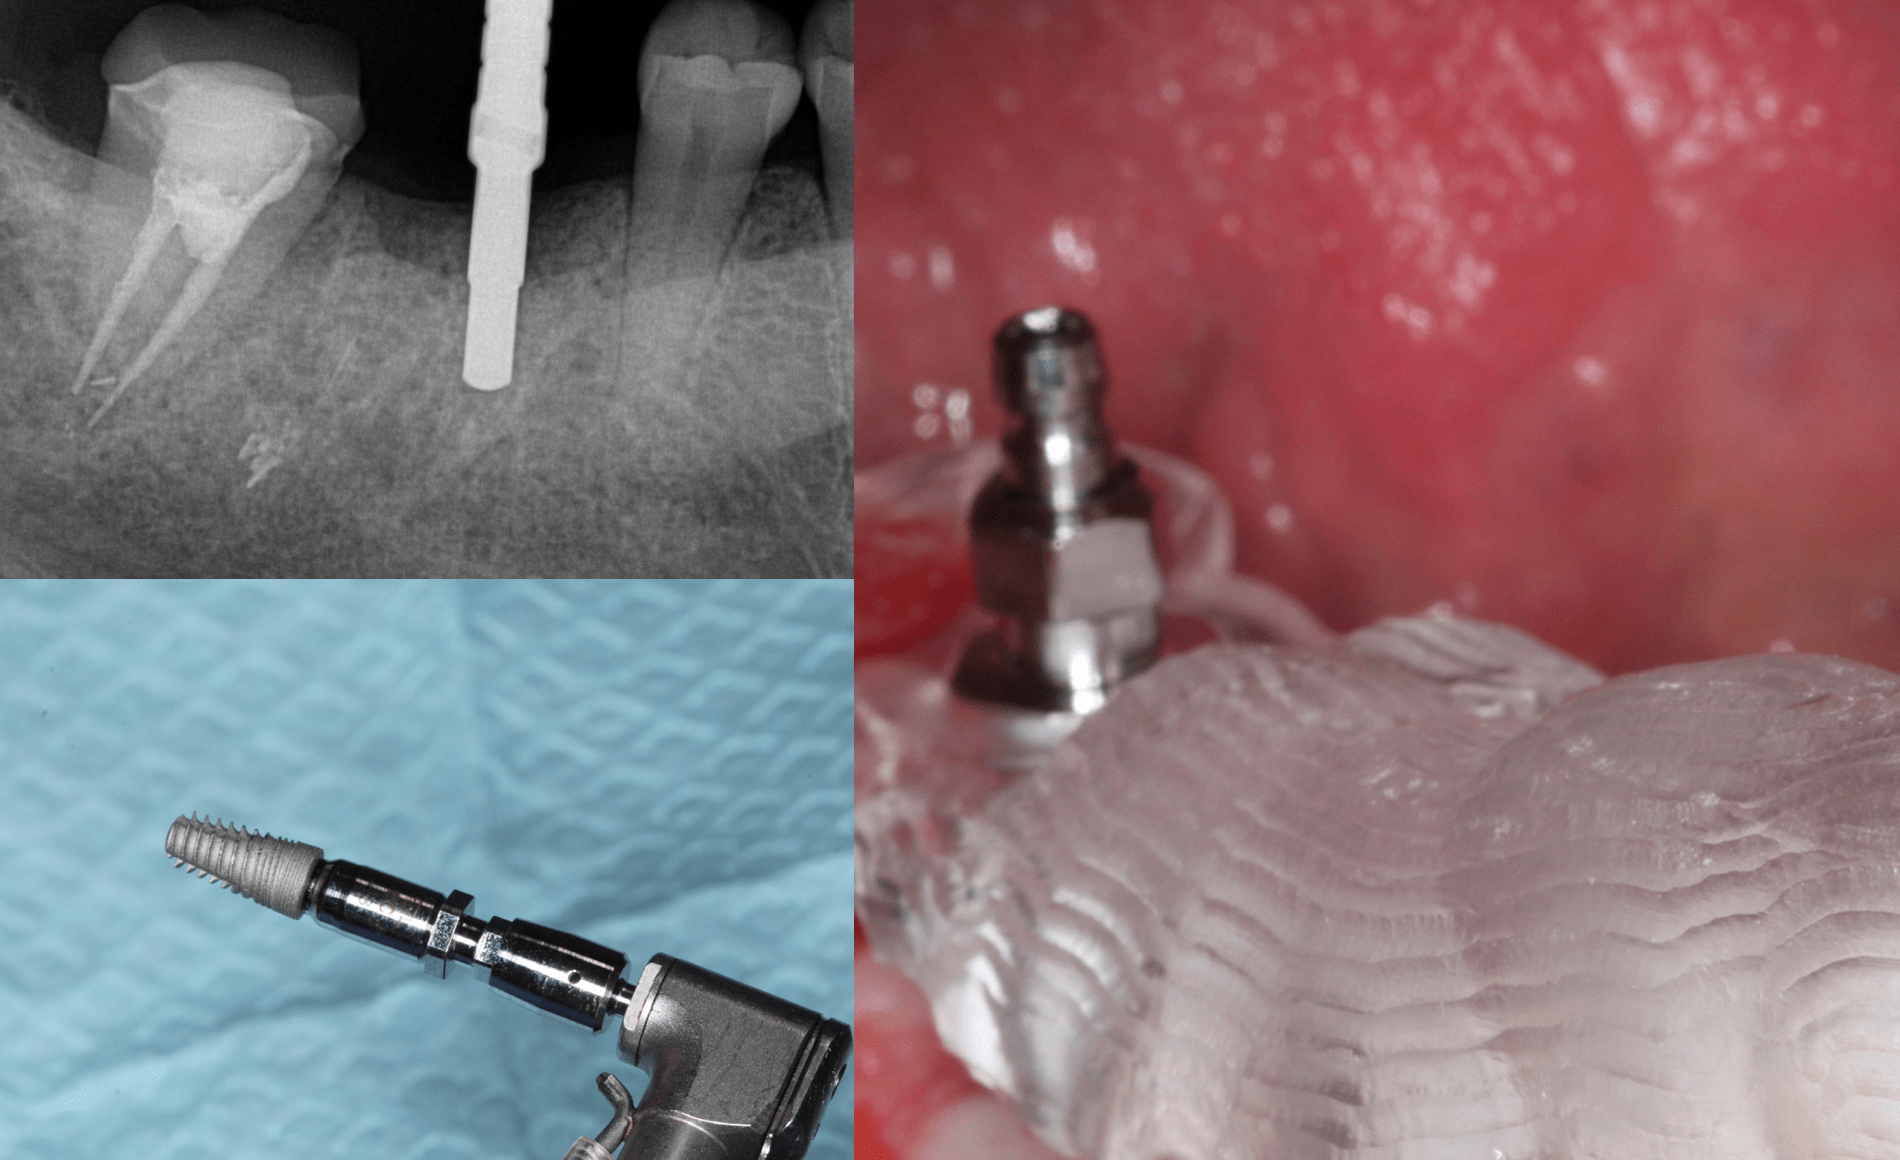
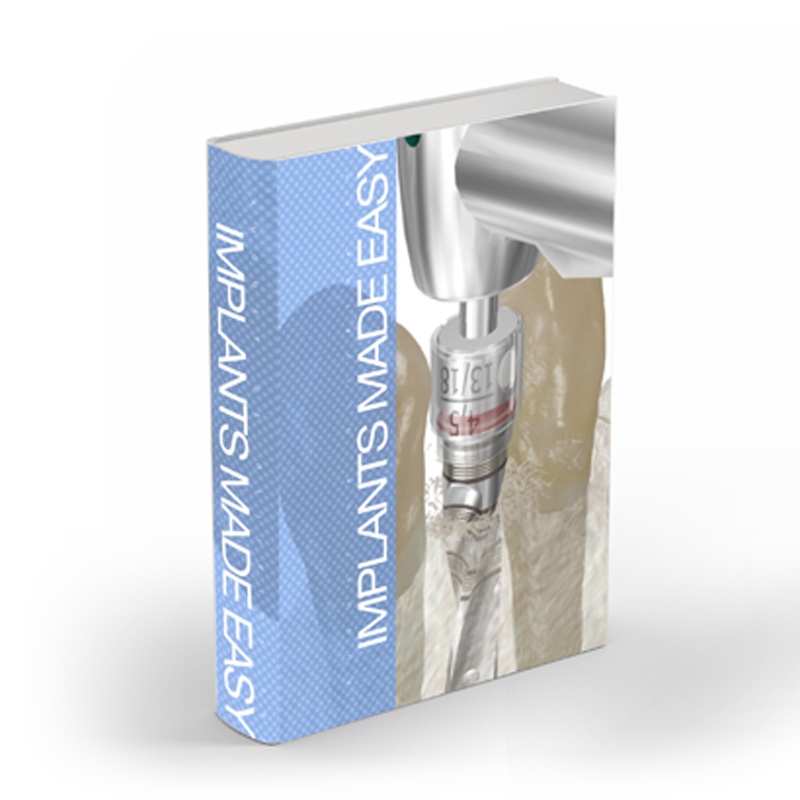
We are using a 5 by 10 mm Interactive implant which is nobel active compatible I am using a Nobel replace conical mount which the the RP mount which fits the medium guide sleeve perfectly. The NP mount fits the small sleeve perfectly. Here you can see the mount in place for a fully guided placement.
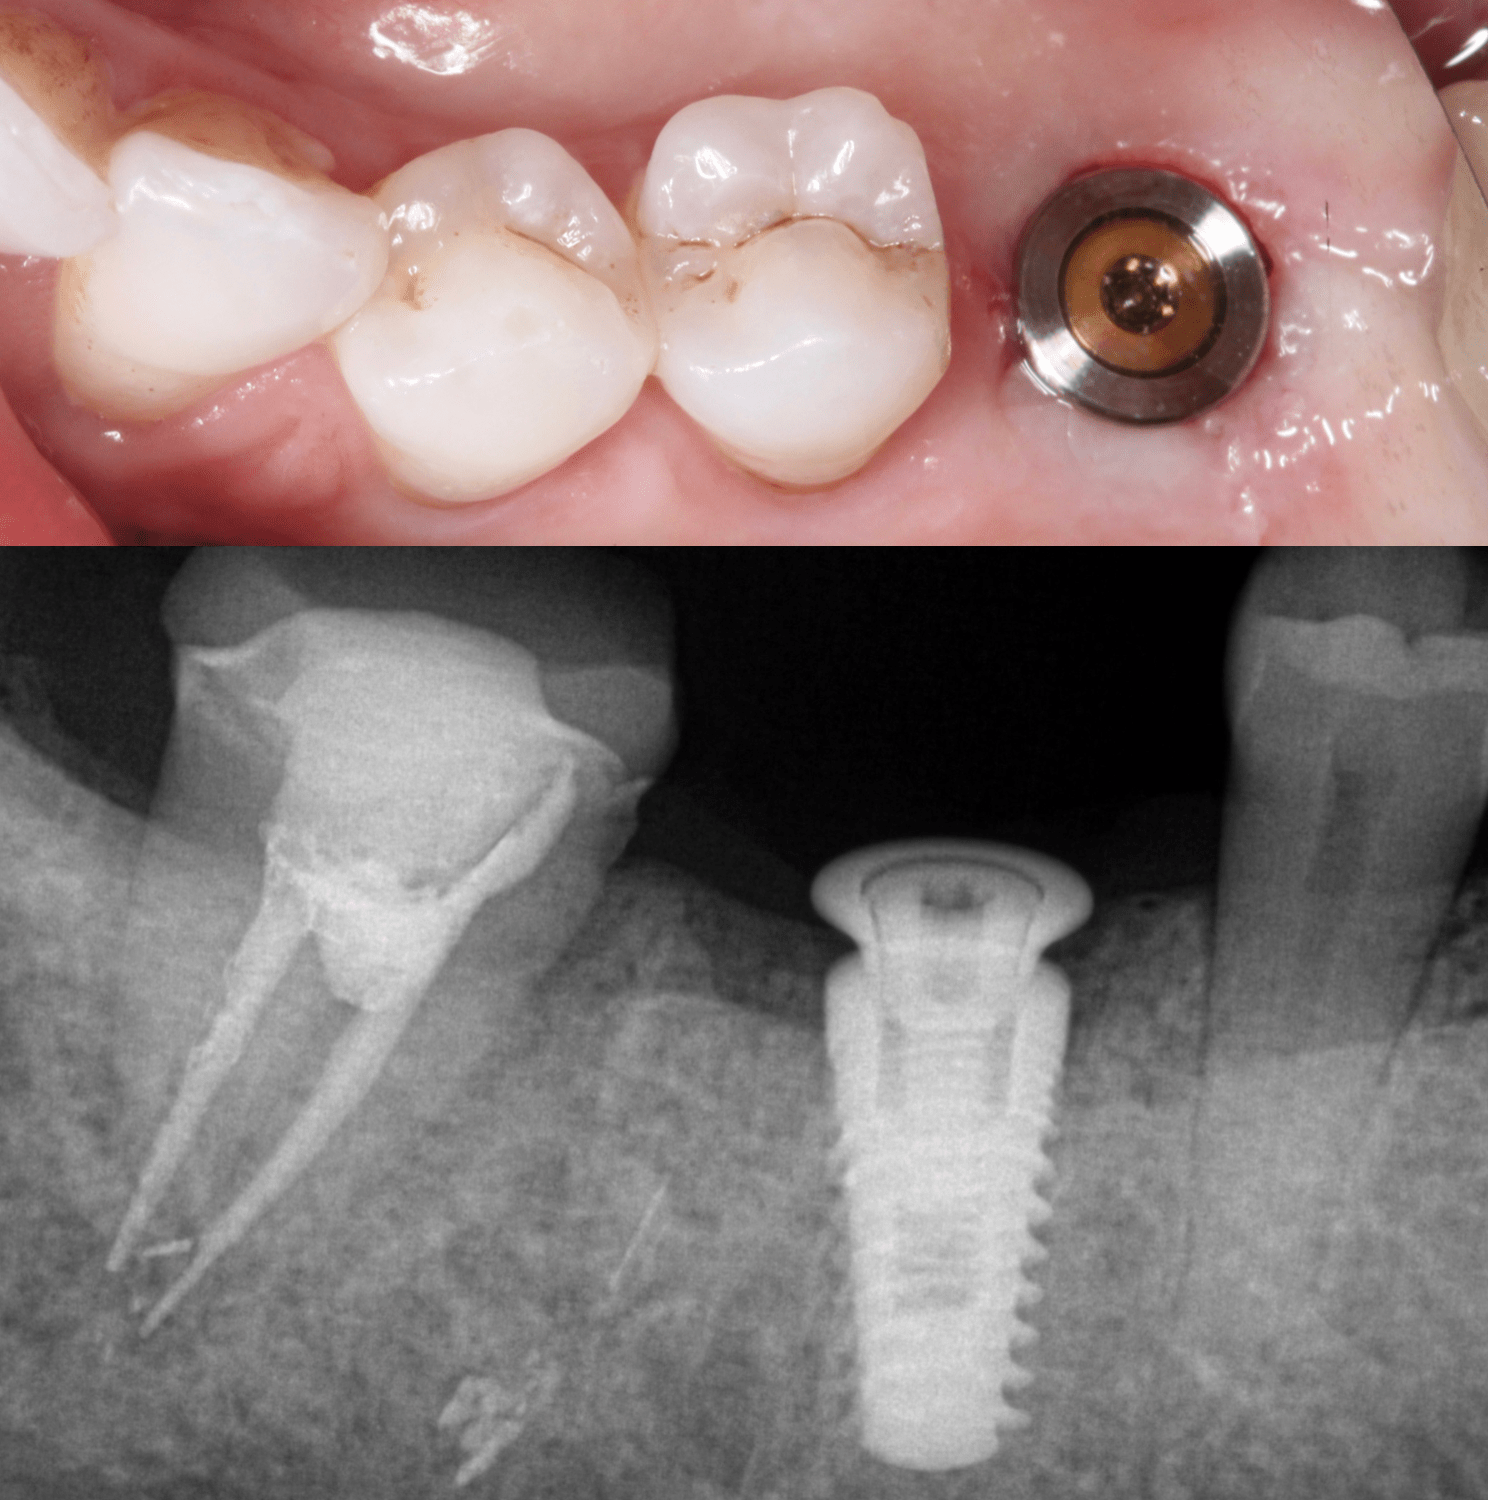
Here is our final placement. You can see that we are somewhat ignoring the angulation of the molar and placed the implant platform in the center where the crown will be.


