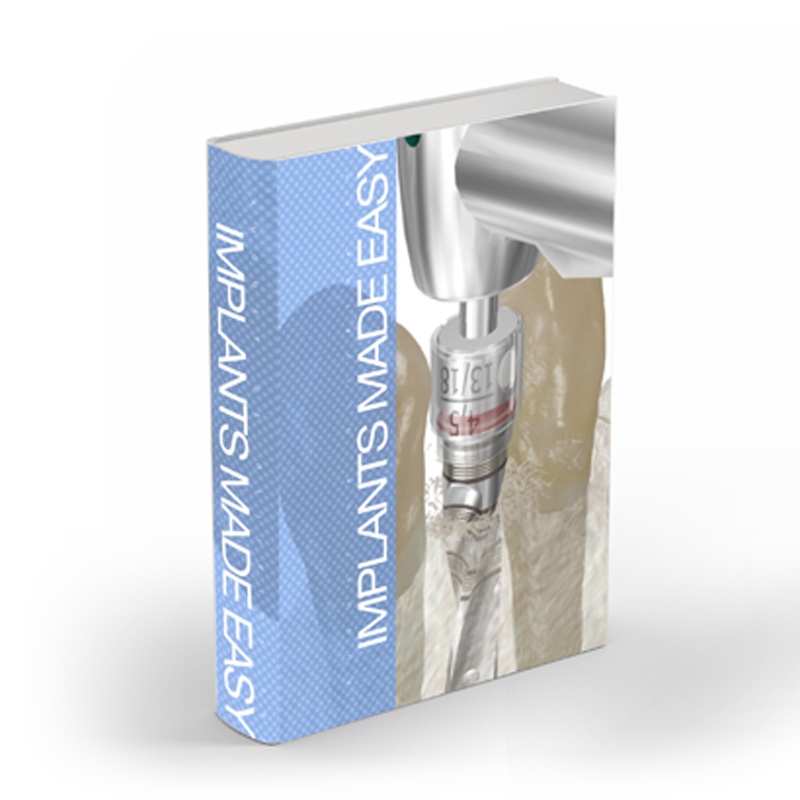
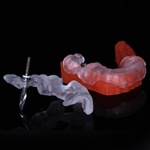
Here is the first of 5 beta test cases for Implant Direct and SICAT! Come November, if I can get these done in time, you should be able to use the Implant Direct Guide Handle kit with SICAT! Cool beans!

Here we have a patient that wanted his bridge replaced with an implant and threecrowns. I removed the bridge and temporized for the impressions for an Opti Guide, but he broke the temp! We took and impression after the implant for a lab processed temp. The problem here is due to the defect, and lack of attached tissue, we could not do a punch. So here we are going to do an apically positioned flap to preserve the tissue:

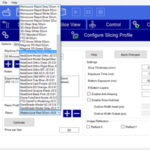
I used my quick and dirty technique of getting proposals on inlays to trick the computer of using the pre and post bridge removal pictures as models into Galileos, I can toggle the orange bridge off an on just like a “blue” proposal:

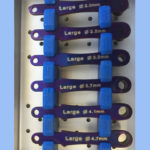
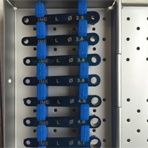
The Guide Handles are color coded to correspond to the same colored drills.

The Guide fit well, we hold it down by having the patient use a bite block. I drilled through the tissue to mark where I would flap with the 2.3, this is the first Handle in the series, the head of my handpiece is my hard stop:

The pilot makes a hole in the tissue and you can see that its practically at the border of the un attached tissue. I put a suture through it and attached it to the cheek, this will keep it out from the Guide and osteotomy prep. Its Medieval, but thats just how I roll ;}

I usually don’t take working length films on Opti and Classic Guides, but since this is a beta test I thought I would anyway.

Went through the series. SICAT did not have the large sleeves, so the small sleeves only go up to a 3.8 and we used a 4.7, so I used the last drill through the metal sleeve, down to just short of the 21mm mark. In the future when the sleeves come in Nov, you will just go through the whole series with the handles. The head of the handpiece is your stop in this case:

This patient had very dense D2 bone, so we used the crestal bone drill to widen the top 5mm of the oseotomy:

4.7 by 10mm Legacy 2. Why a Legacy 2 you ask, because I ordered the wrong one! I usually use Legacy 3, no matter the only real difference is that this one comes with a titanium temp cylinder and the 3 comes with an abutment.

Indexed, looks centered:

Implant placed, slightly more subcrestal than I like, I backed it out a bit before the healing abutment:

But wait there’s more! Now we need to place the flap apically:

With the releases down to the un attached tissue, just slide that attached tissue apical and start with two “tacking” sutures going from the flap to the attached tissue laterally. The do two vertical sutras to hold everything together taking care not to “hike” the attached tissue to high up onto the healing abutment. This case went really well. The handles are a bit large, but did not displace the guide.

Bio Temps for 3 months:

Stock Abutment:

Final, will take buccal shot at recall.


