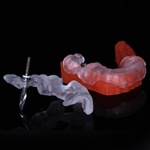
Yet another reason why I do most of cases Guided! Patient lost bridge, no time to get a guide before Thanksgiving, needs teeth for turkey day:

I was a little worried about #18, #20 is obvious a goner:

#18 has a lot of ferrule and no PARL, so we decided to keep it. Normally I do not like immediate temporization on molars, but this patient really did not want a flipper or to go without so we made it happen:

Obvious defect on the buccal on #19, “lit it up” with some epi to determine the border of attached and unattached. Looks like another apically positioned flap:

Judging from the pre op I should have known #20 would be a bear to get out, papilla sparing flap both for visualization and to place apical:

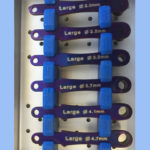
I’m just not smart enough to figure out what all those lines are on the side of my drill and to try to read them with saline all over the place, so I just love Emil Verban’s Drill Stops:

Remember Mandibular Molars tip slightly lingual, Pre-molars tip slightly buccal. Line your drill up with the lingual as the buccal really slopes and your implant will have way too much lingual tilt. Push up against the mandible just like sizing up a crown before cutting an endo access. Looking at that dense cortical plate, we know we are dealing with some D2 bone and need to use the crestal bone drill:

I love the Verban depth gauge for immediates, Finished the drills, definitely looks like some grafting is in order on #20:

Used the crestal bone drill to open up the top 5mm to allow our implant to expand the osteotomy:

PLaced the implants and grafted the buccal on #20. Great torque values especially on #19. Would have liked to use a wider implant, but based on the Cross Sectional, just did not have the width. Sorry for the heme, my patients have a bad habit of bleeding during pictures ;}

Punched a hole in half a membrane, slid it over the abutment and sutured over:

People have been giving me crap about my old school black sutures, so here you go. I feel like I am typing rubber bands! Flap positioned initially with horizontal sutures then vertical to hold it down around the abutments. Temp out of occlusion:

This took me about 2 hours, if I did it Guided it would have taken about 30 minutes. OK result, decent parallelism.

Back from the lab. Pretty nice contours ad embrasures for implants. #19 is natural.

Final Result, we should get fill in between #20 and 21. The temp was a bit blocky.

Just wanted to post a follow up showing the tissue healing, it was a bit boggy at the seat. Plus you can see what an avid flosser this patient has become!


