A case showing how you can place one implant per missing tooth in the Anterior. Usually not the case but in Square Jaws you can.

This patient is a big time Bruxer who does not wear his guard. Fractured #10 and #11 the whole bridge is holding onto #6 which has a PARL. Due to the fact that he has short square teeth, no papilla, and a nice square jaw we planned 4 4.2mm diameter implants between 13 and 16mm in length for stability.

I like to “cut through” the noise of the PFM bridge, plan my implants without CEREC at first and work on spacing with the Guide Sleeves.

Use the Tangential as the “clipping window” and look at the spacing of the implants and the Guide Sleeves, the “tubes” can’t touch but the “rims” can overlap:

With a large square arch it easy to get one implant per tooth especially with the wide Guide Sleeves. Much harder in a narrow V shaped arch.

I just love the crazy accuracy you get when you clip away the noise and add the CEREC optical impression. On the model on the left you really do not know if you are centered in the cingulum, on the right its very easy to see:

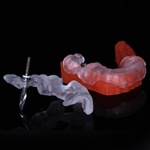
After positioning the implants under the Cingula of the other teeth, the info is sent to SICAT and in 6 days a guide appears.

#10 was removed. #11 is fractured but has a lot of ferrule, under the very inflamed gingiva.

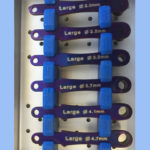
Punches, counterbores and the pilot were used:

When using longer implants than an 8mm with variable length drills its good to go through the whole series (8, 10, 11.5, 13 and 16) of lengths with the NP drills:

With the RP drills, I usually just start on the 10 and go to the diameter:

Implants initially inserted with the Guided Mounts in a Handpiece and later torqued down with the wrench. All torqued out around 45 Ncm. Great stability and length!

Implants placed with stock Implant Direct Abutments, no adjustments needed. Gums are looking yucky due to the loose bridge and hygiene. Due to the palatal placement I have a lot of tissue to work with and will contour with the final lab made temp.

Just another view. No prepping needed on the stock abutments. Lots of tissue to contour. RCTs, posts and buildups were then done on #6 and 11:

Final temp based on the patients pre-op. I know, its ugly. Took a PVS impression for Bio Temps will post when I get it.

Bio Temps cemented permanently as the Implants will sit for a few months. Will do some tissue re contouring on a few teeth closer to the impression date.


