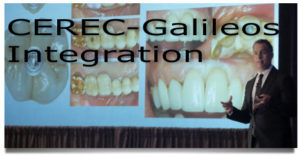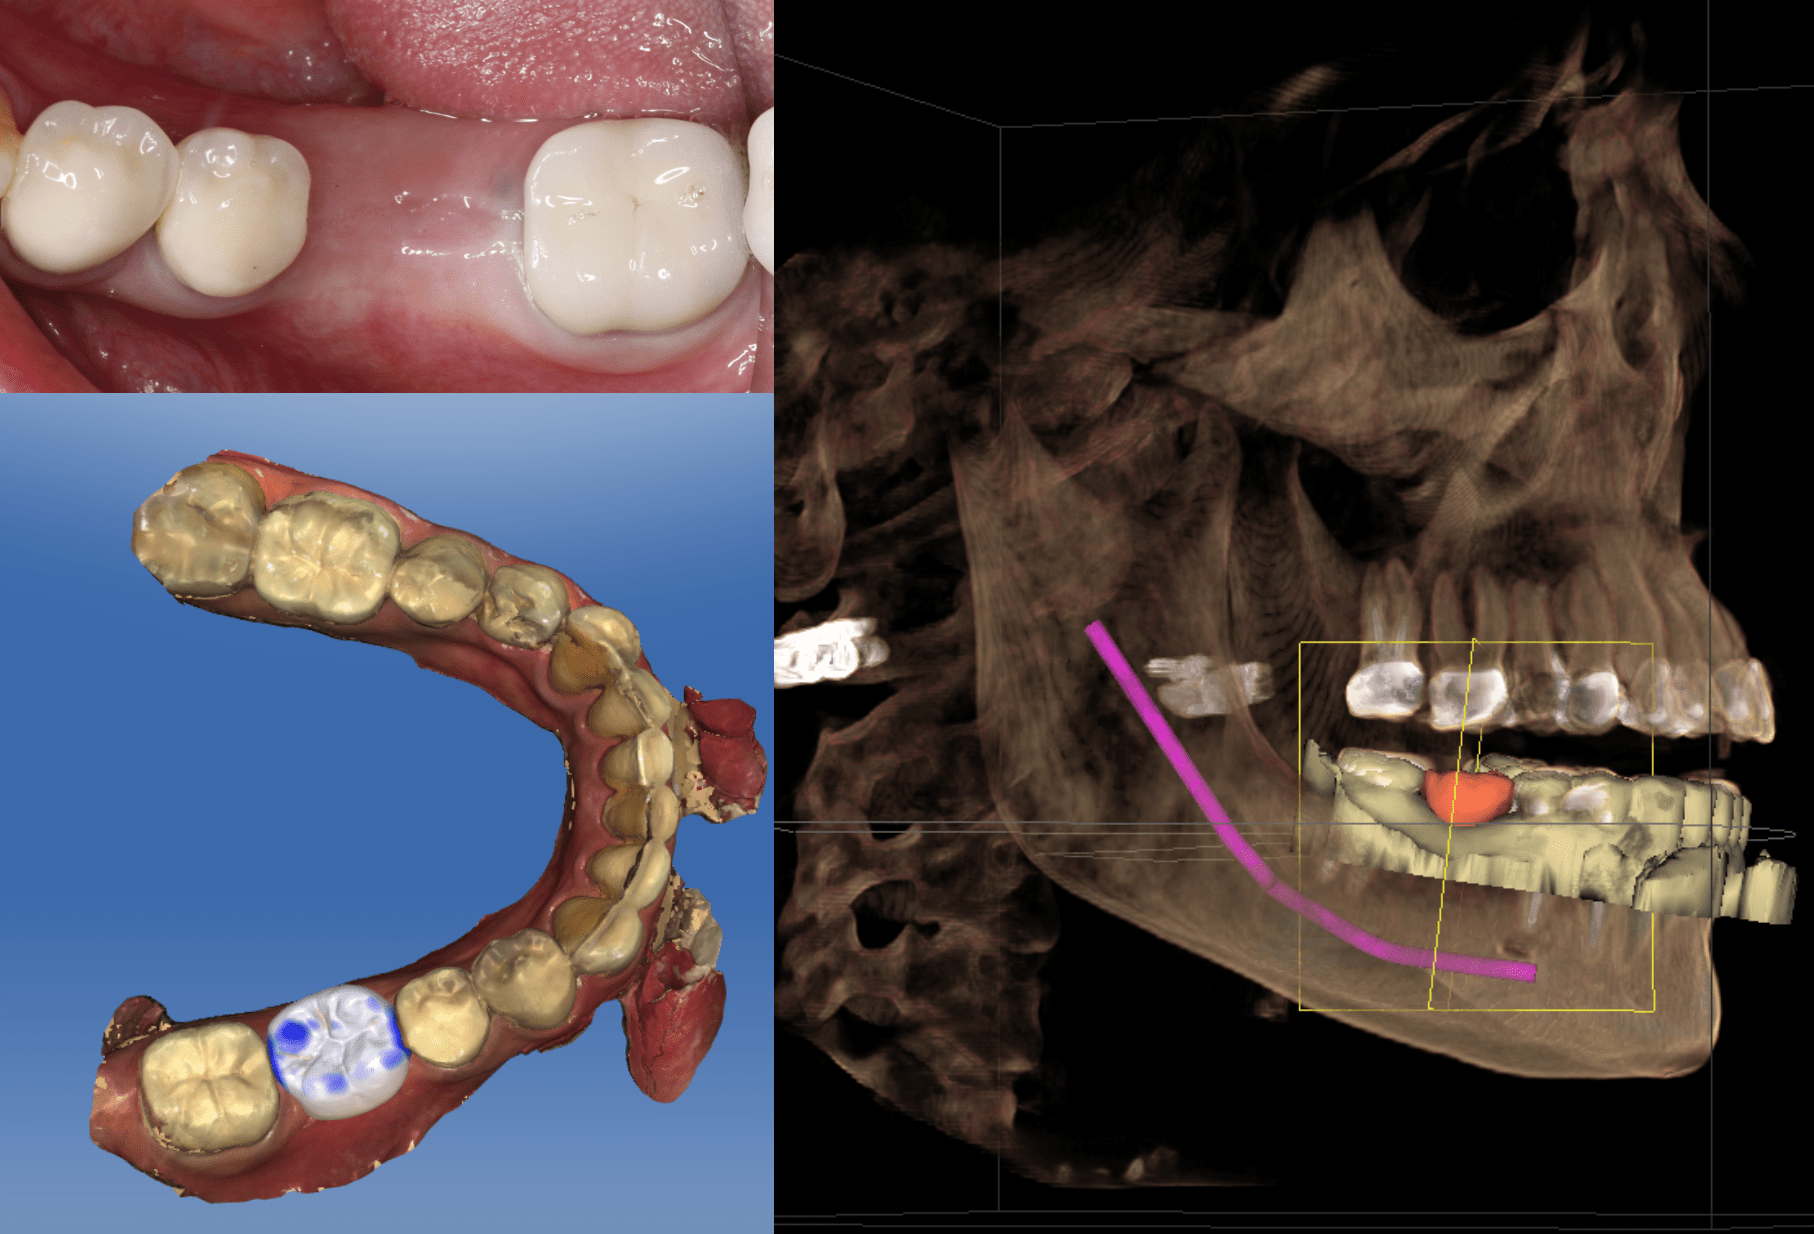
Here is a great straight forward case in which we used the “automatic placement” function in Galileos that placed the implant in the center of the proposed restoration, just where we want it! Lots of bone and attached tissue, socket graft about 3 months ago/
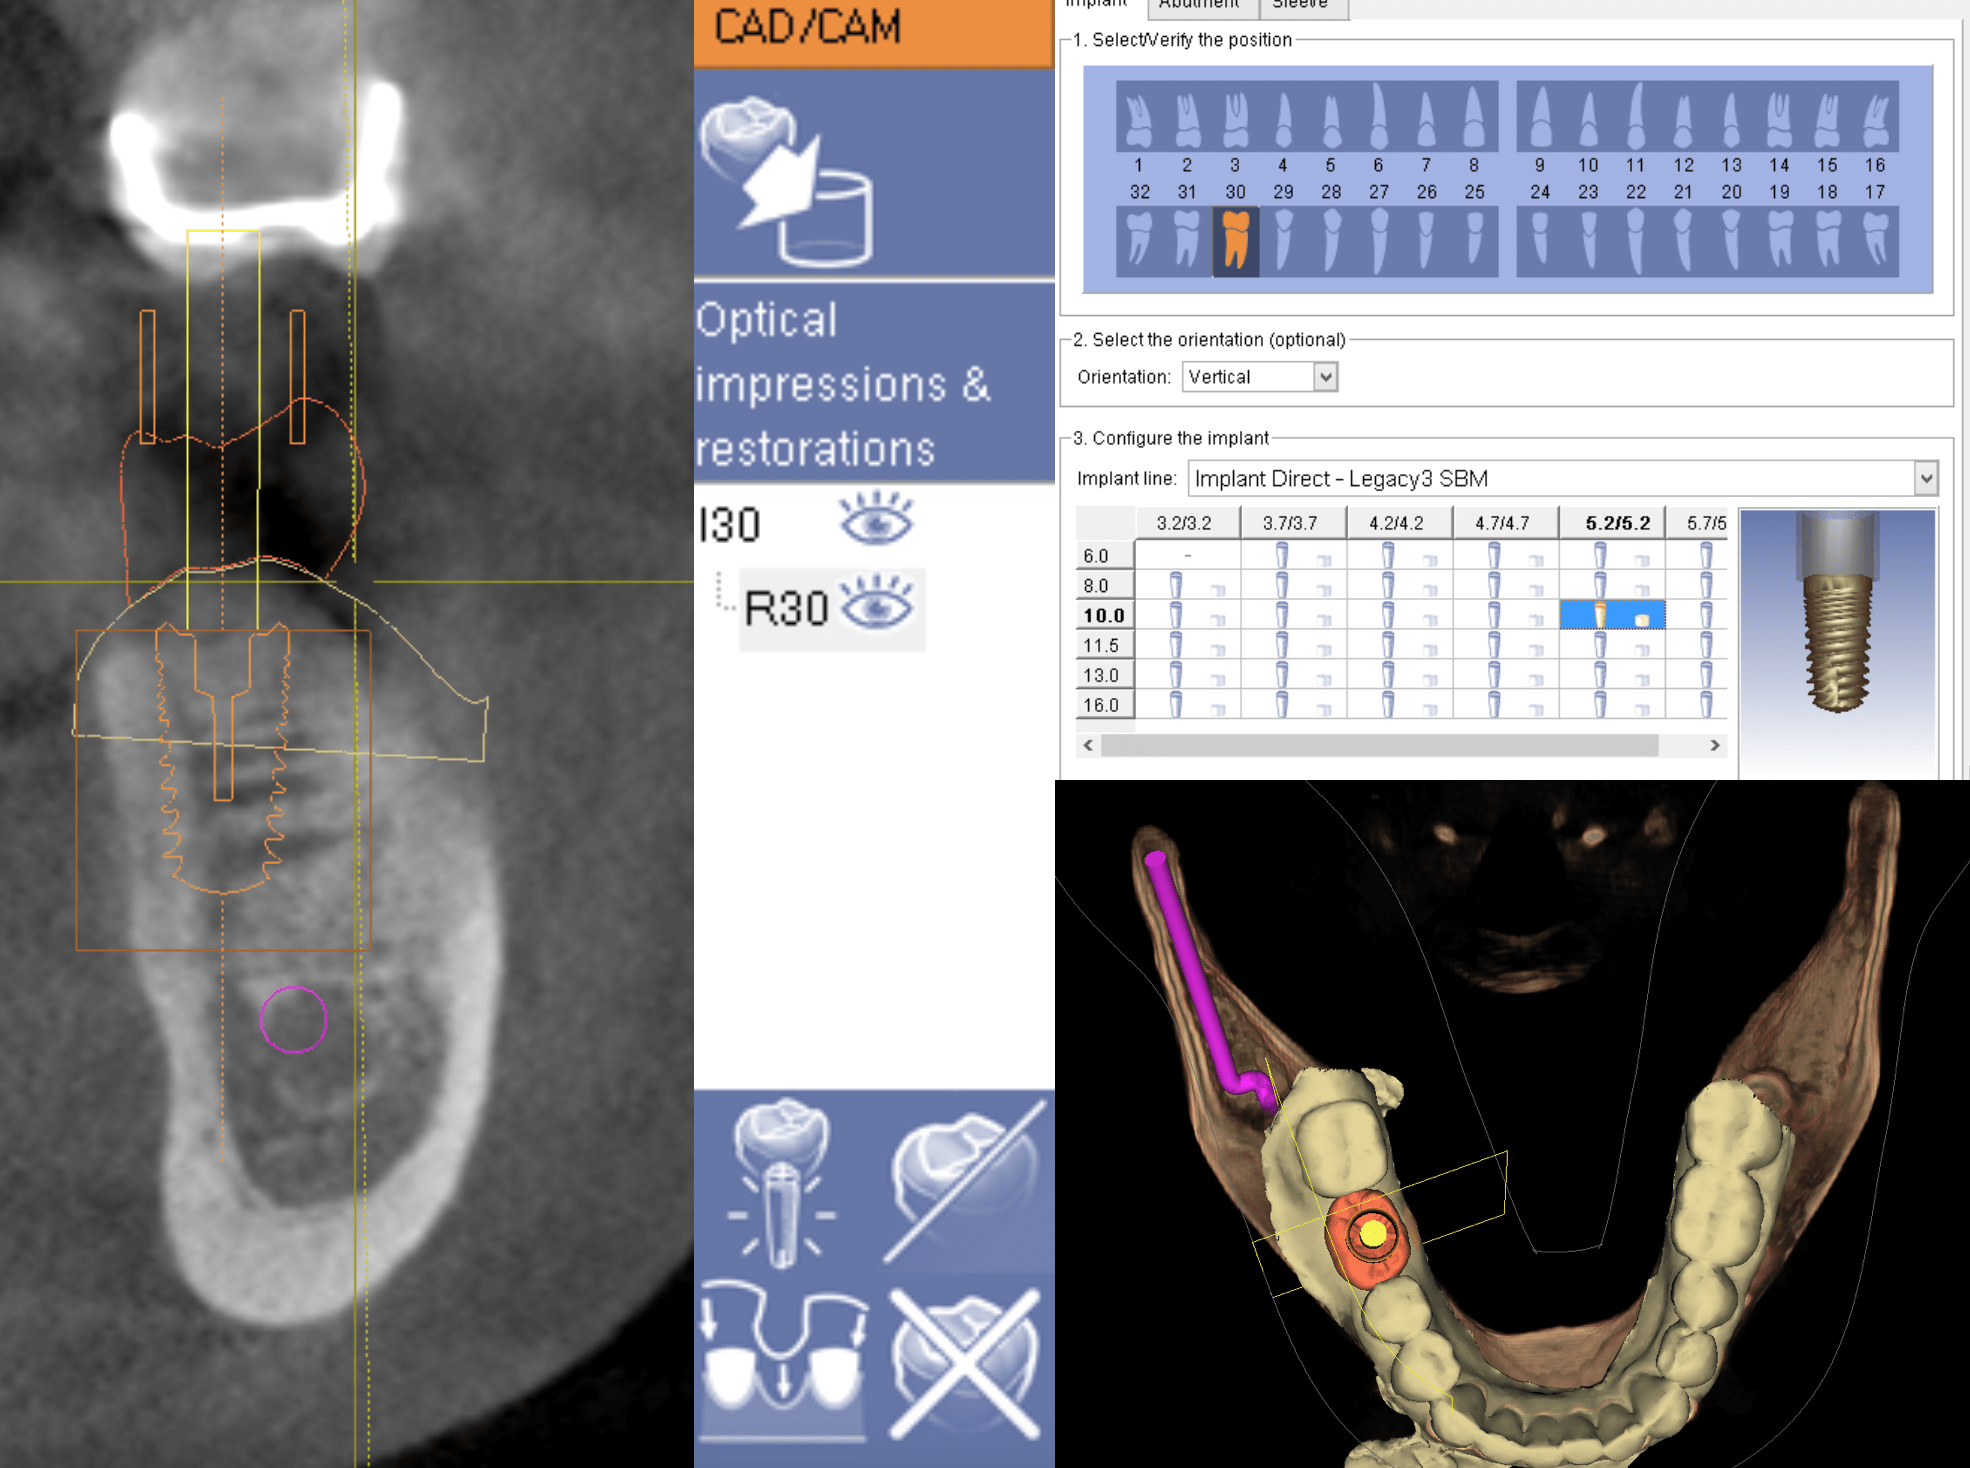
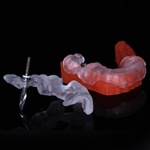
After designing the SSI file, we incorporated it into Galileos. When you select “implant” there is an image of a crown with an implant that looks like it has “sun rays” coming out, hit that, then select the implant. Rather than your cursor becoming the implant the implant automatically gets planned in the center or the restoration!
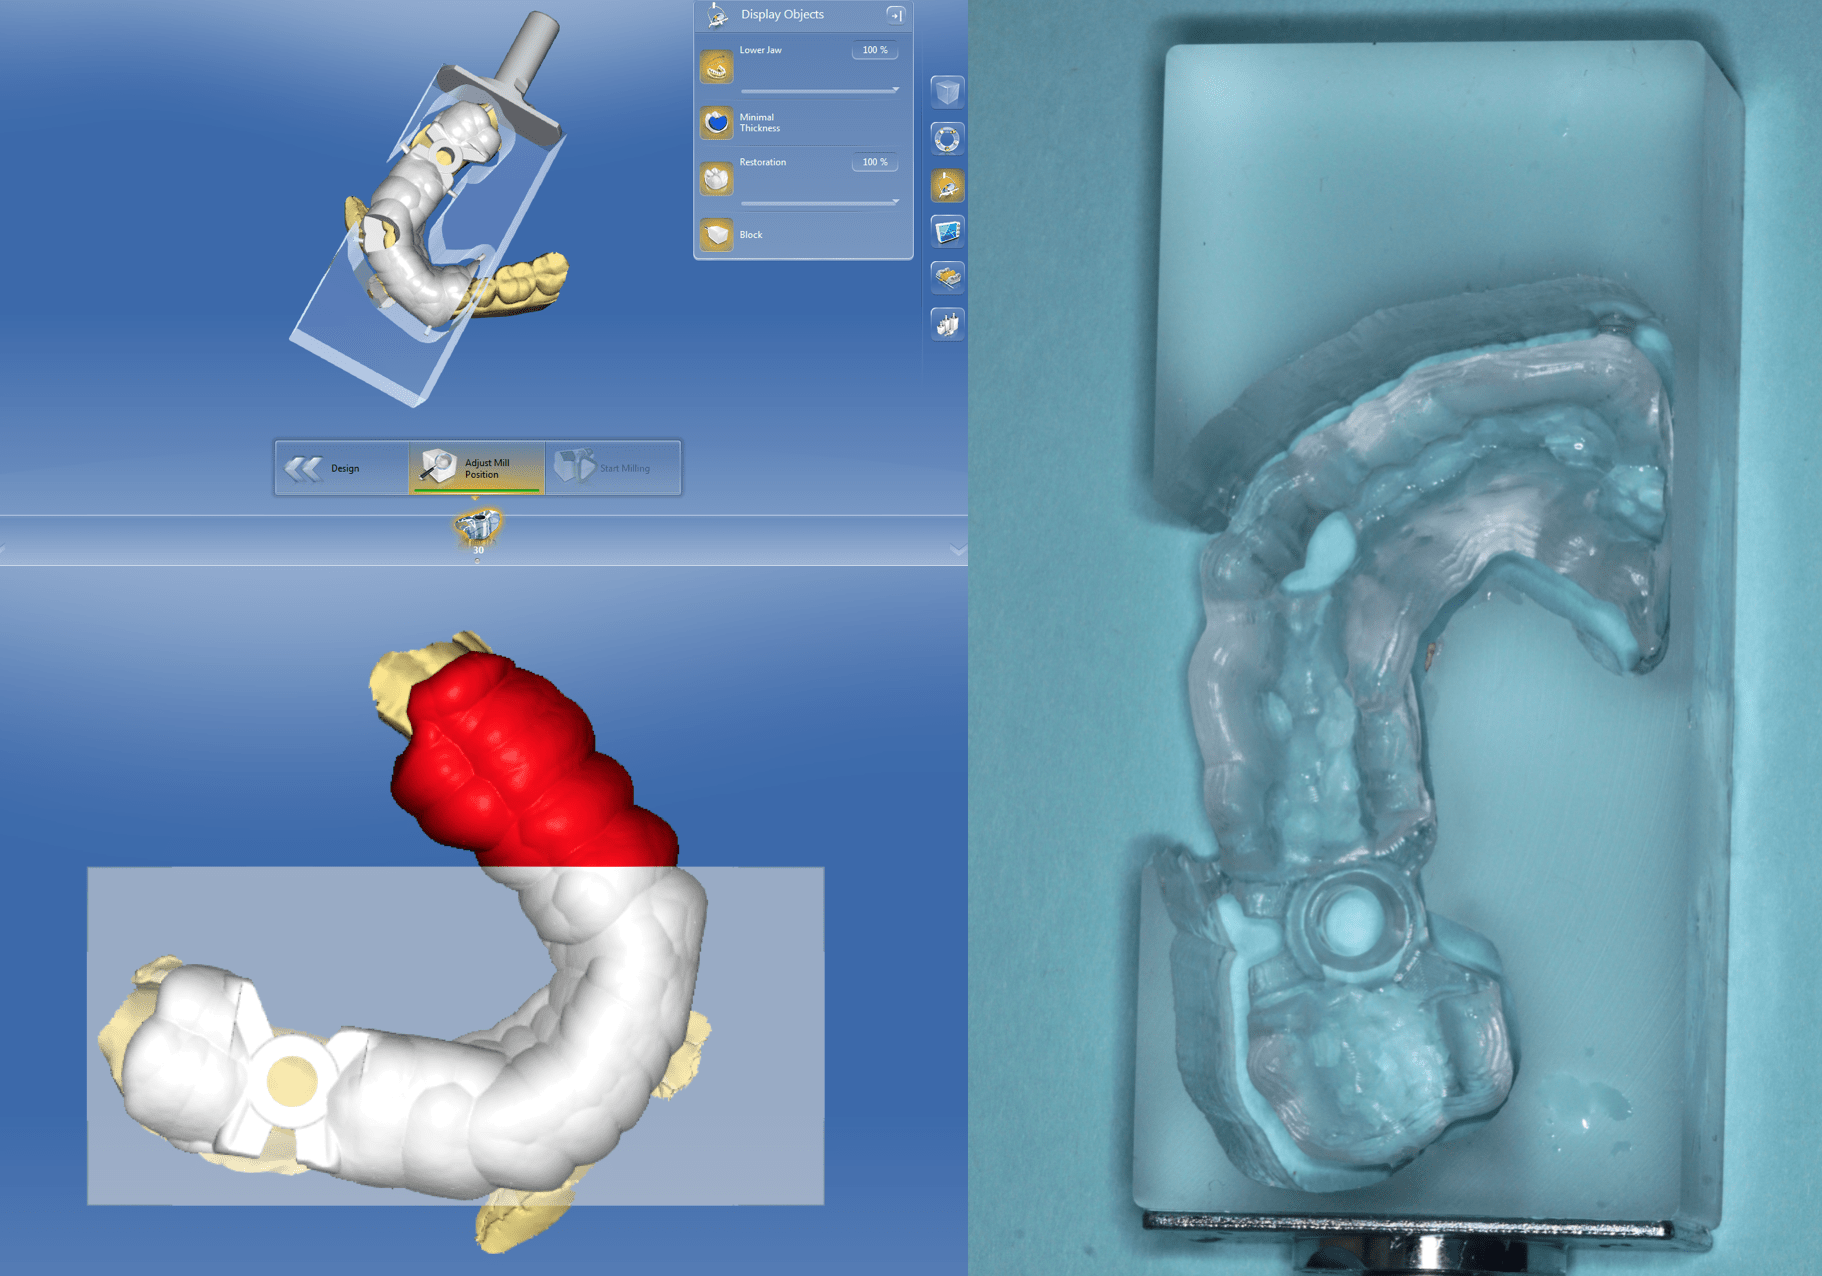
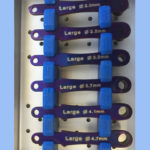
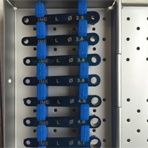
In this case we selected the medium guide sleeve as we are going to use a 5 by 10 Interactive implant with the Legacy mount. Now in this case the D2 is 22mm, now the mount is always set at 10mm longer than the implant, so we can do the case fully guided but we will have to advance the implant manually about 2mm, which is 2 360 degree turns.
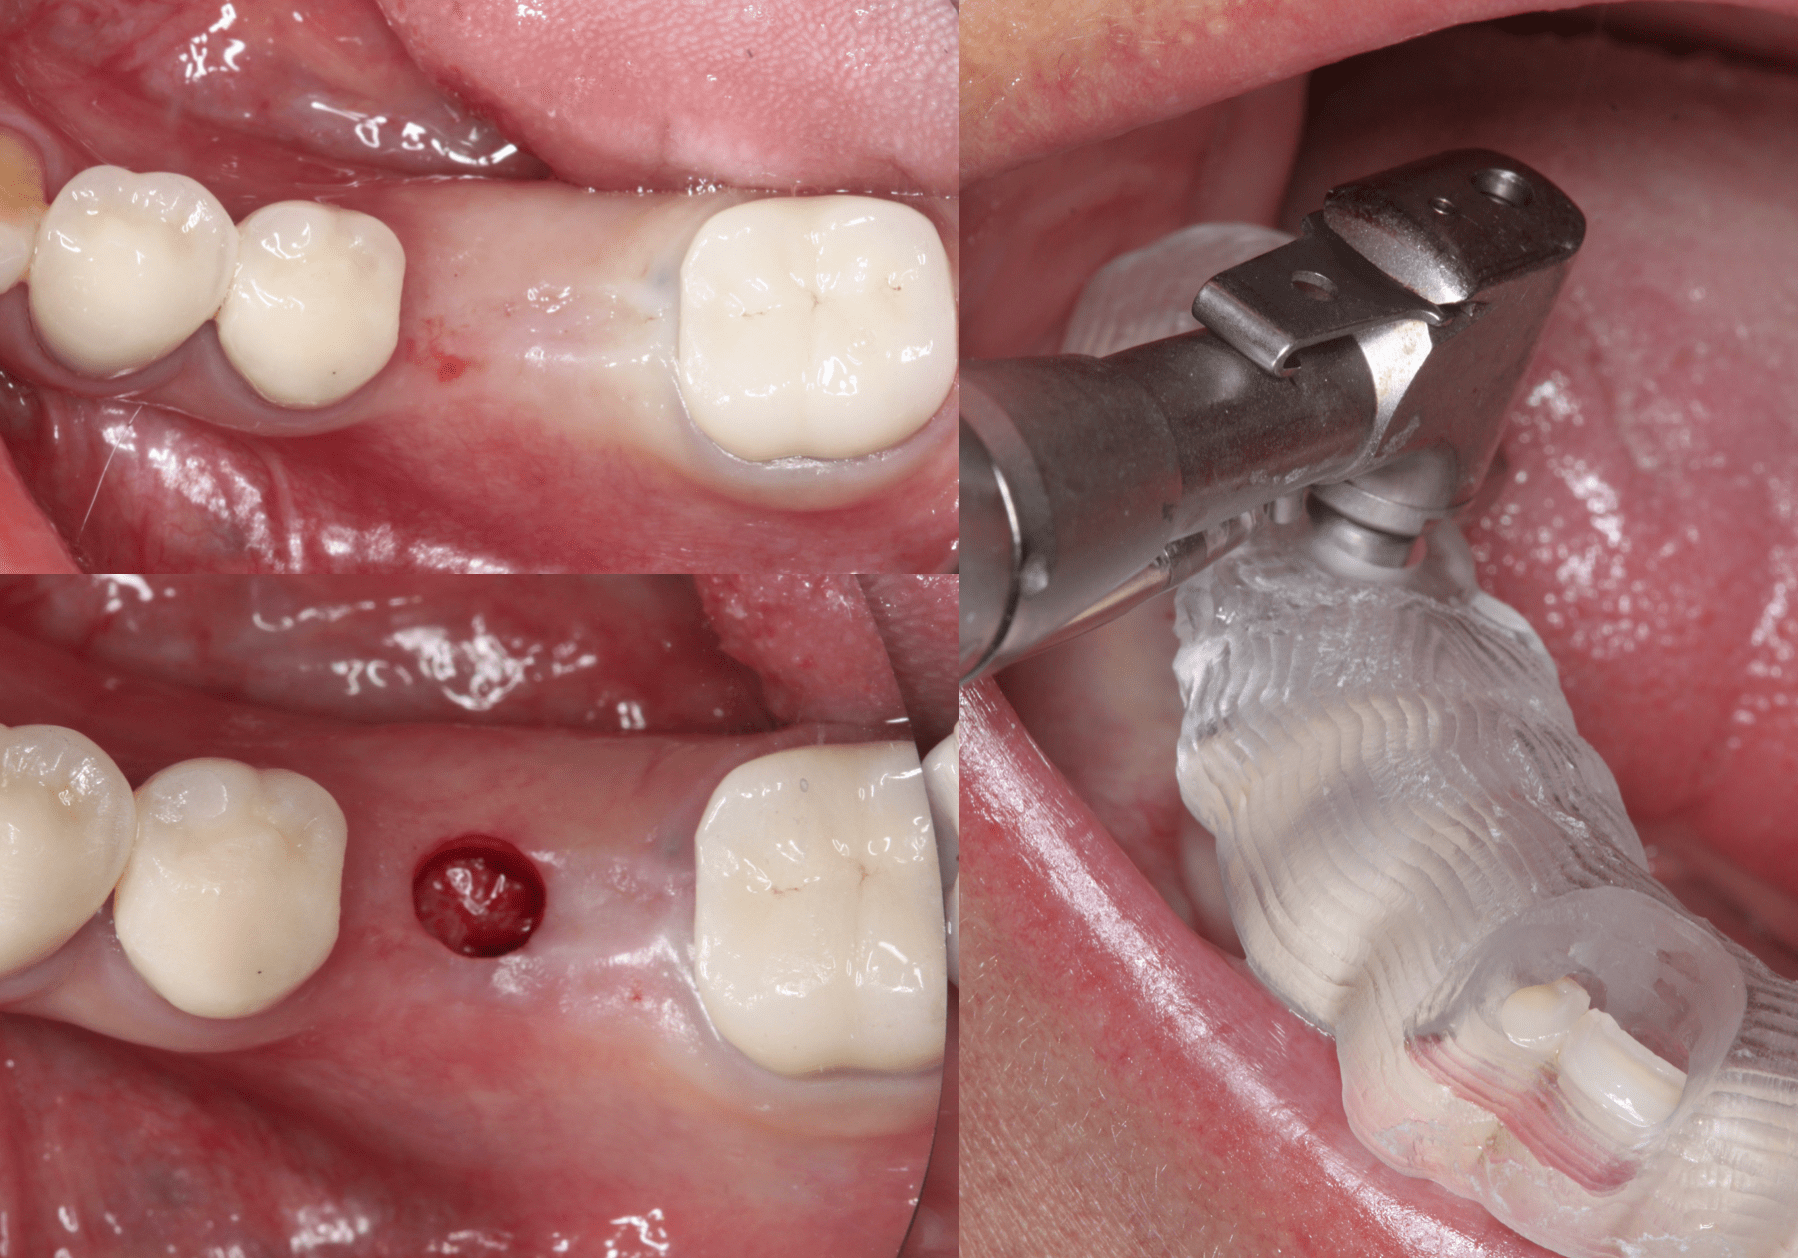
Used 1 to 50K lido wit hep to blanch the tissue and lift it off the periosteum then used at rotary punch to remove the tissue. Tons of good attached tissue so I am not worried in using a punch.
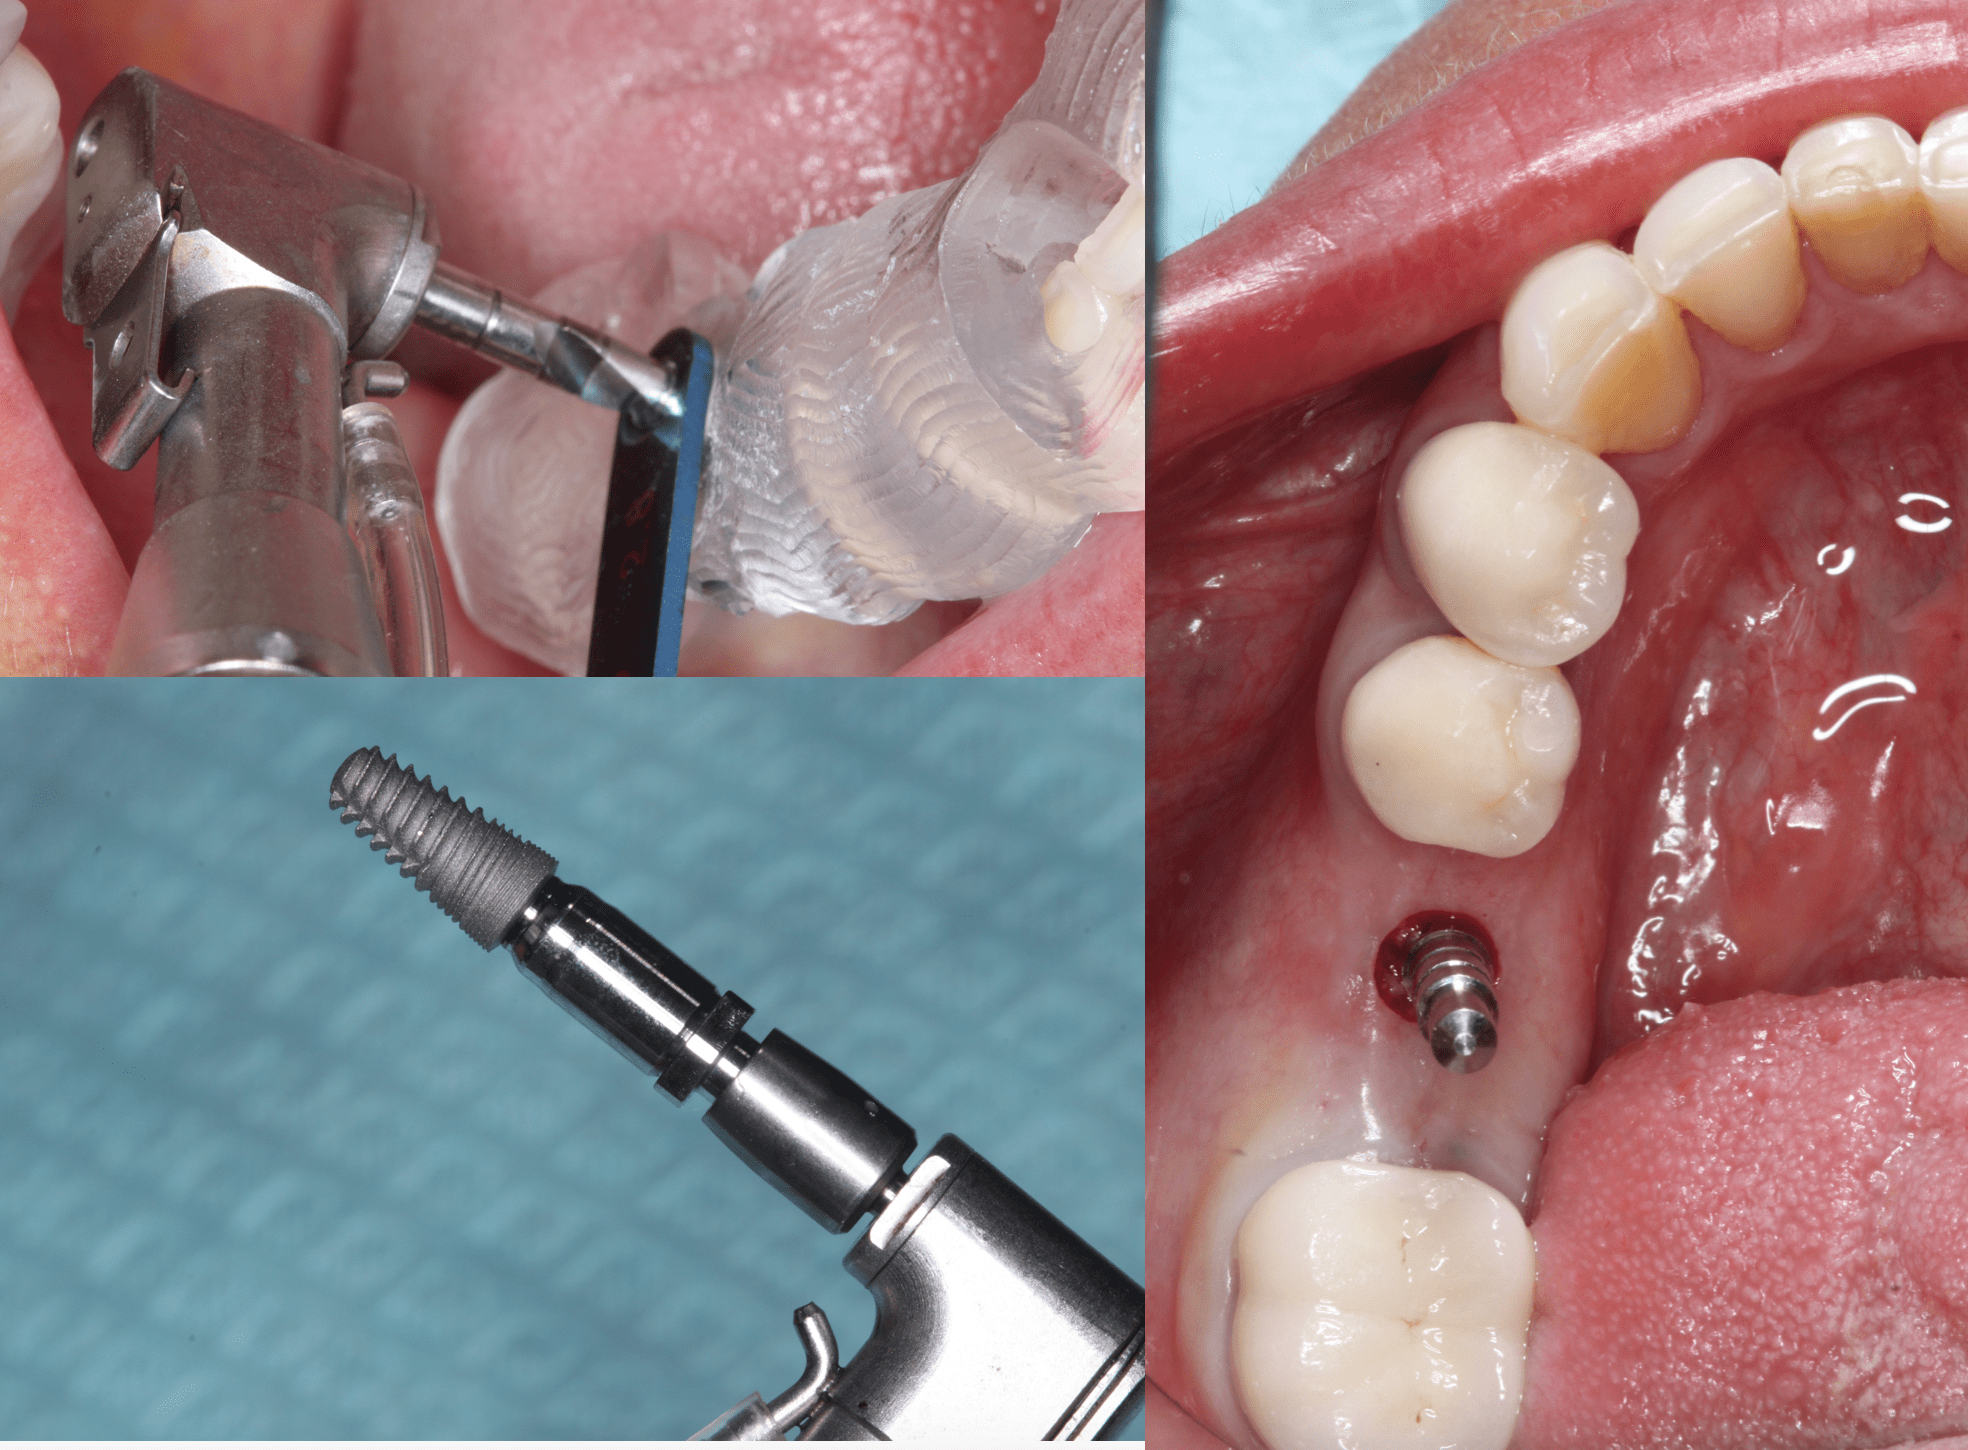
I still take working length films even with guided using either a drill or an angulation pin. We went through the first three drills and mounted the implant. Although normally we have D2 bone in this area, I always try to undersize the osteotomy and try to condense the bone. So normally for a 5 mm implant I would drill to 4.8 but I tried the implant in after the 3.8mm drill.
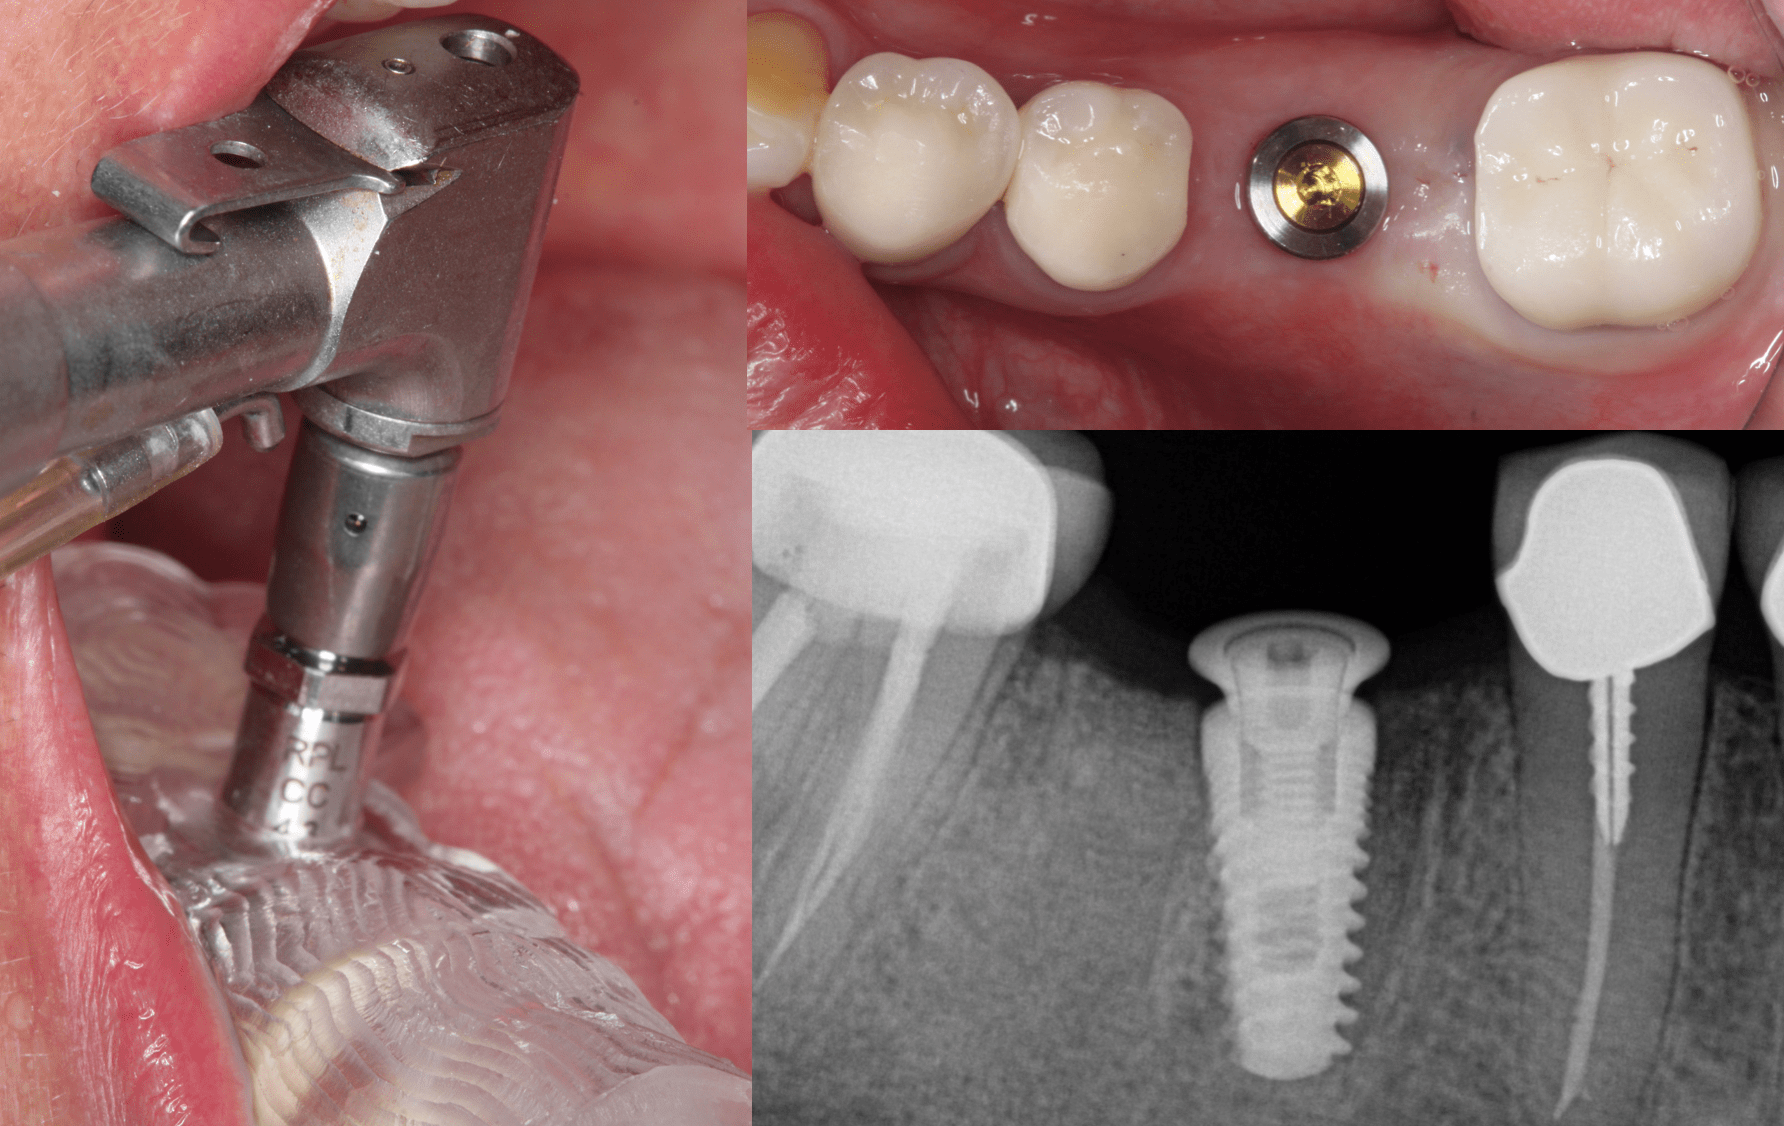
Great insertion torque (actually had to de torque and re torque to expand and get the value down to about 45 Ncm. Fully guided using the Nobel Replace Conical Mount NOT the Nobel Active Conical Mount.


