Let me start this post by saying I have no idea what I am talking about! Just got the printer yesterday and have been going through the learning process but just like my post on Dentaltown, Implants for Dummies, sometimes its fun to share the journey with others and learn as we go! I love CEREC Guide 2 and for $55 its a great deal. That being said its only for single units (which is most of what I do), and it does take a lot of clean up on the machine as well as uses up your burs and motors. Well I figured out a way to 3D print them using Chairside CEREC 3D and Galileos and exporting the .cmg/dxd file to a CEREC Inlab provider to convert to an STL file for printing. In CEREC Guide 2 we need to keep the guide sleeves at right angles to the surface of the block (platform parallel) and as a result with our current MCXL we can’t rotate the block to accommodate two or more implants. With the X5 inlab users can as well as have the ability to export models, restorations and guides to .STL format which is compatible with lots of lab based CAD/CAM as well as 3D printers!
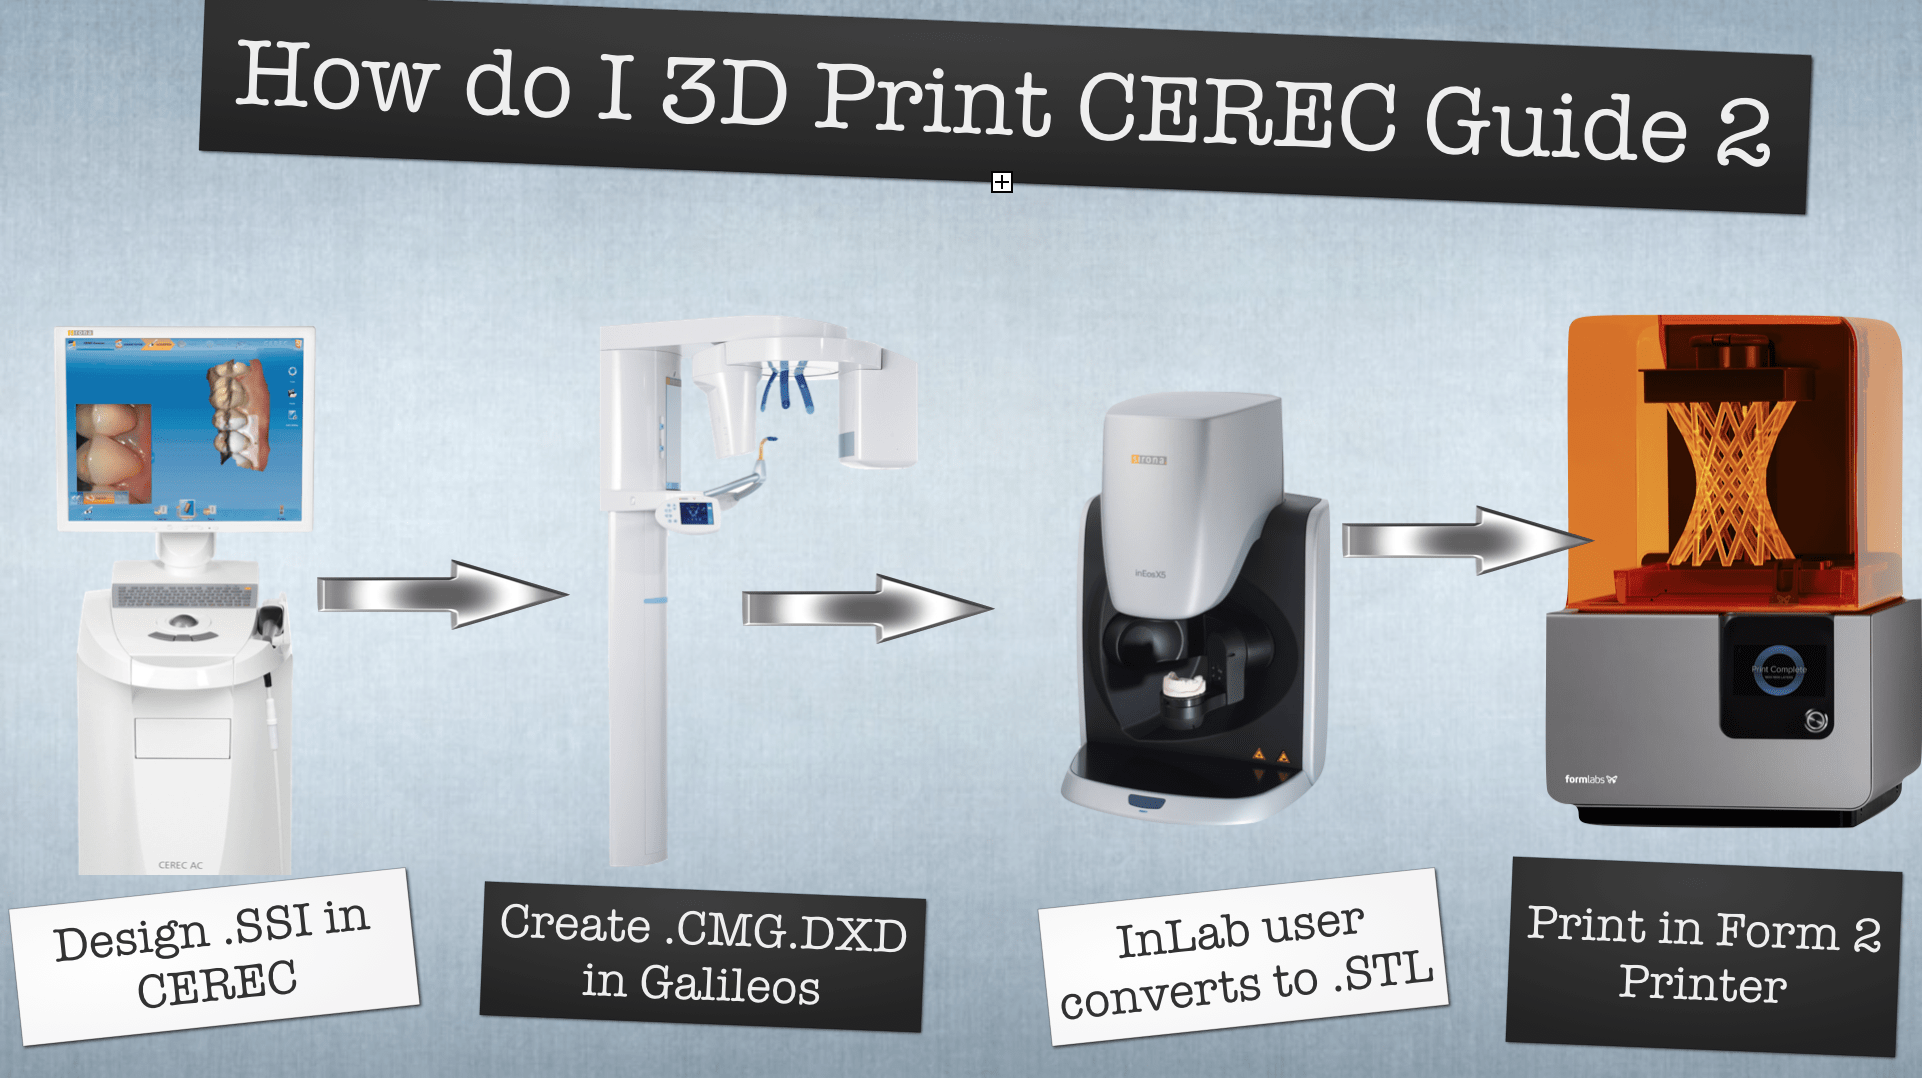
It’s actually quite easy to do! Just get a full arch .SSI file in CEREC, combine that with a CBCT in Galileos, but instead of exporting it back to CEREC chair side you can export to Inlab. I did this case just by sending Frankie Acosta the file in email, not sure about CEREC connect We can’t design a single CEREC Guide 2 in chair side with two or more implants, but Inlab 15 can, so the lab finishes up the guide design then exports the file to .STL. They send you back the file and then you can print it on your printer. I was told that the Form2 was a nice reasonably priced printer so I went for that.
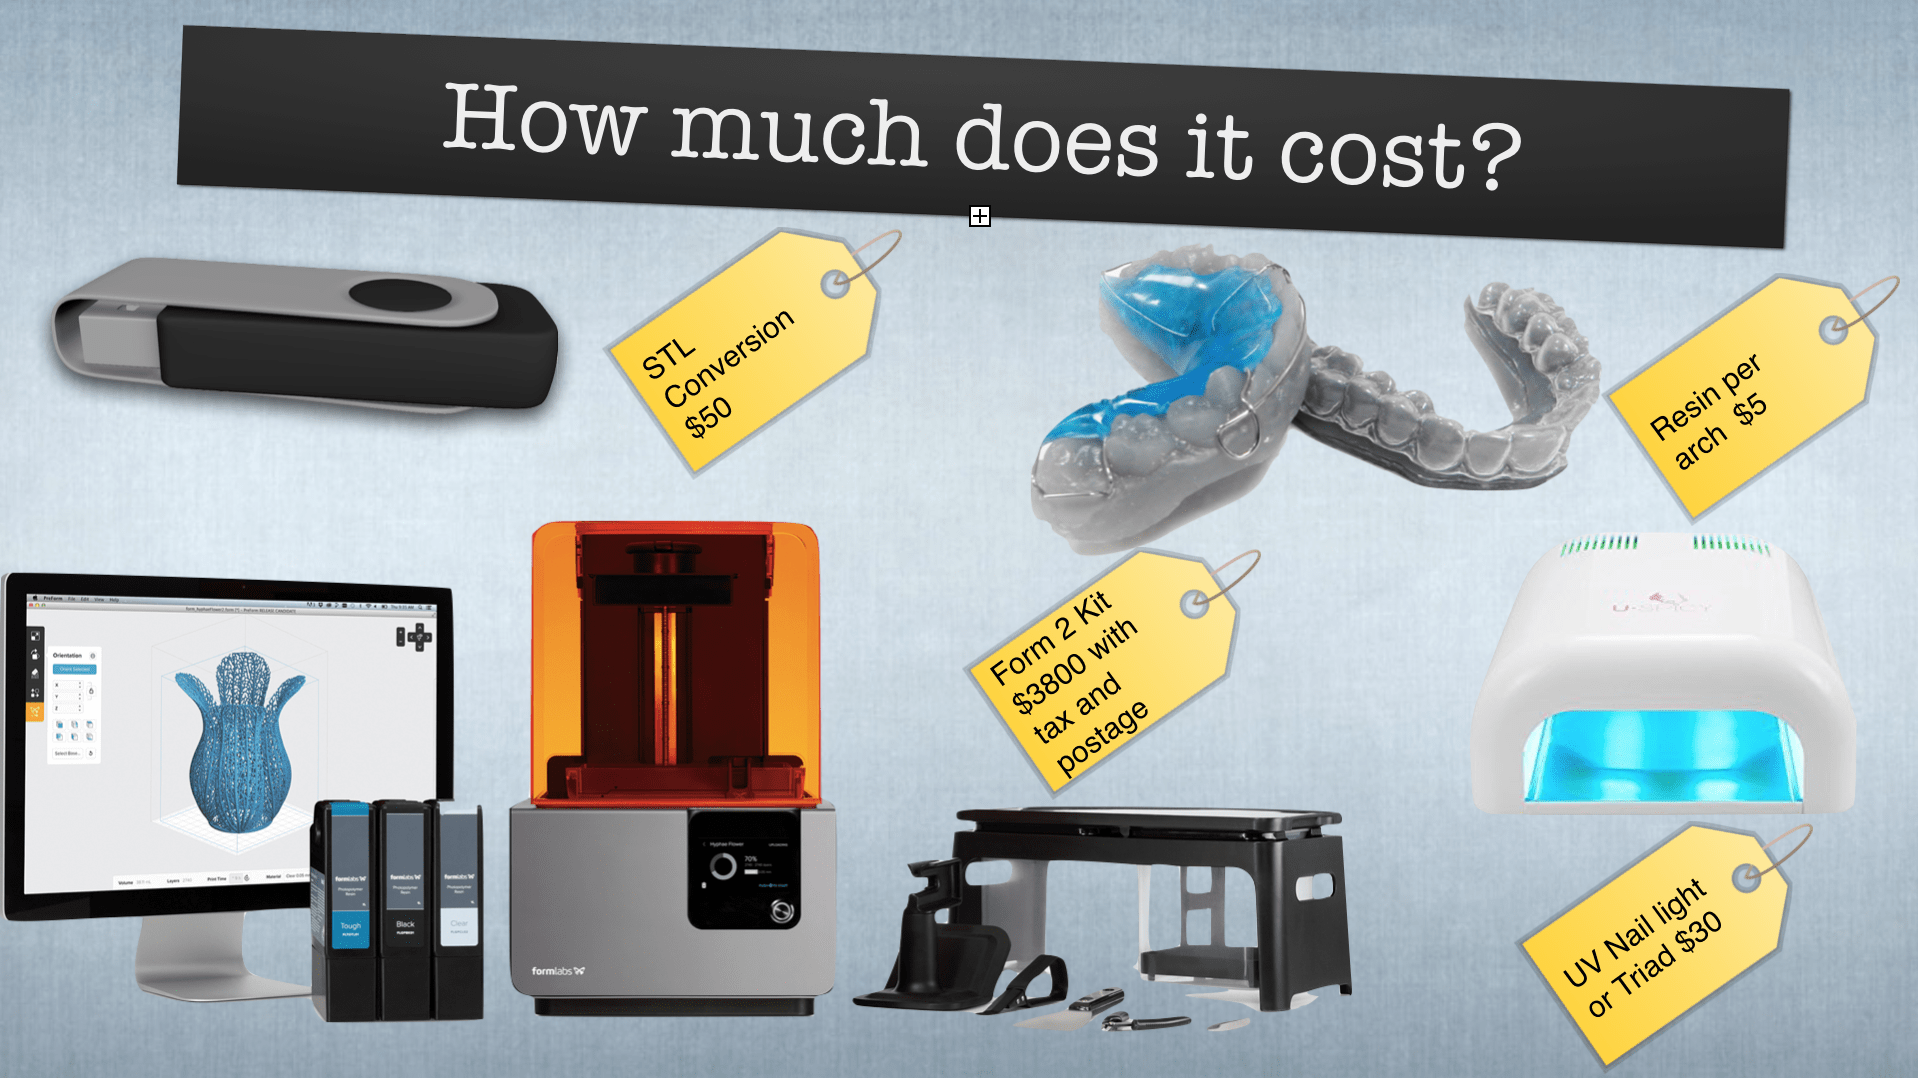
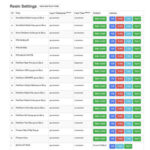
It’s all about the Benjamins right? So to get an .STL back from SICAT is about $150. Labs will convert and design for around $50-60 bucks. Its mostly you designing in Galileos. The Form2 kit with tax and postage was about $3800. The site says that the cost of resin is about $5 per model. The actual resin cartridges range from $100-$200 for a big tank. After you are all done you need to cure it for about an hour. You can use a Triad if you got it, or let it sit the the sun. But a nail light “oven” is about $30 on Amazon. Plus I like the name, “U-Spicy Macaron”!
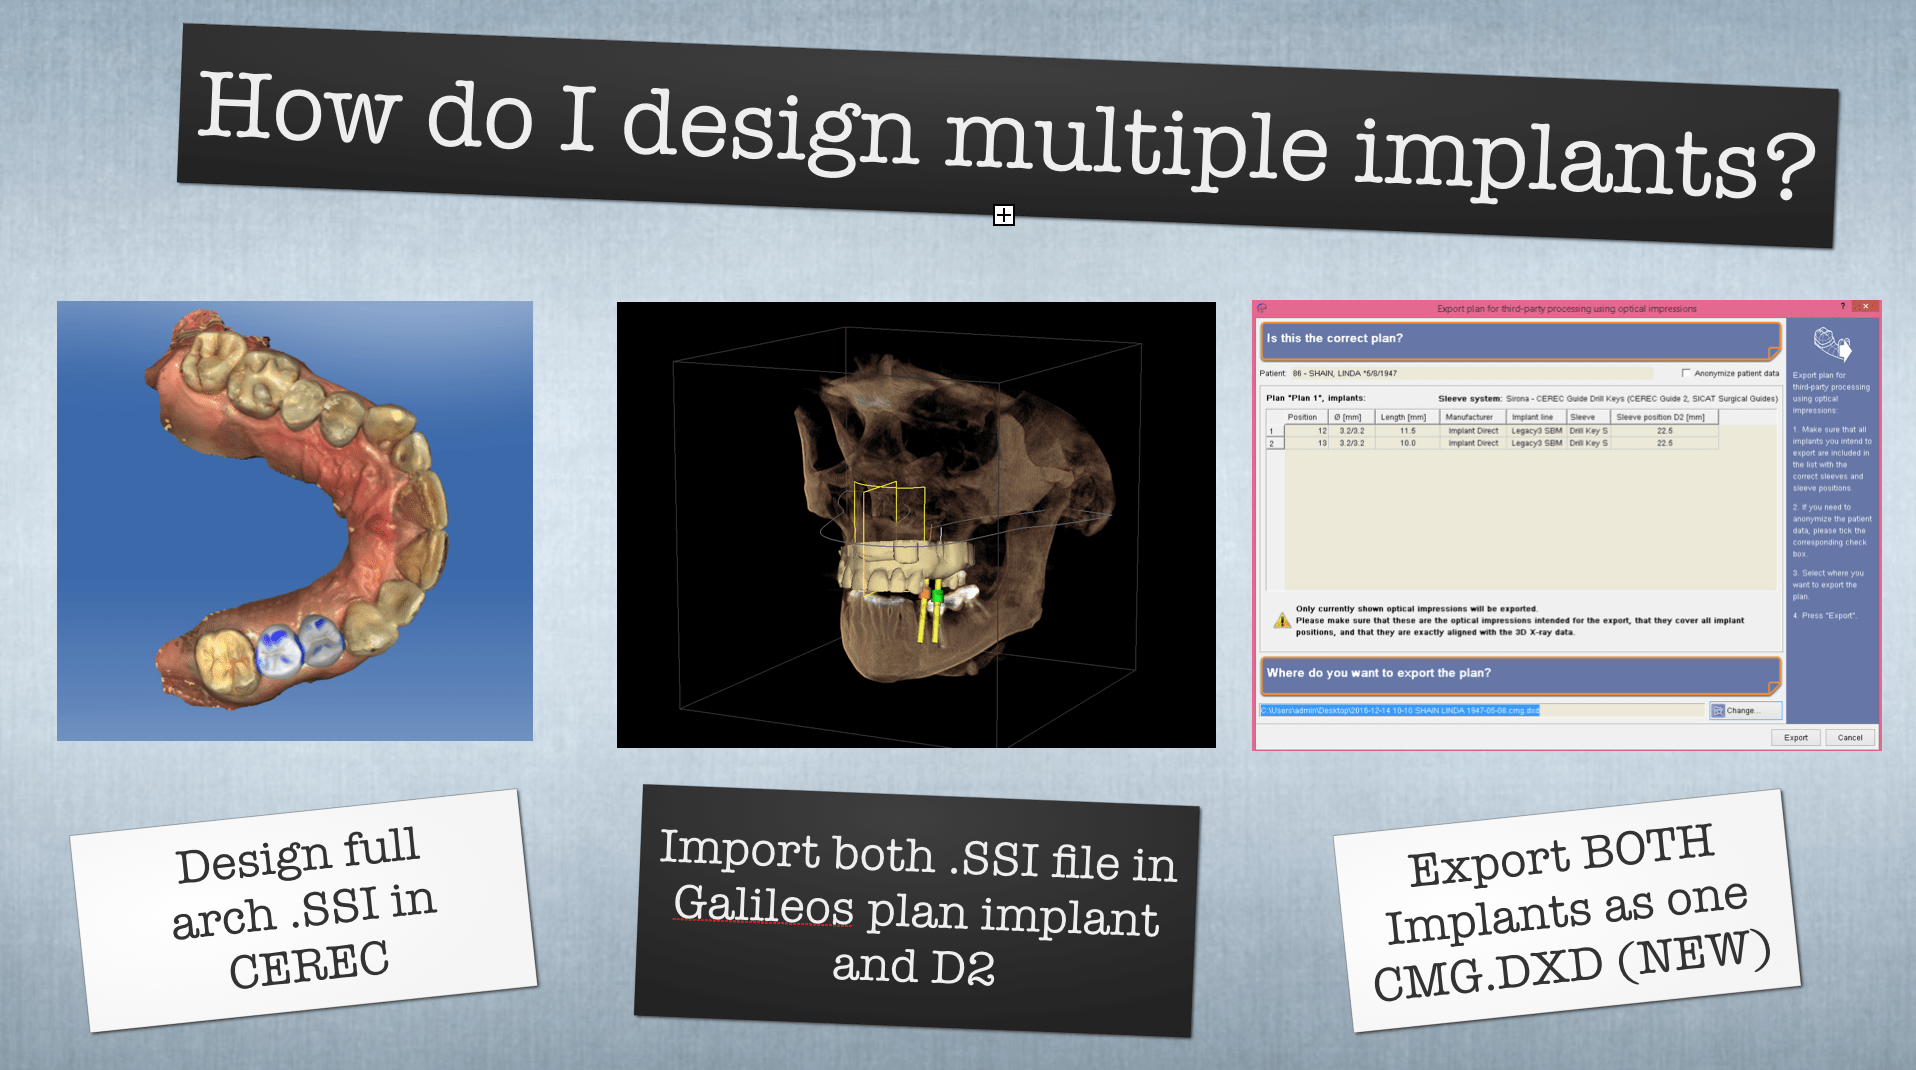
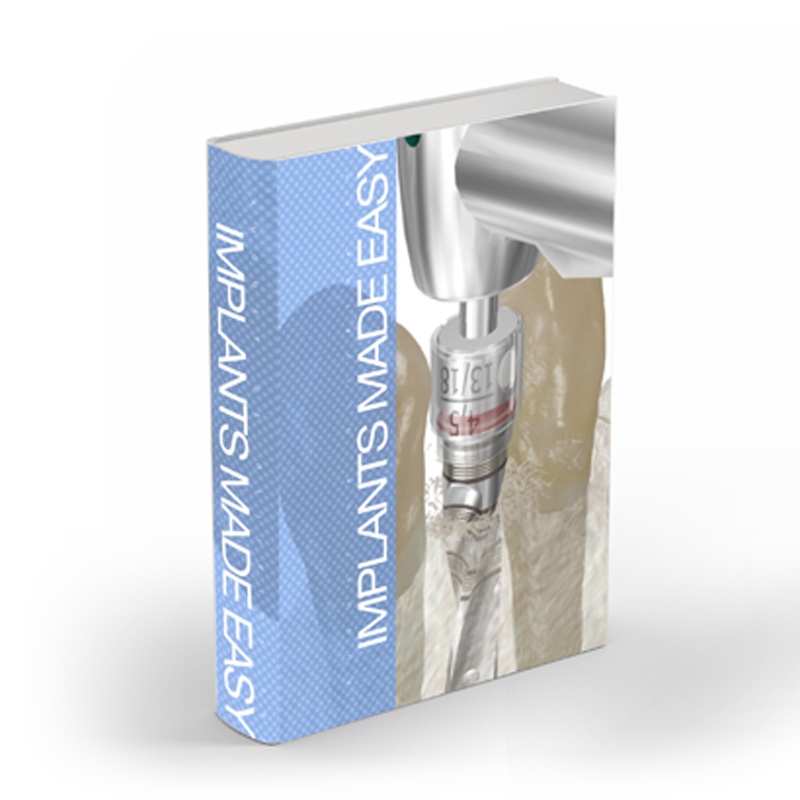
Whether you are doing it chair side with your MCXL or sending it out, the initial design steps are the same. Get a full arch .SSI in CEREC, if you don’t know the normal process check out my book, Guided Implantology Made Easy. Combine that with Galileos and plan your case, then export it as a .CMG.DXD file. In the past it would not let you export two implants at a time, now it does.
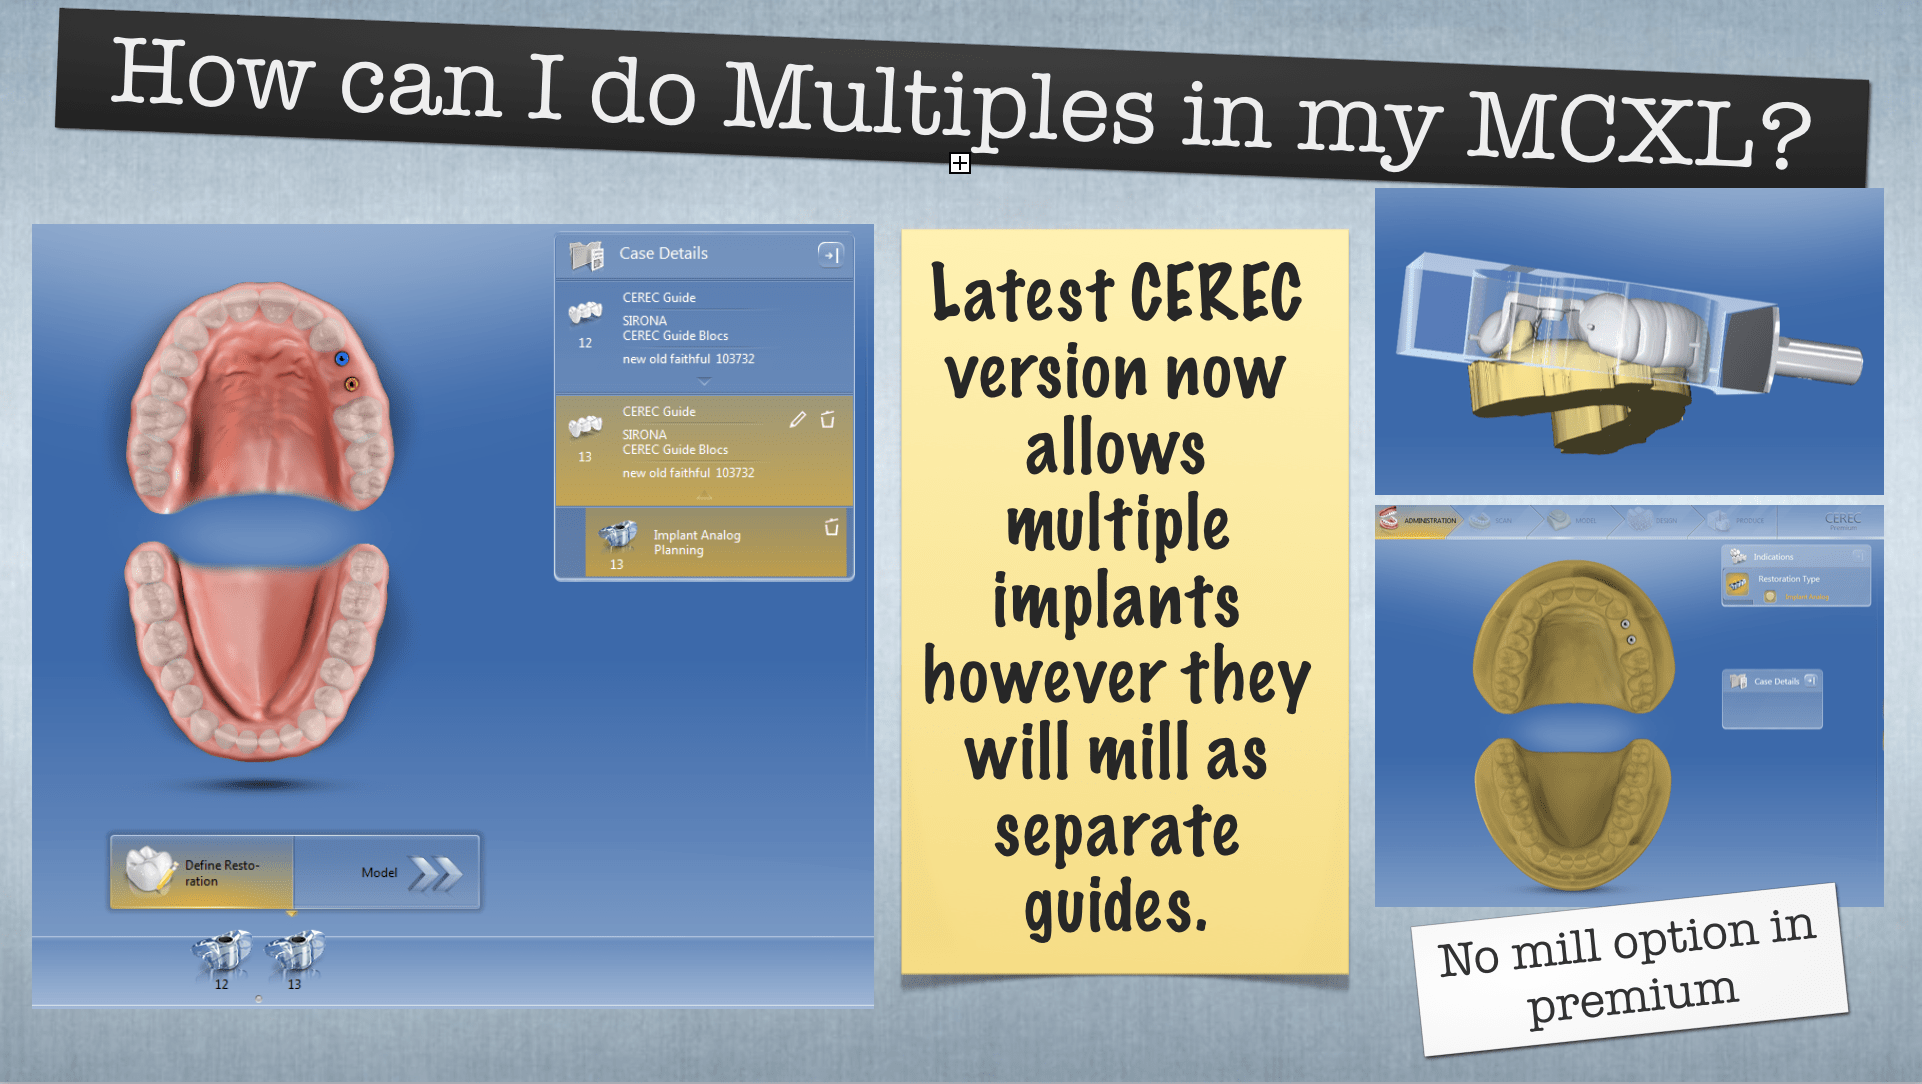
So I didn’t get the memo that you could export one .cmg.dxd and get it into chairside. But I guess you can. You can see, two guides open at the bottom. It lets you design each guide as if you were doing multiple restorations. But when it comes to milling you have to mill each guide one at a time. Thought it was weird that when I tried to add it into Premium, it shows the model in the Administration phase, but you can’t move forward.
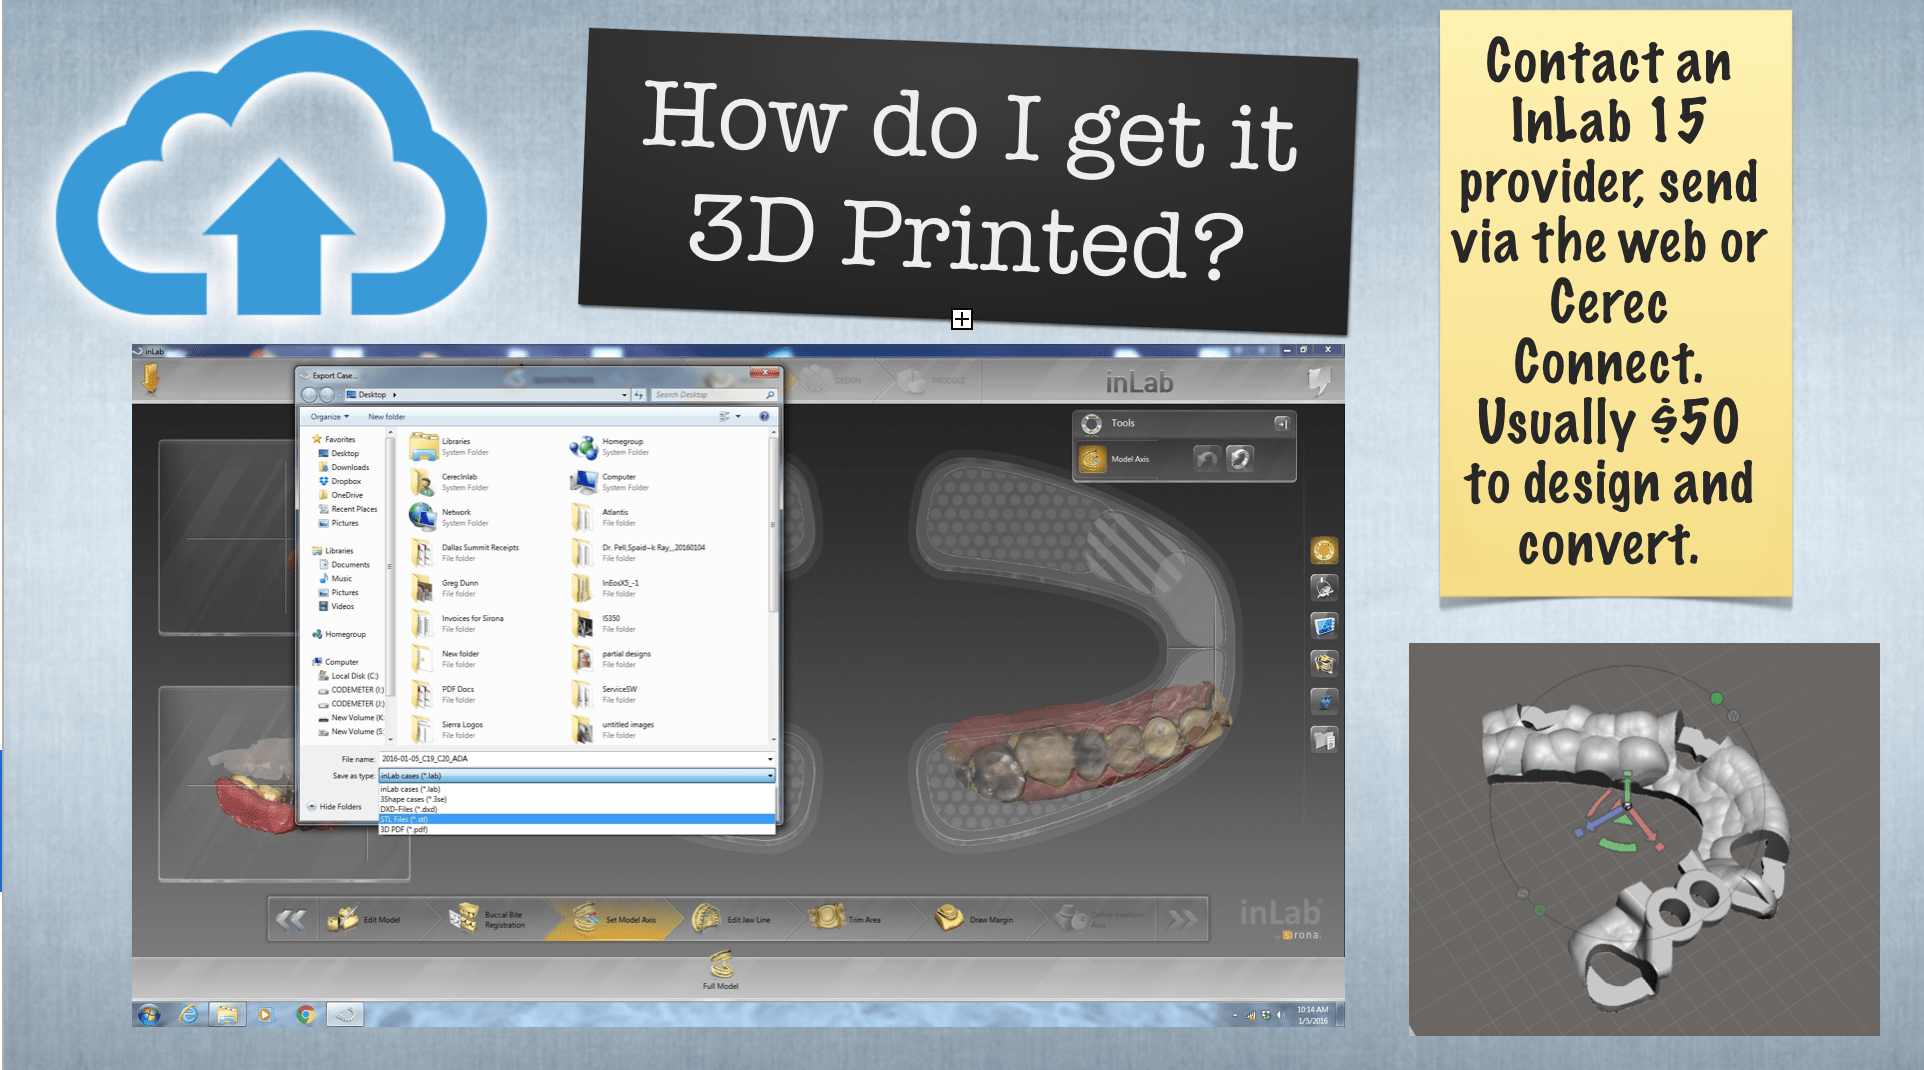
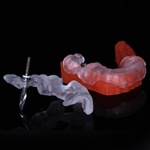
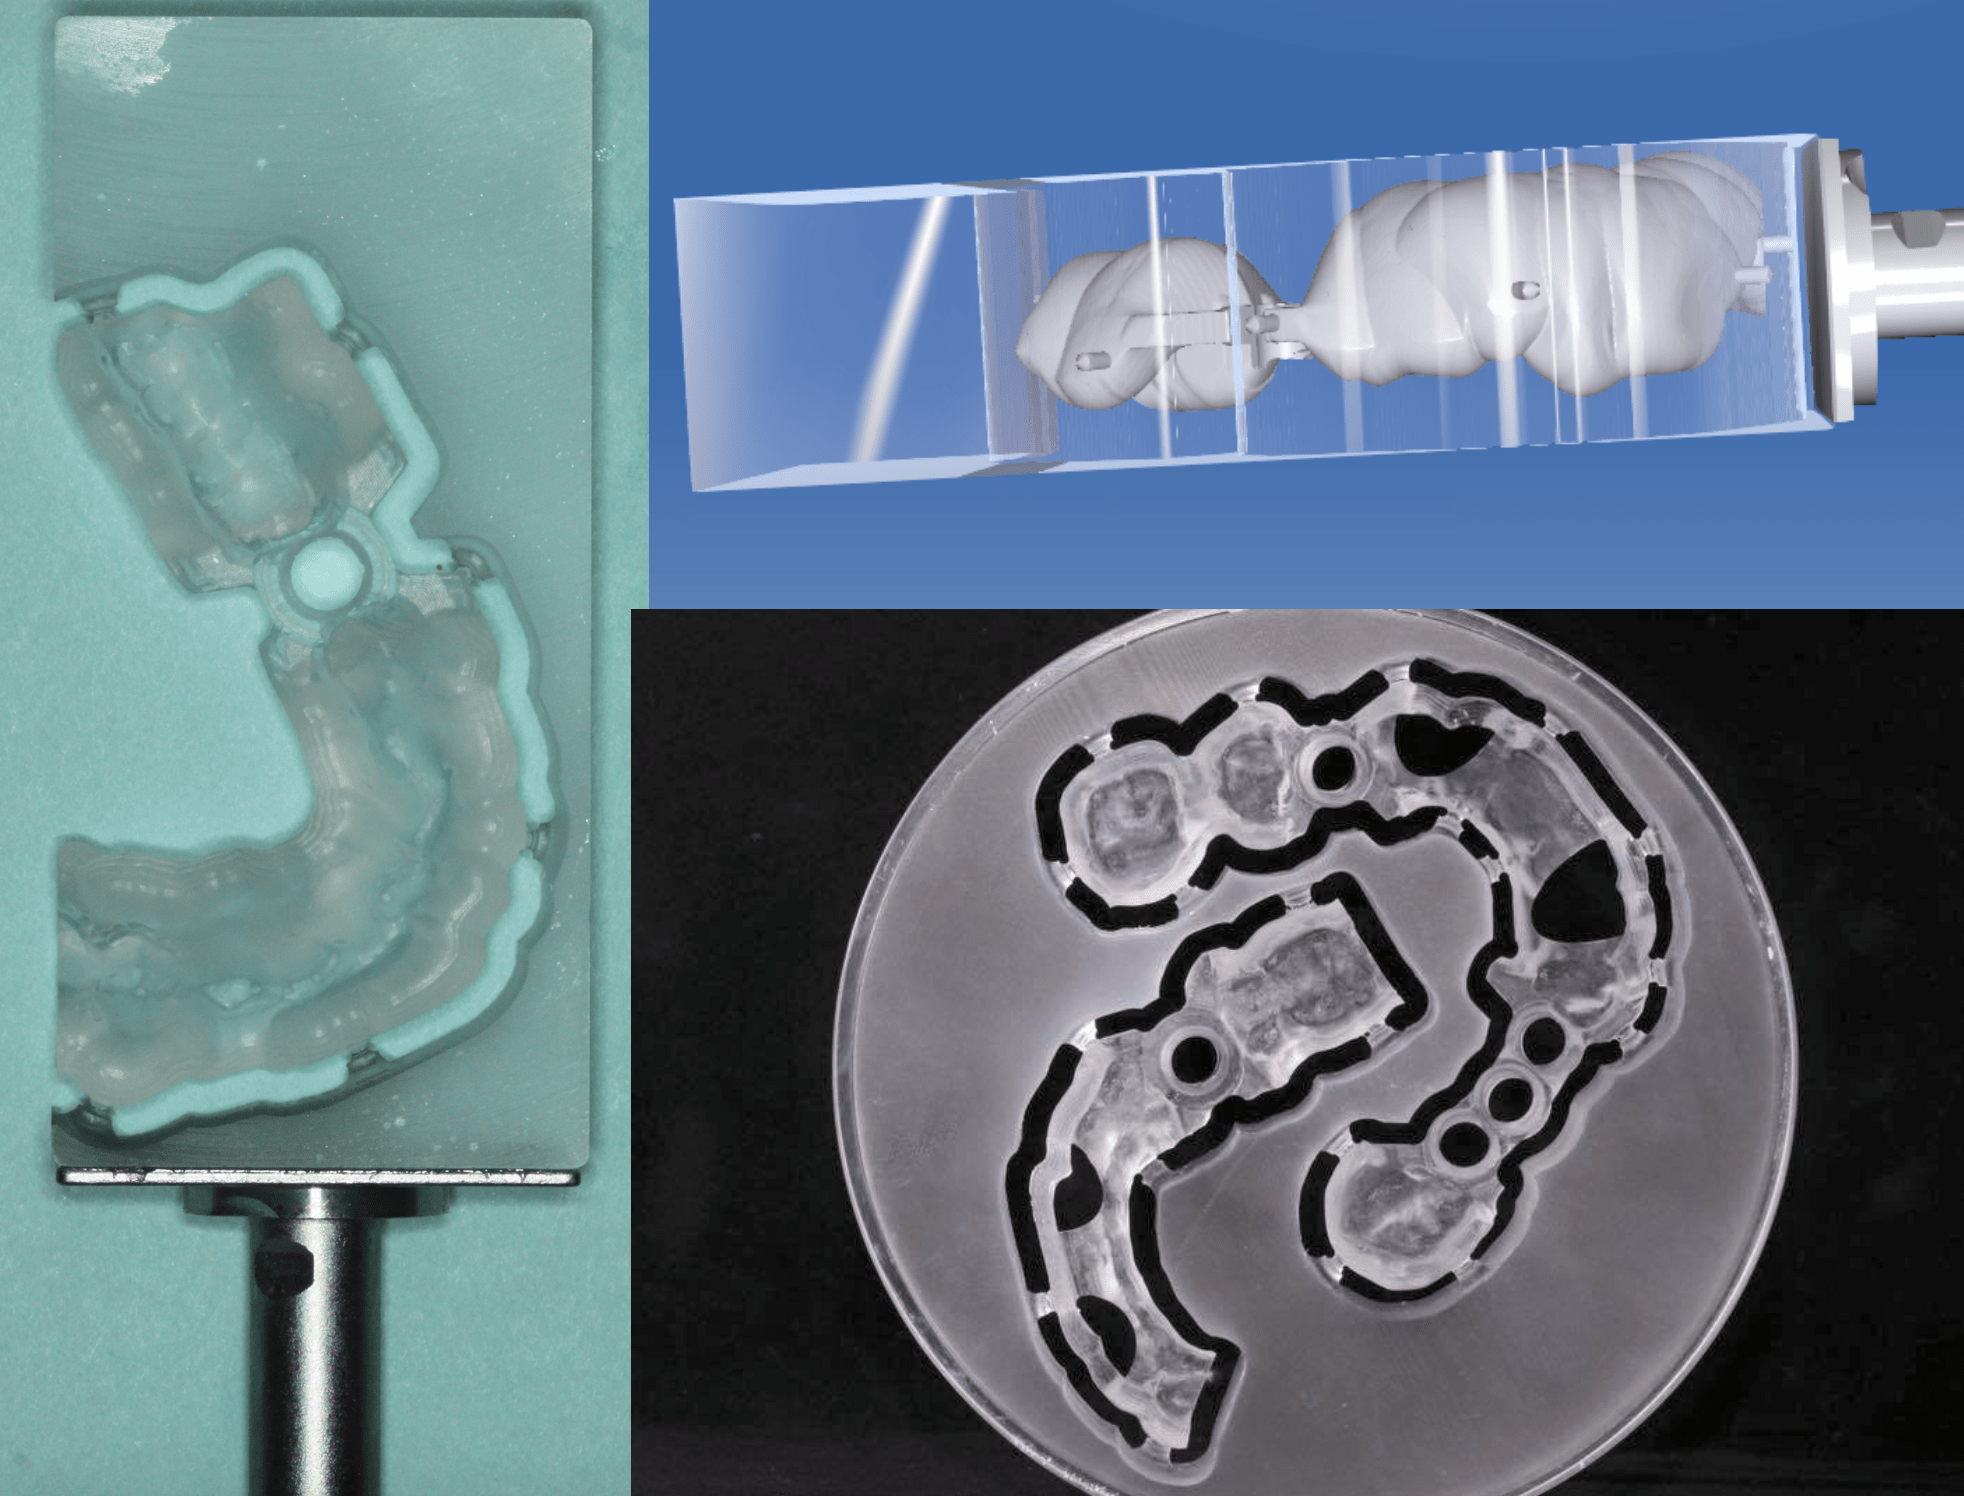
After getting the file out of Galileos you can send it to a lab that has Inlab 15 and the ability to export to .STL. Since we can’t design a CEREC Guide 2 with multiple implants the lab will need to go through the steps. Instead of milling they can then convert the file to .STL and email it back. Here is the CEREC Guide 2 in a free program called Mesh Mixer from Autodesk that allows you to modify the models if you like or just view them.
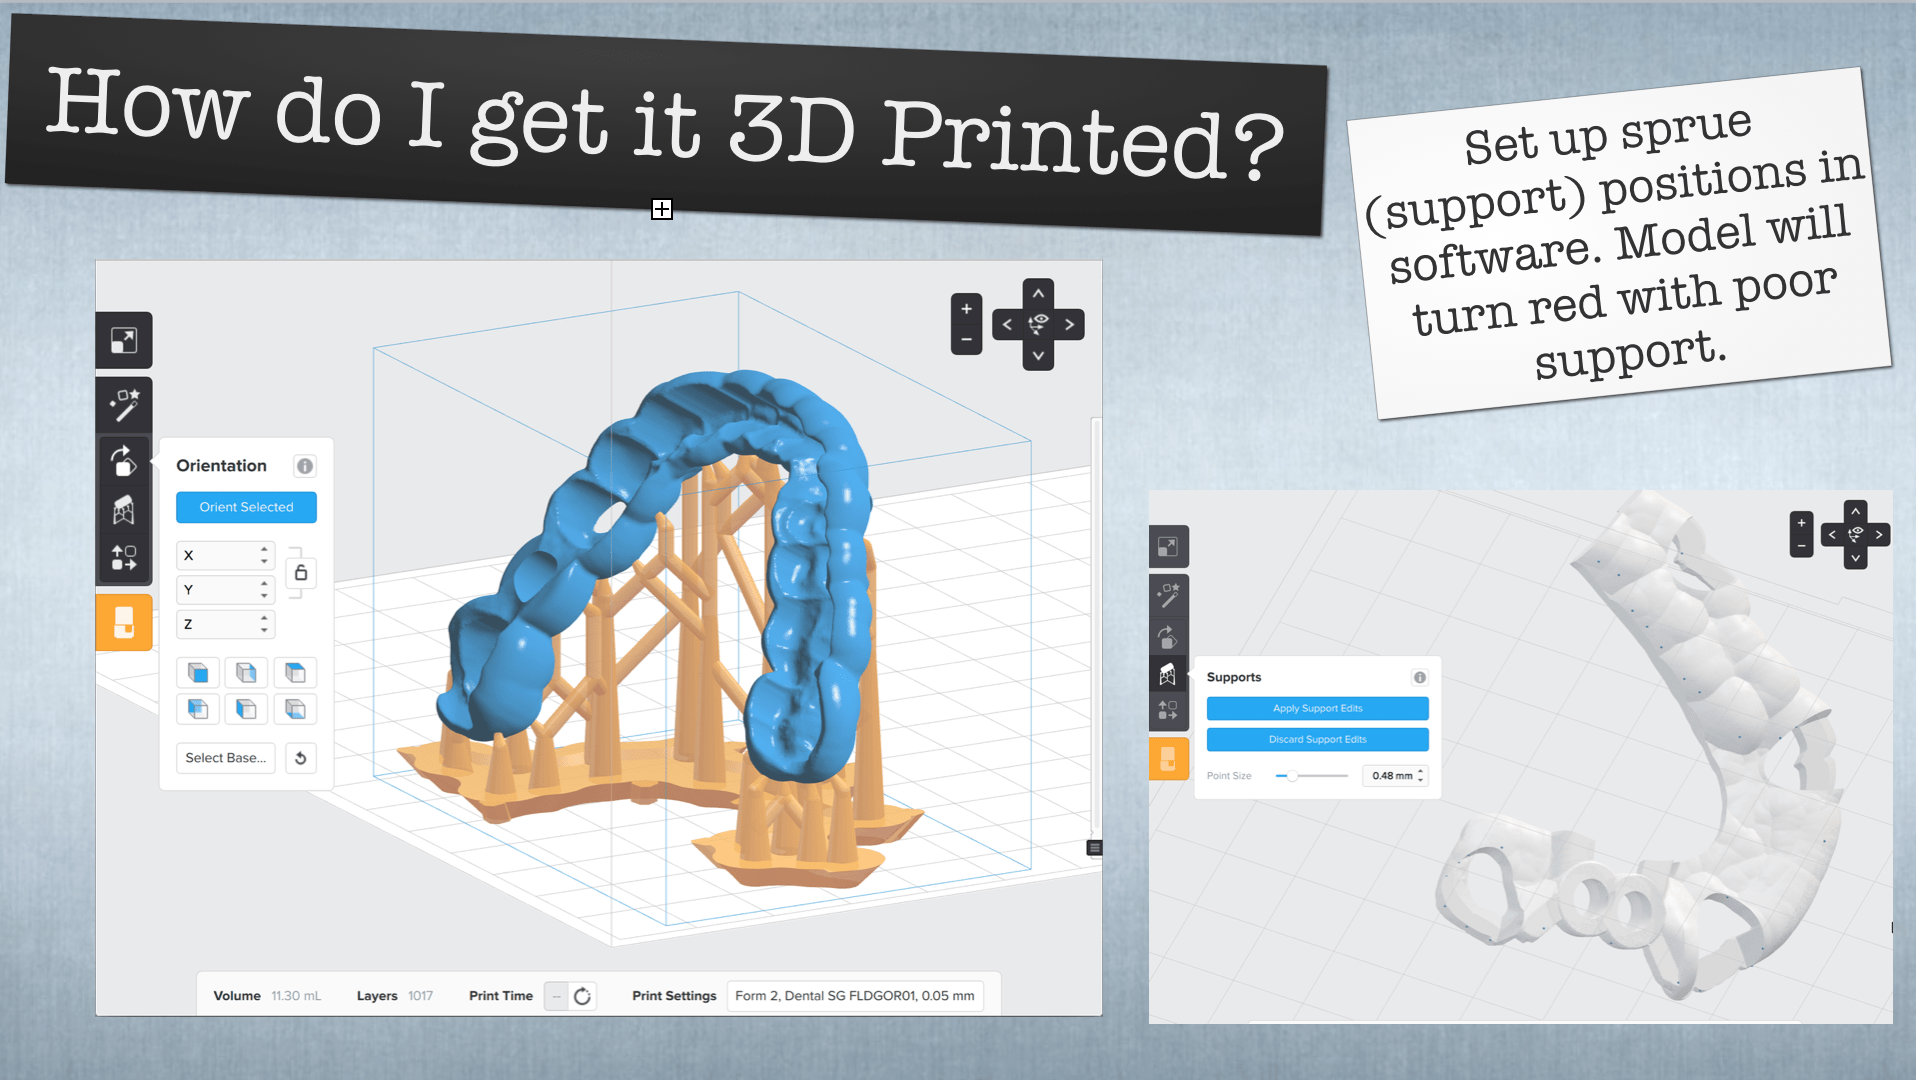
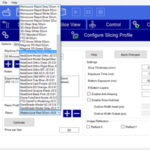
Once you get the file you can use a printing software from Formlabs that connects to the Form2 wirelessly. This is more or less like the mill preview. You set up multiple models if you like and select where you want to sprue the guide. Obviously on the occlusal but away from the guide tube. After you get it figured out you can punch in the resolution (I was printing at .25 microns instead of 100 and it was taking forever!
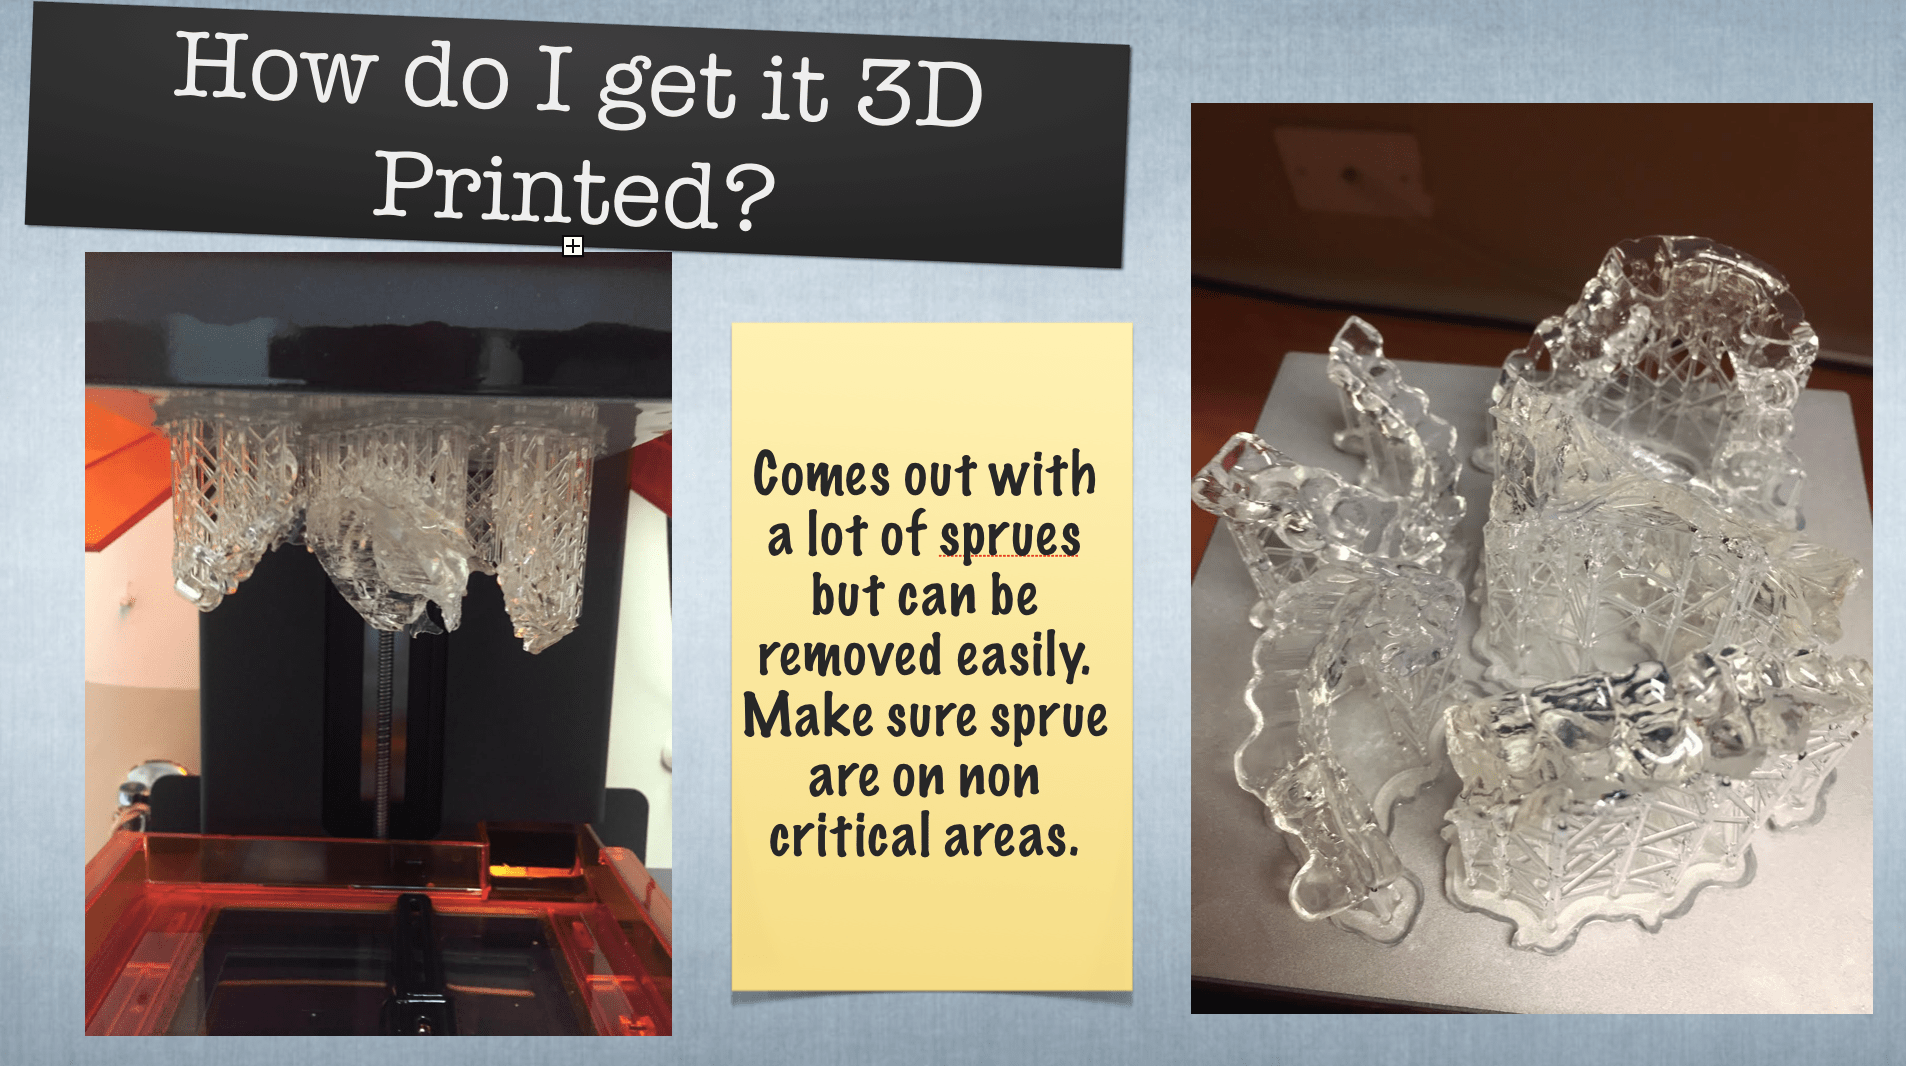
When it comes out there is a ton of sprue and its all slimy like Alien. You have to use a scraper to get it off the platform
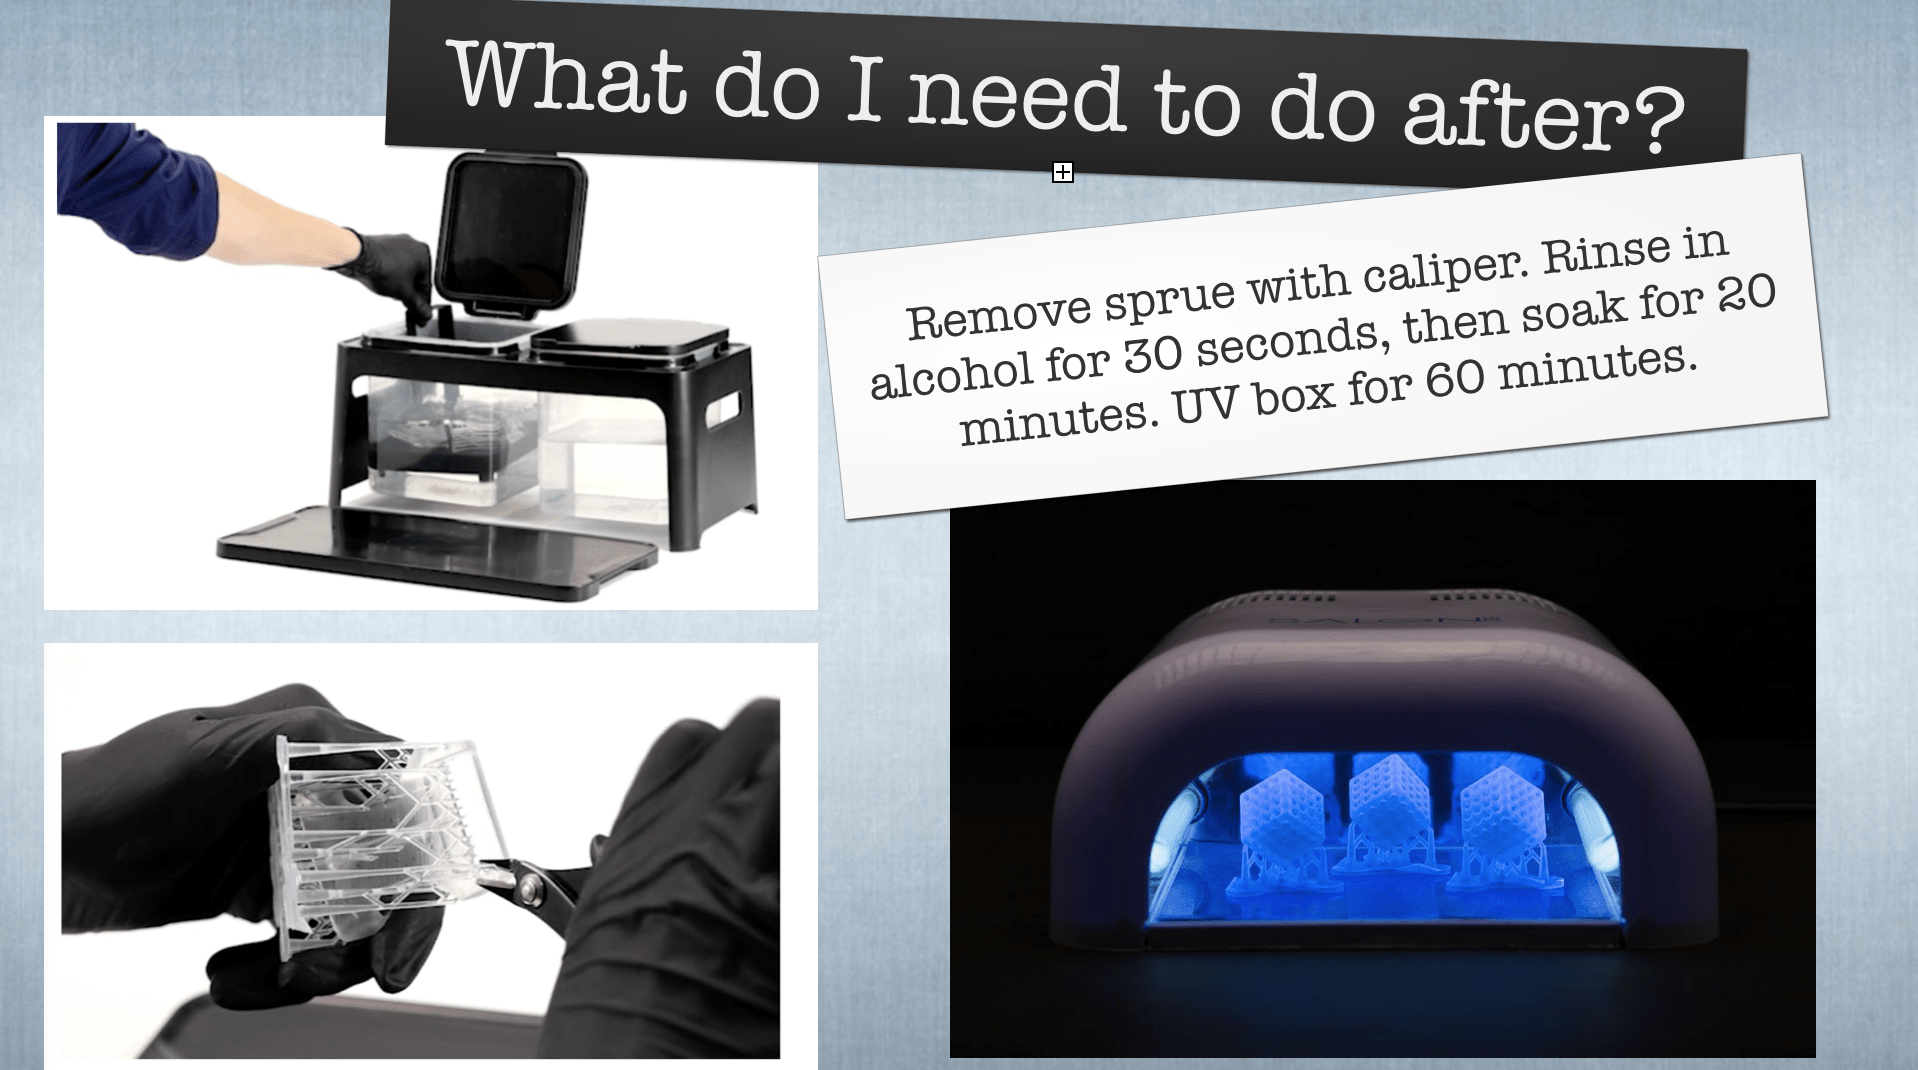
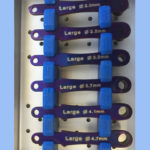
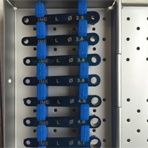
Formlabs gives you a nice little work bench with a caliper to cut the sprue after you can use an acrylic bur. It has to be dipped and agitated for 20 seconds in Alcohol then soaked for 20 minutes to remove a sludge layer. Then put it in the nail salon UV cure gizmo for 60 seconds. After that you are good to go!! I’m off to Austin to do a study club on Thursday and my two day Digital Implantology so I will play around more with this stuff with the docs and see what we come up with!


