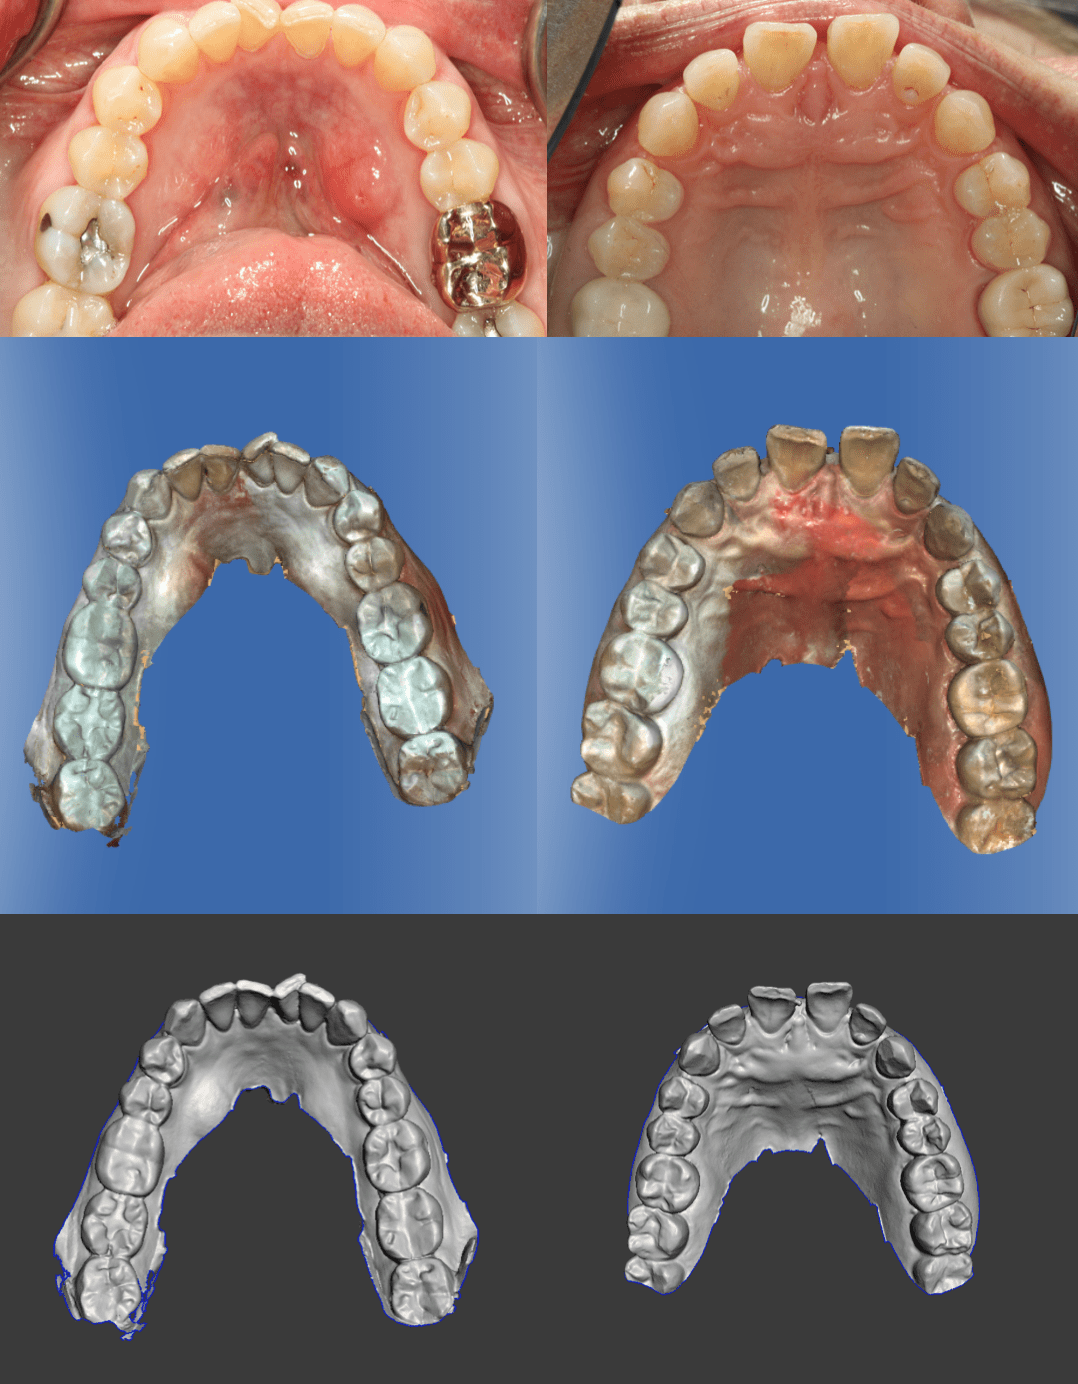
Here is another CEREC Ortho to STL conversion via Doral Dental Lab and Inlab. This patient did not like her spaces and was OK with minimizing them and then doing some bonding or veneers later. Scanned in CEREC Ortho with powder and converted in InLab via connect. Checked in Meshmixer. NOTE: you do not have to add a base to send to Exceed Ortho, the company that designs your case and sends you the STL models to 3D print.
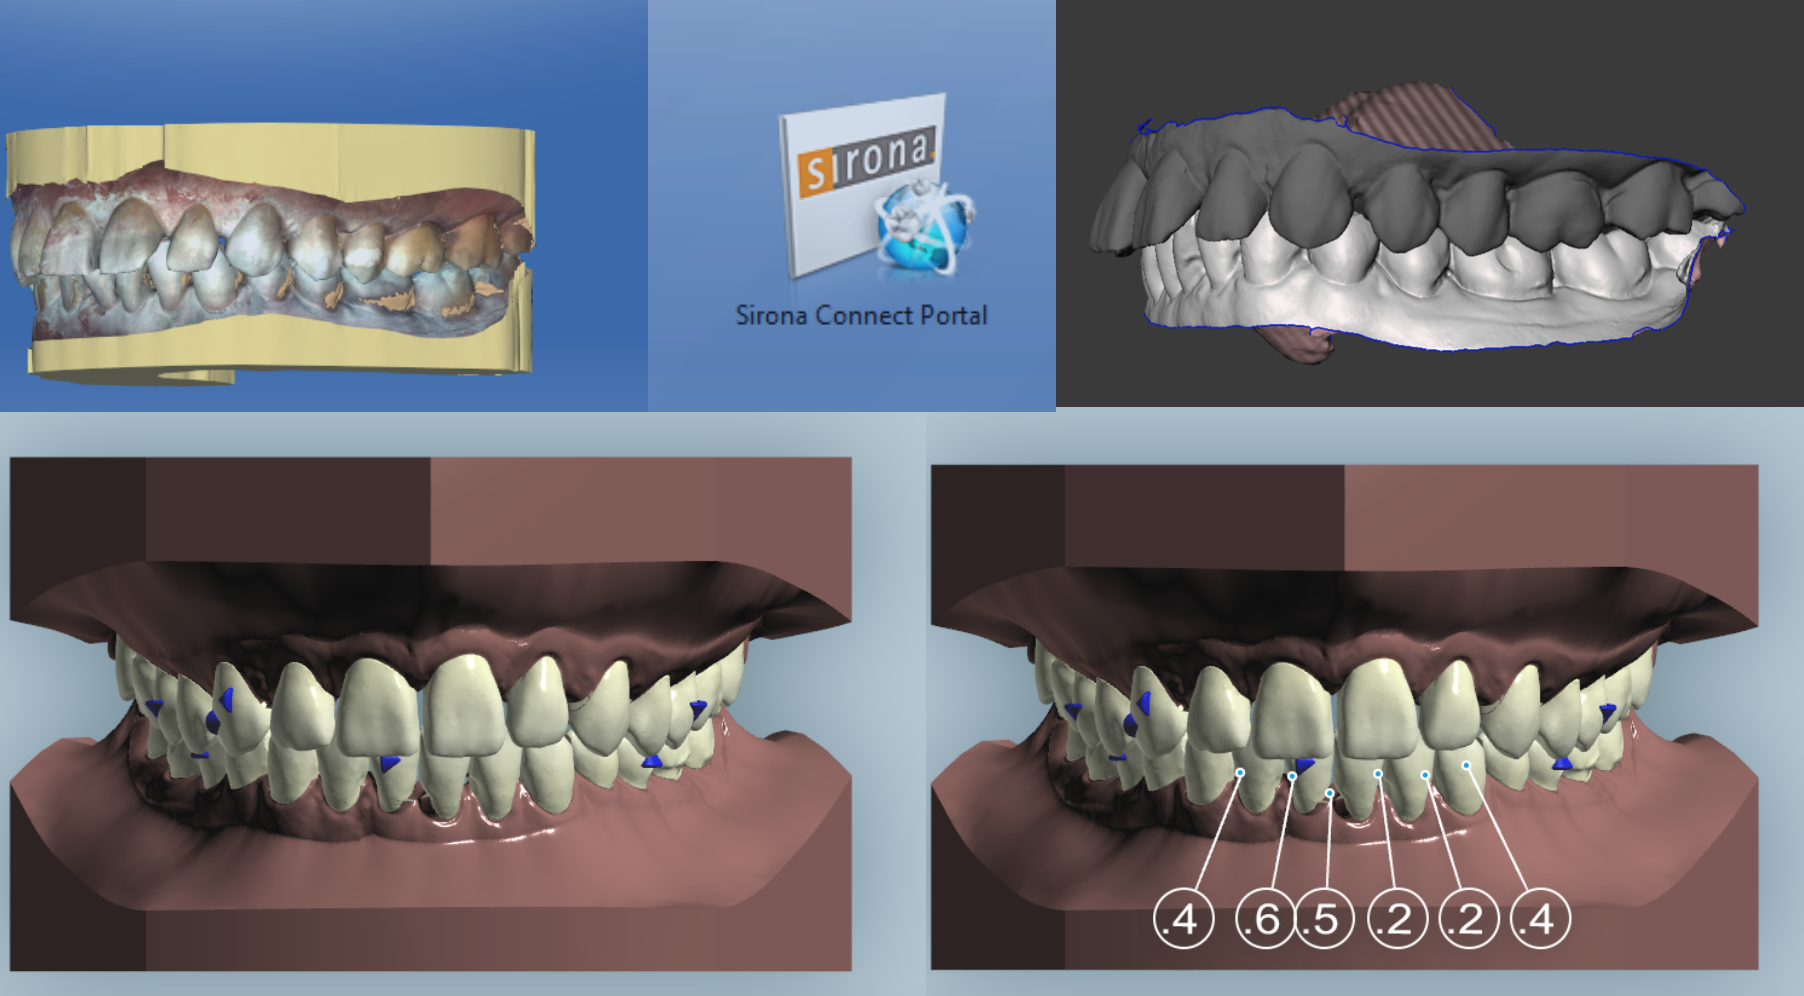
In ortho make sure the bite is correct. These coordinates are programmed into the STL. When you check the file in Meshmixer you can confirm that the bite translated. In Exceed, just like invialign you can see where attachments go and IPR. You can also see I have to do a ton of IPR, but the patient is cool with it.
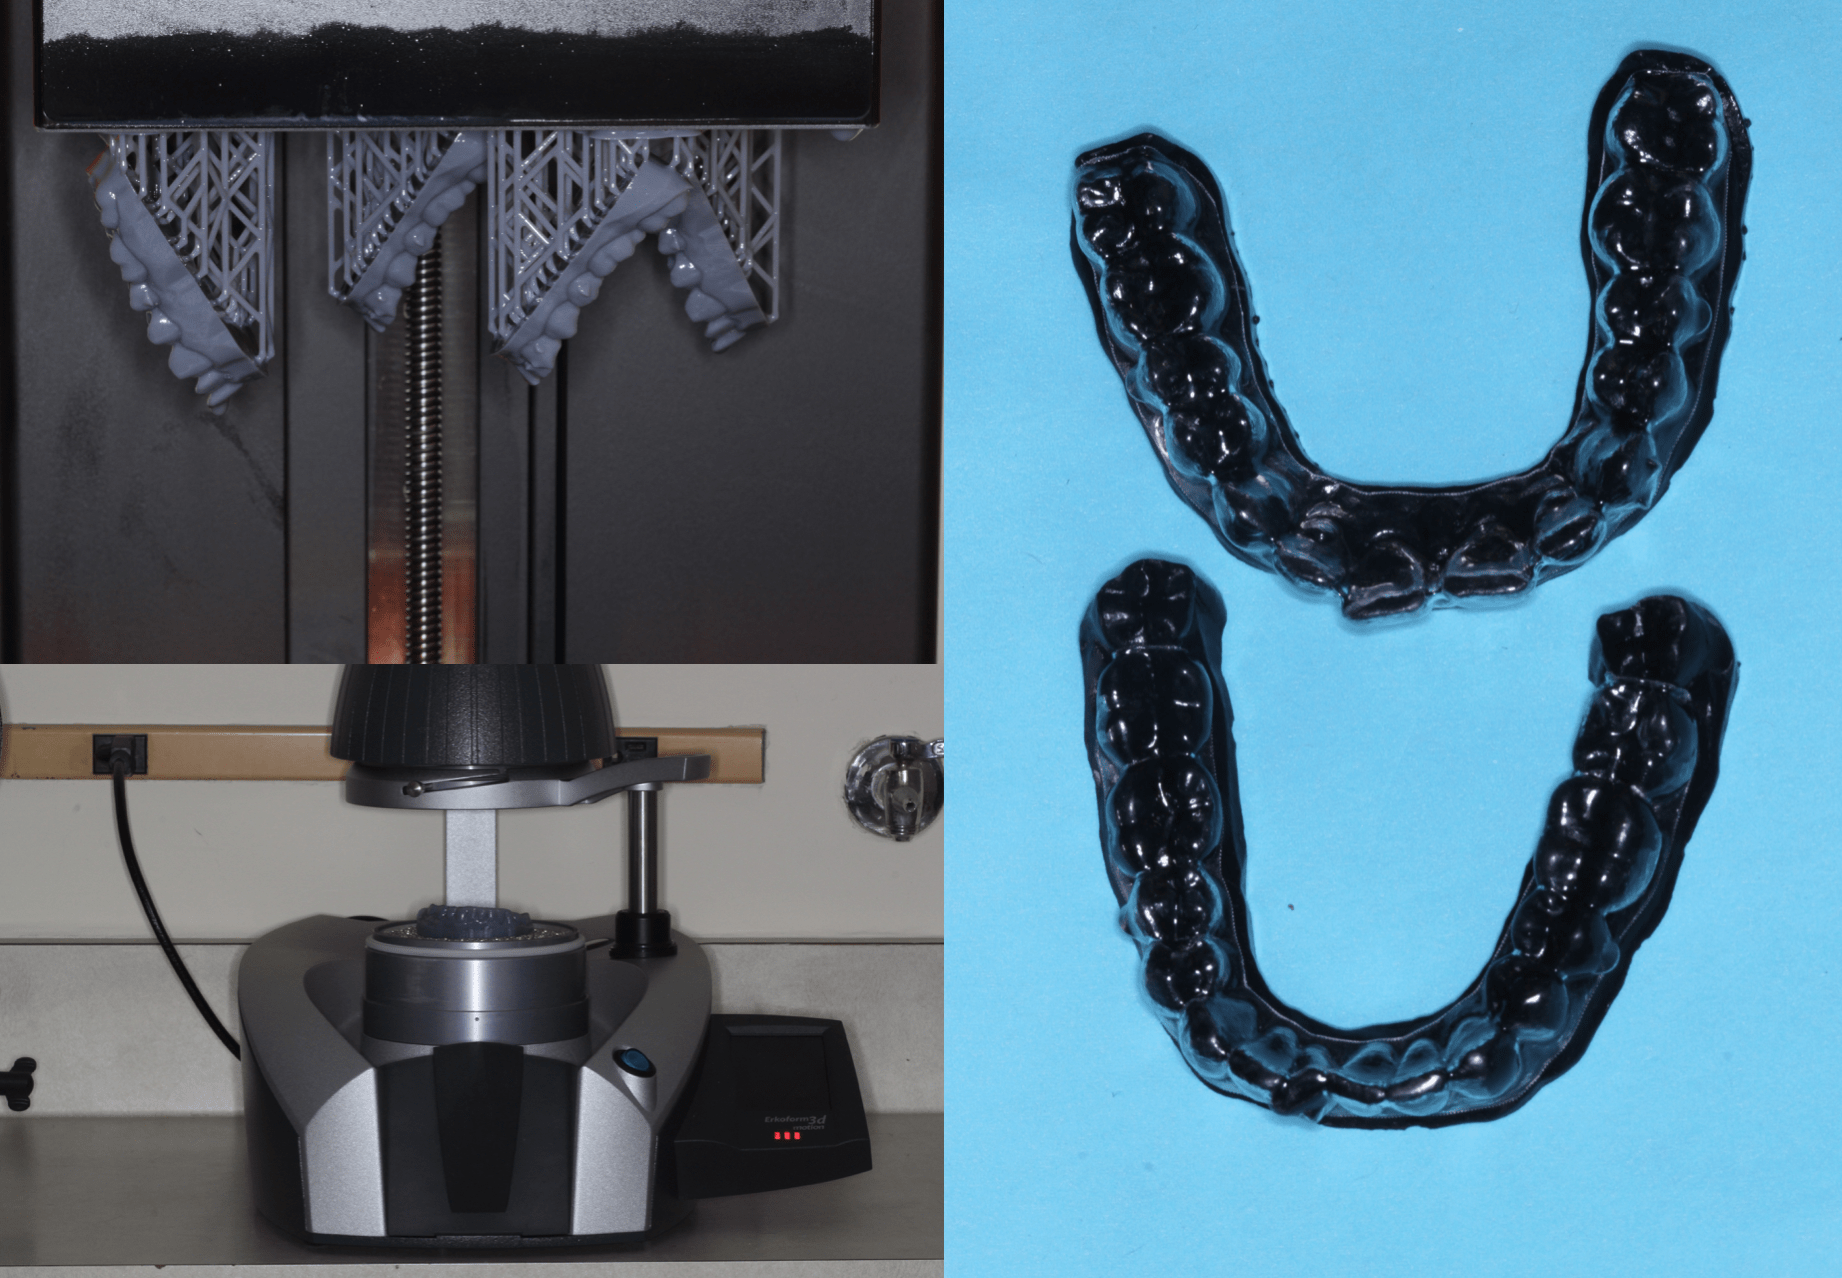
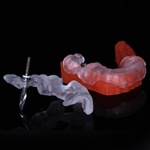
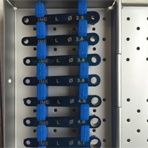
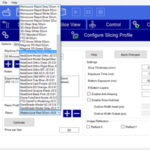
Exceed will send you a ton of STLs which are also kept within the patient’s case online in case you lose them. You don’t have to print them all at once. Use a .5mm vacuform sheet for the attachments and 1mm for the aligners. They fit really tight so I may switch to a .7mm sheet.
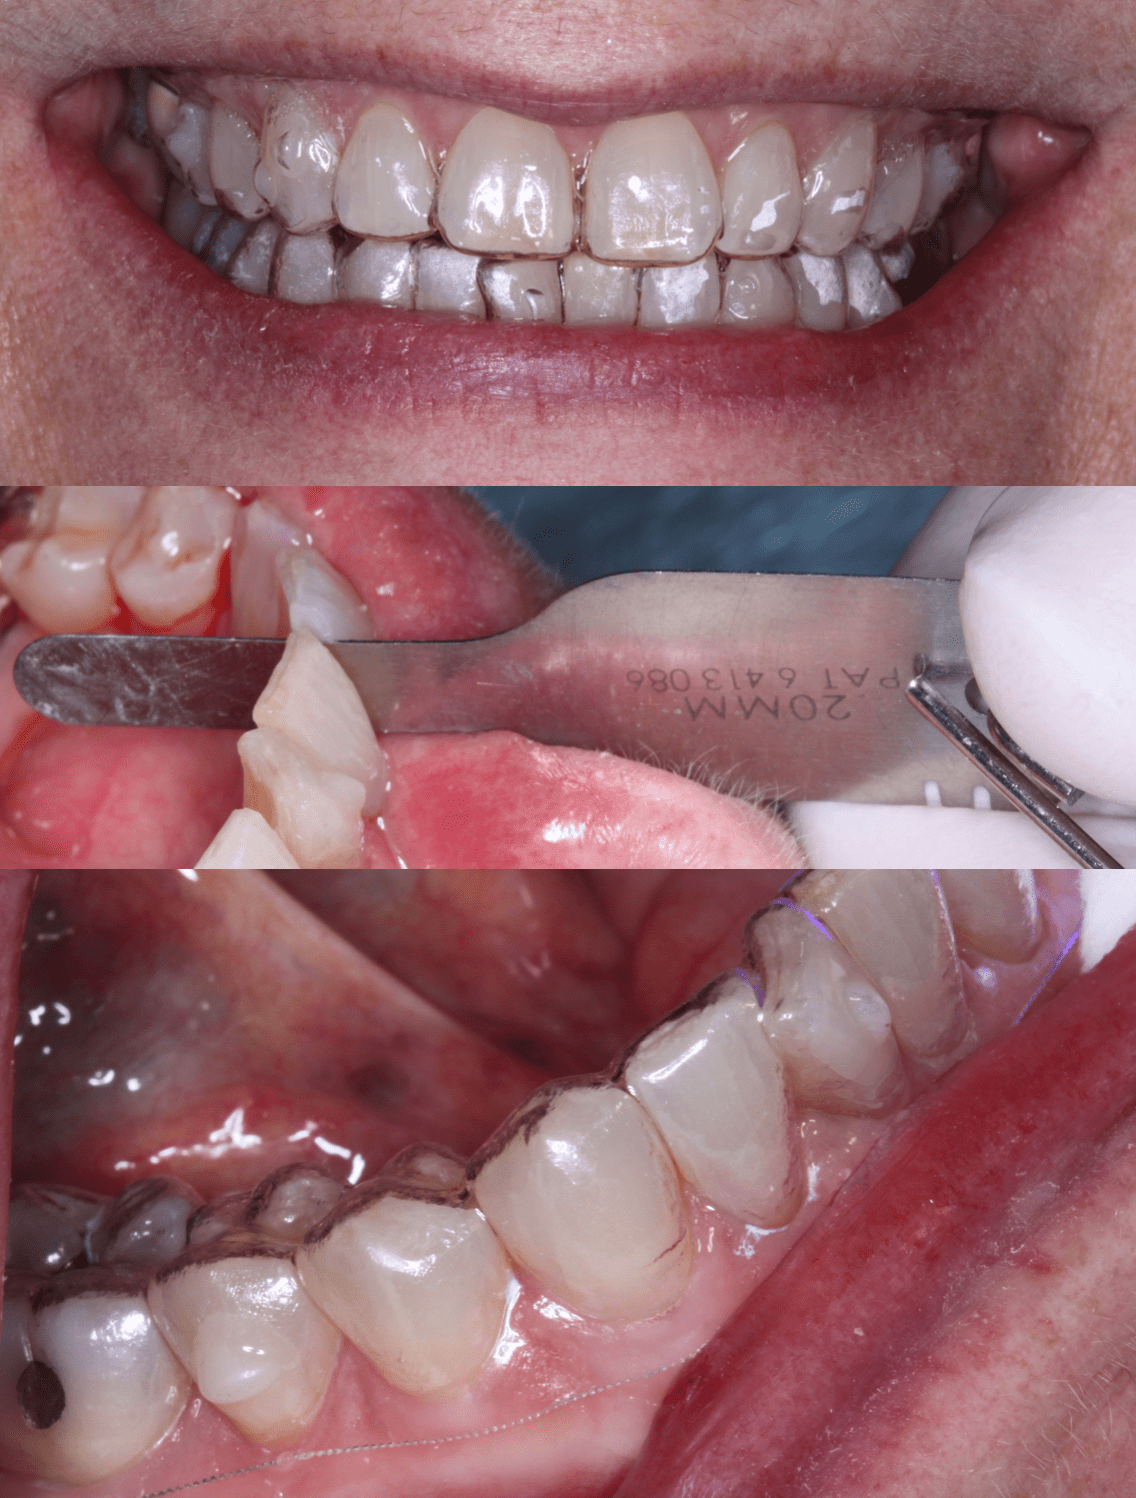
Delivery is no different from invisalign. Etch and place the attachments, do your IPR and try in the trays. The trays should be worn about 2 to 3 weeks. Its going to take about a year and a half on the upper so I will have her do 2 weeks. But hey for $190 this is a great deal and since you have the models you can always do another stent if they lose it!


