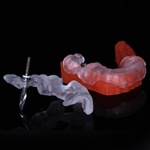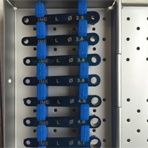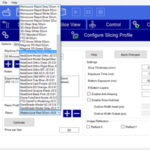
This case really shows the benefit of being able to mill your own guides and make cerec “temps” that give you control over the material in a nice clean environment. Pt Fractured an endodontically treated #9, not enough to hand your hat on, so off it went. Medium reference body tried in.

My omnicam was just not having it on the incisal edge of #8, so I punted and used the Mach 2 model in Extra Oral mode on the camera. Scanned in Galileos with the reference body and ssi imported. Careful when drawing your margins as we want to mimic the CEJ of the adjacent tooth.

We know that in the Anterior we want to have our implant platform 3-4mm below the CEJ and to be in the cingulum area for preservation of buccal plate and also to have little adjusting of the stock zirc abutment.

Using the 2.8 key of my upcoming Zimmer/ID kit I started with the lance, then switched back to the 2.3 key and drill. Note the exact position planned and actual. This is why I think that for immediates there is nothing better than CEREC guide!

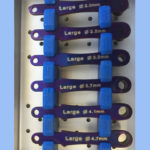
Gratuitous Guided shot. The D2 was too shallow to make a guide, so I placed the implant virtually a little more coronal and gained 2 extra mm with the extender which stopped out as well. The Medium keys will allow you to place a 5.2 in D3-4bone or a 4.7 in D1-D2 one

Started with a 4.7 but it was a spinner, so chucked it and got a nicer 5.2 by 13mm. Note the angulation in all dimensions.

Stock Zirc, crazy how similar it looks to the Galileos plan.

Prepped and scanned. Note how subcrestal the implant looks. The Anterior nasal spin really comes coronal, so I base my position on the CEJs and the distal socket bone.

Not bad for a temporary. A1 Empress CAD Multi size 12. Will cut off and do final in 4 months


