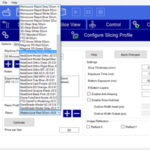
Ahh the new year! Here is a case and a call to action for GPs to learn how to do implants. Patient complained of her tooth “hanging down”. Sure enough #7 was fractured at the gumline. You can activate smile design in 4.4 at the administration step and when you are in the model phase just click on the smile design icon.
You can see that the patient has a crazy high lip line so we really have to nail this. Lingual placement for a screw retained crown.
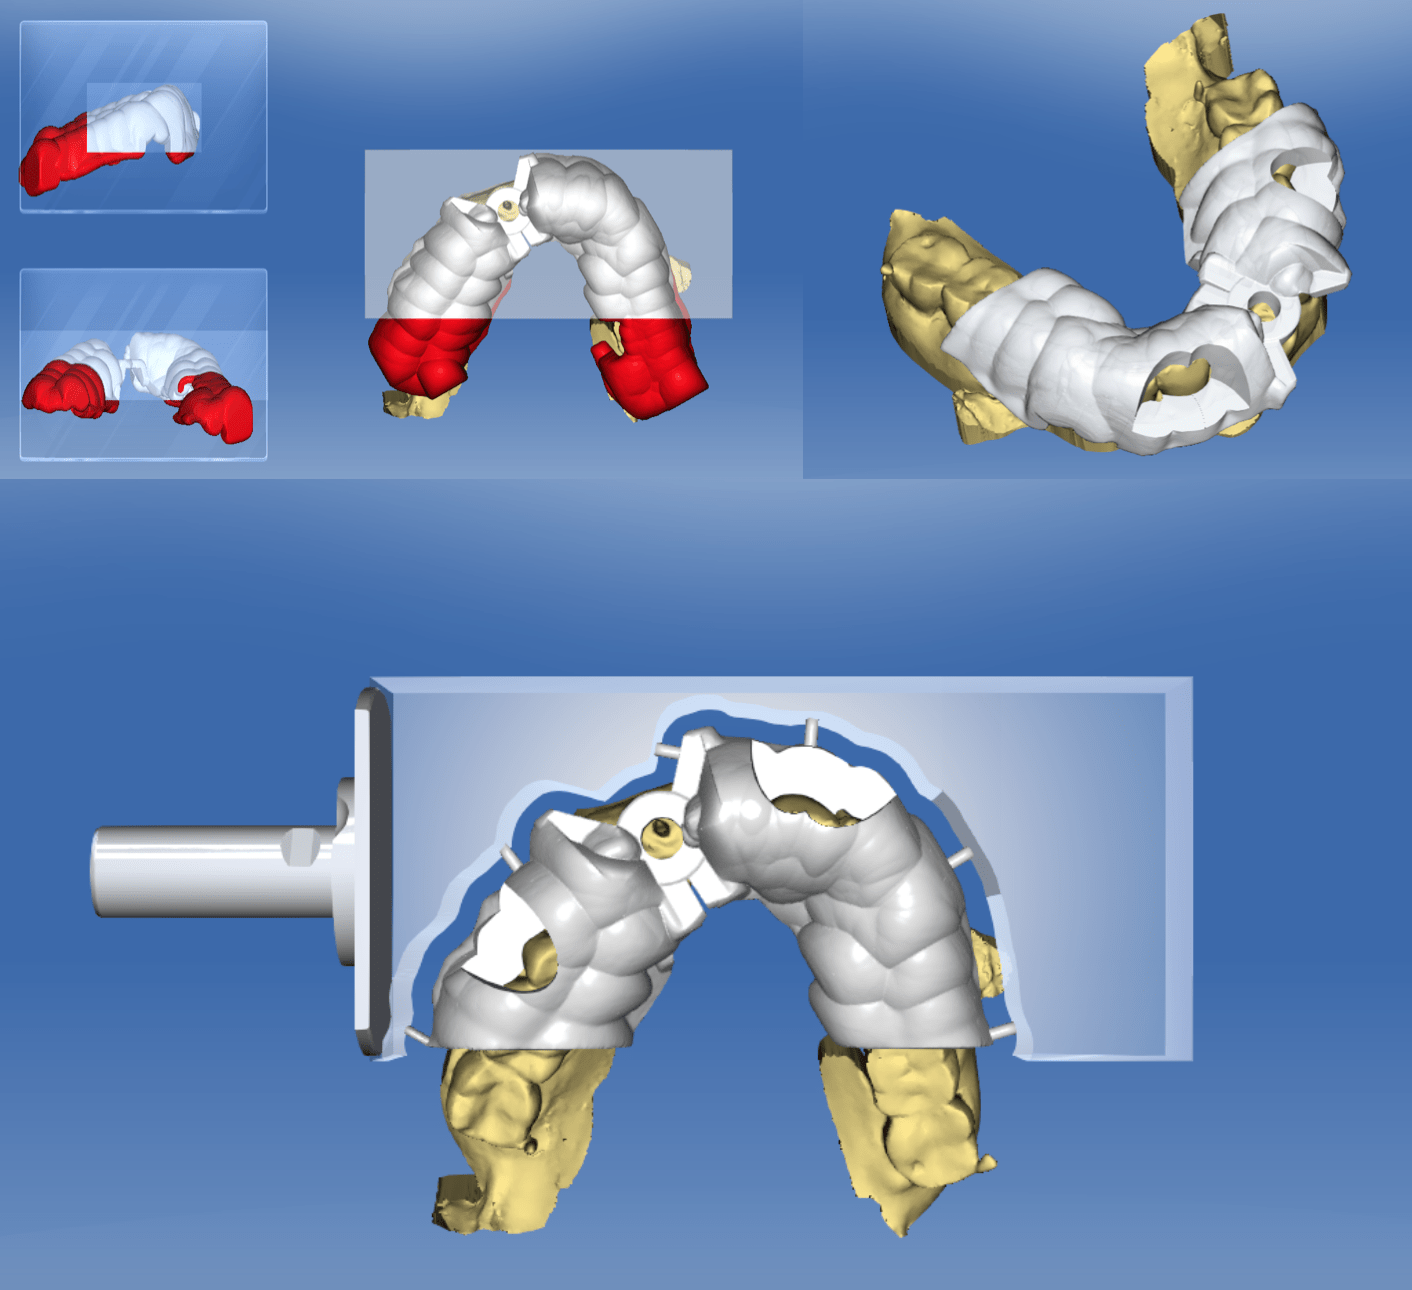
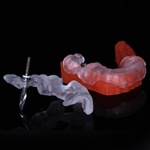
Take as large of a scan as possible. You can see that due to the size of her arch we have coverage on both molars. I like to place my viewing windows in the front. We used a small guide sleeve due to space.
You really kick up a lot of shavings with the carbides and the acrylic blocks. So make sure you change your grate! This took 45 mins to mill.
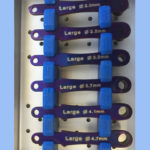
With immediates or healed sites I like to start with a lance bur. The shank is 2.8mm so start with the 2.8 key to make your initial purchase the go to the 2.3mm Pilot. You can see from the inserted drill we have great placement.
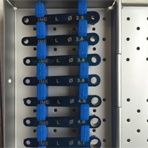
Due to space we used a 3.0 Implant Direct Legacy 2. As you may or may not know there is no Ti-base or Scan Post in CEREC for this. One nice thing about the Legacy 2 si the that fixture mount is a temporary titanium cylinder. Just cut off the blue colored top.
I had a discussion with a dentist friend of mine about implant depth with immediates in the anterior. In the case above we look pretty sub crestal. I want my implant to be about 1-2 mm apical to the socket on the buccal. In the interproximal the bone is more coronal. Some may still say I am too deep, but I want bone over the threads of my implant.
Its really important to keep the sub gingival portion of your temps undersized and smooth. A rough surface will promote irritation and bleed when you take an impression. In this case I will not be able to take a digital impression, so I will most likely do a traditional PVS. More pic when its healed. Too bad I could not use Telio CAD.


