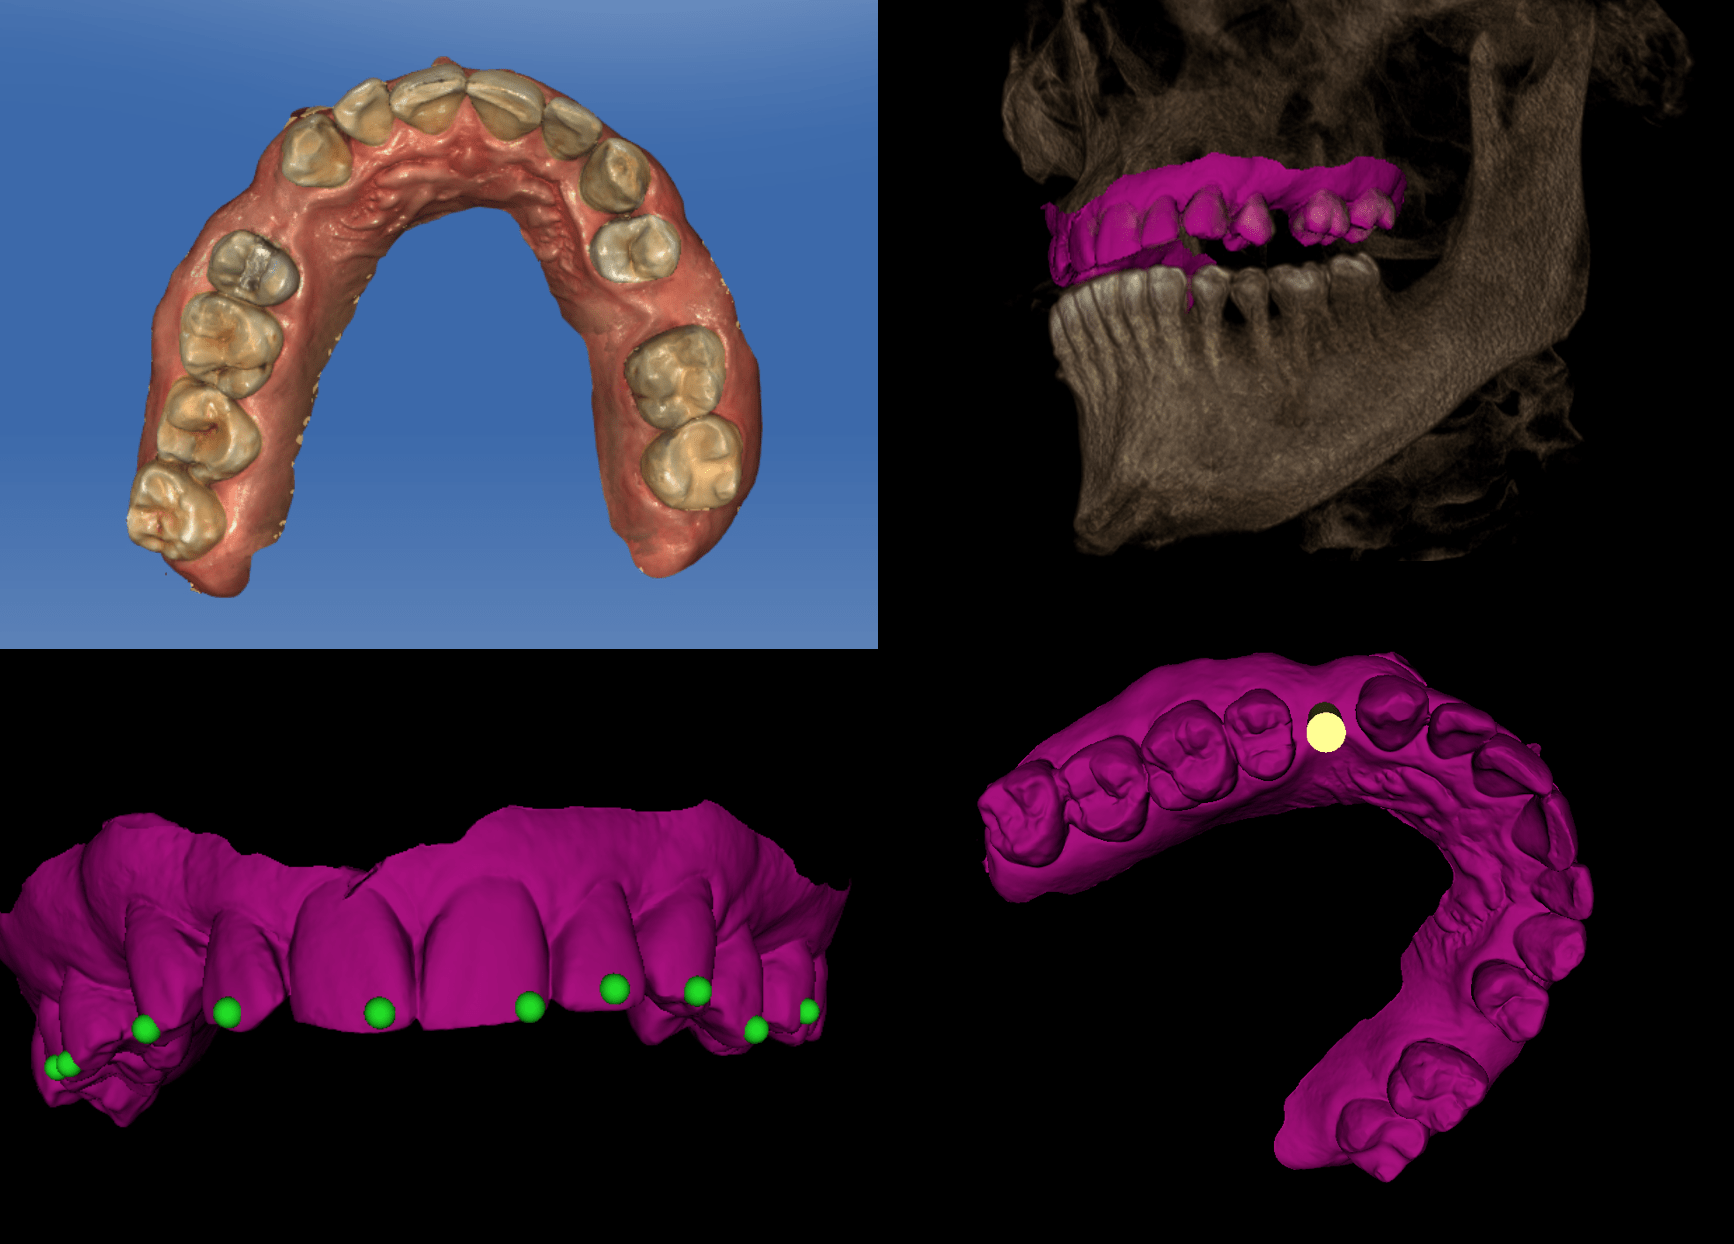
This is something I have been waiting for for a while in Galileos and found through the guys as BlueSkyBio Academy how to make a hole in you CEREC generated scan to get a lab model for an analog. What can you do with it? You can pre make a temp, you can make custom healing abutments, or even retrofit a denture for at least the holes for temp titanium cylinders. Export out of CEREC to an InLab provider via connect, have them convert the file to STL. To be honest you can also just scan a stone model in DICOM format in Galileos and use that in BSP. But the STL is way cooler! Match the model to the scan and plan an implant. I like to modify the abutment into a 30mm pole to visualize angulation just like pilot drill path in Galileos.
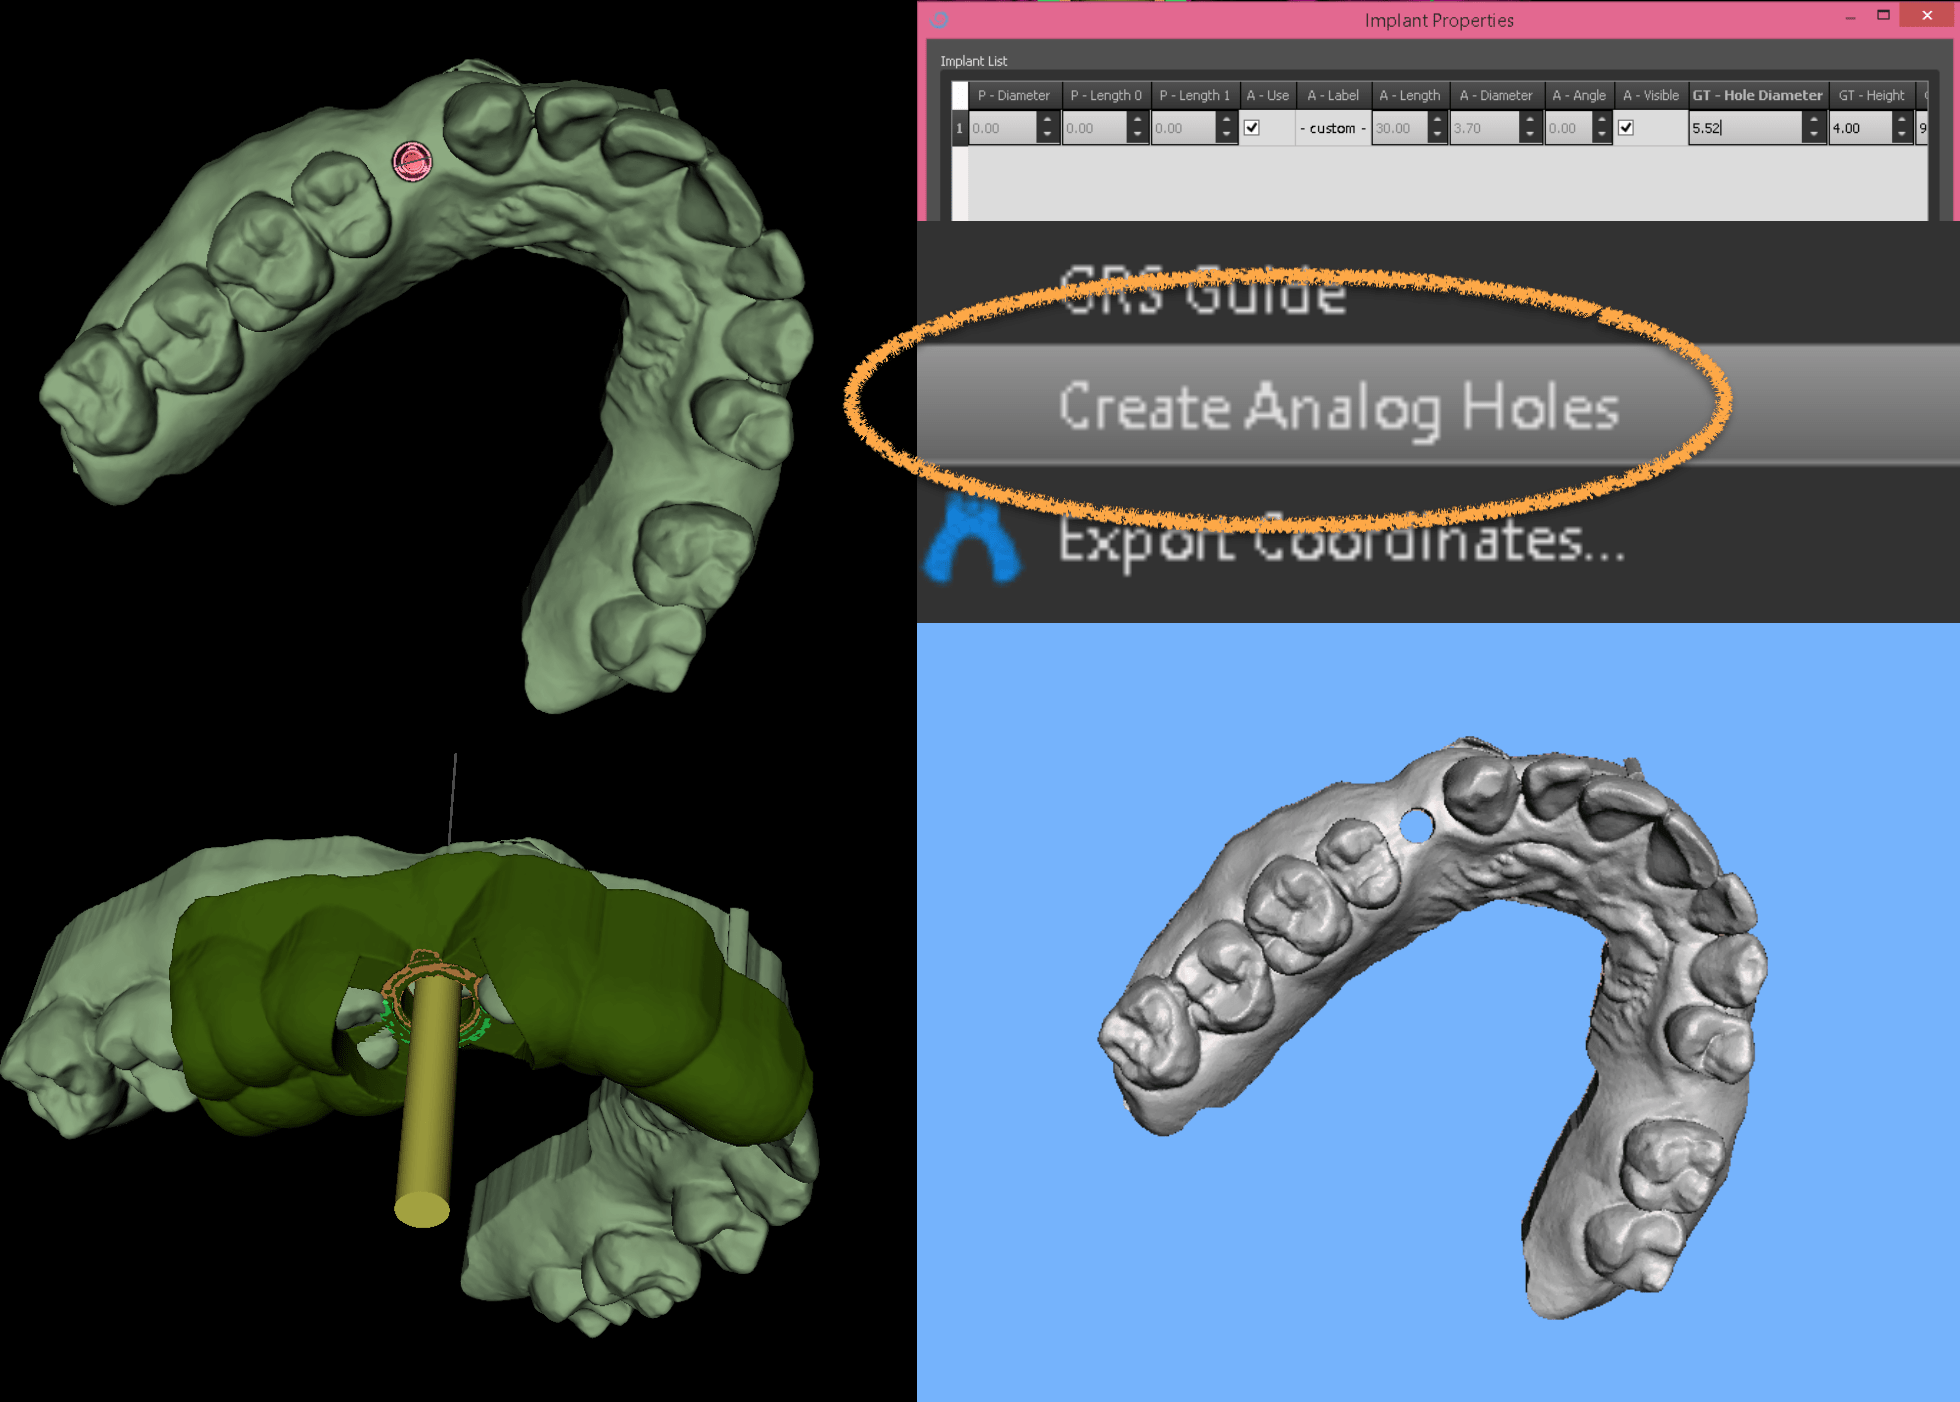
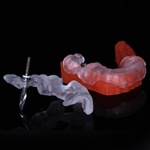
Look at that!!! You get a guide and you get a model with a hole in it! Export the guide and model together. Pulled it into mesh mixer and it looks great! Goode to print later this afternoon and going to test out the Robox 3D printer for the Guide, and will print the model on the Form 2. Stay tuned to updates here on Digital Enamel on this case.
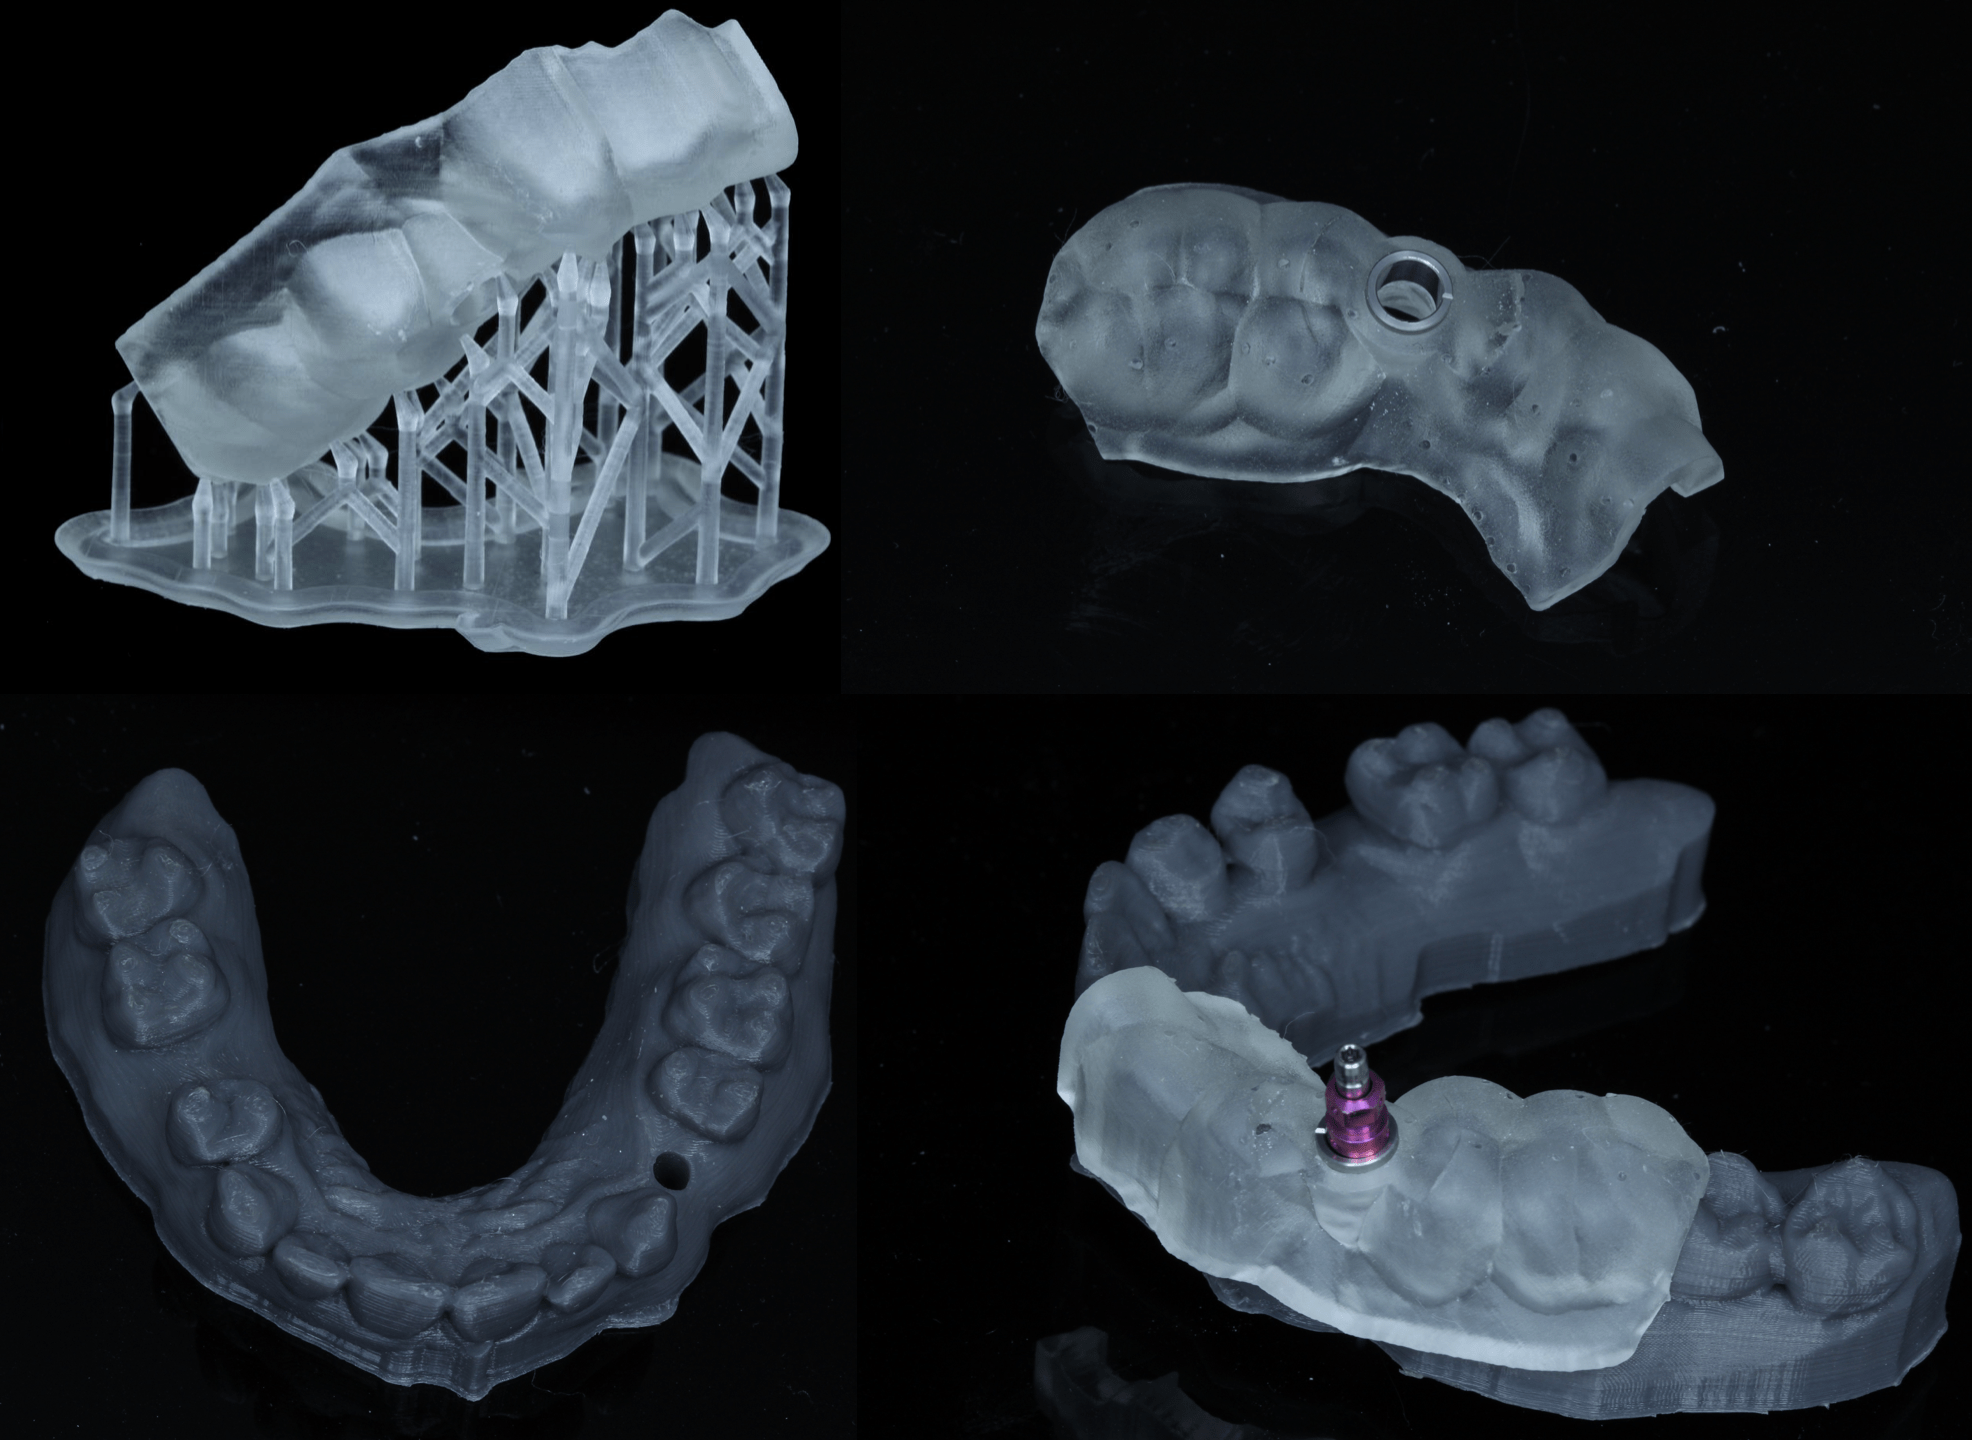
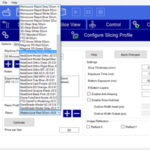
Ok, the patient came in yesterday and we ended up doing the case! So this is the analog model I printed in Robox!! Now its definitely not accurate enough to use for a crown and bridge model or a final implant restorative model, but it worked surprisingly well for a non engaging temp. Guide printed on the Form 2. Obviously you are not going to be a nut like me and buy multiple printers, but I am sure of I printed the guide in Robox as well it would also fit. I had an extra Replant implant from a long time ago and I wanted to show a temp using a guided mount. This is the NP mount from Nobel. My drill was 21mm long and the implant was 10mm so I set the offset in BSP to 10mm which is 21 minus 1mm for the lip on the tube, minus the implant. That being said all drills will be short 1mm as we have the key thickness. This patient had really soft bone so it did not make a difference. I used the tube557-452-4l which has an od of 5.57 and an id of 4.52. This fits the small CEREC guide 2 key perfectly. In the BSP software make the hole for the guide tube 5.7mm
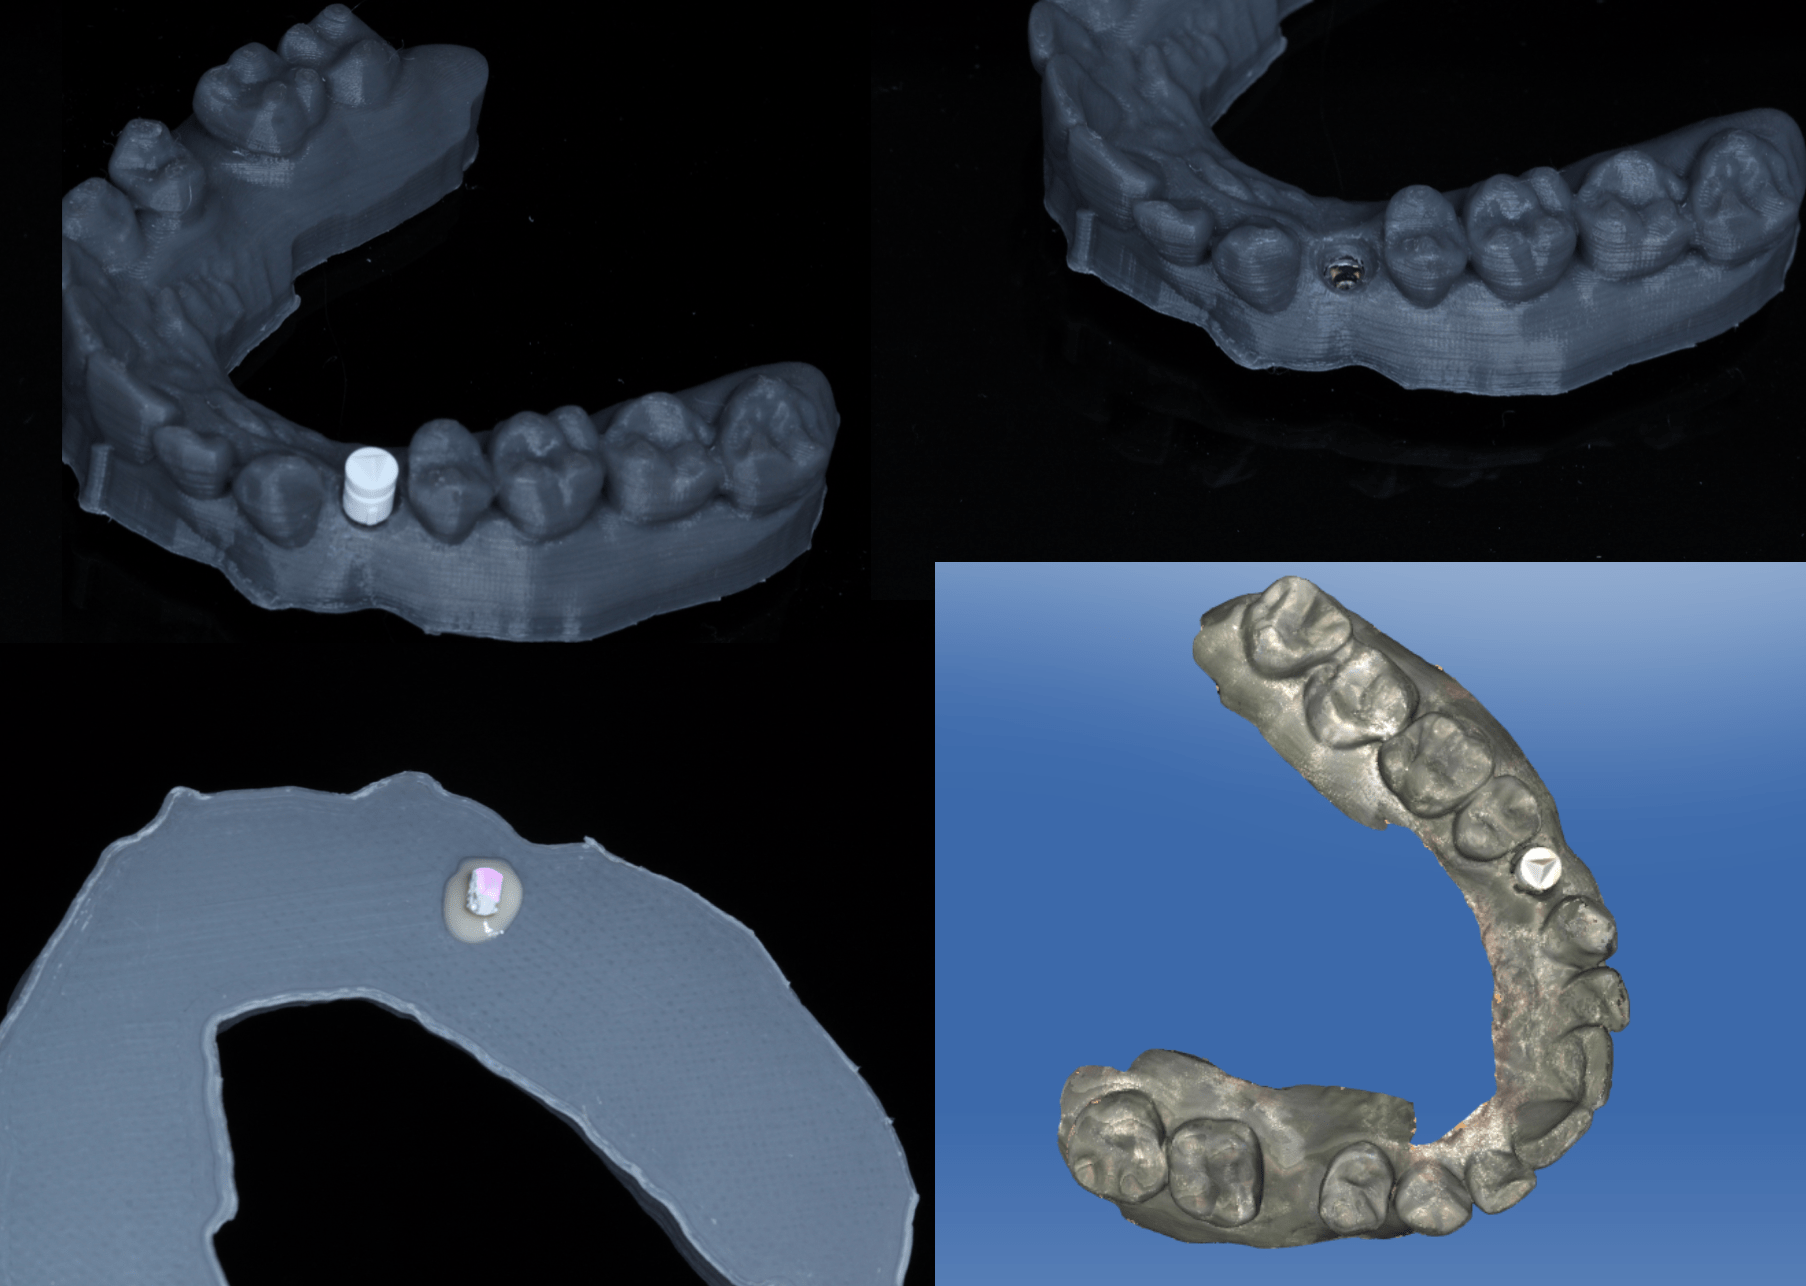
I did not read Hiroshi’s post or video on how to make a proper model and just selected the analog for the BSP tri lobe implant which was too narrow of an Implant direct analog, so I just used a 3.7mm implant direct drill and opened up the hole. using the mount on the analog I just used a little flowable to secure the analog and popped on a ti base and scan cap. I used an acrylic bur to open up the gingiva.
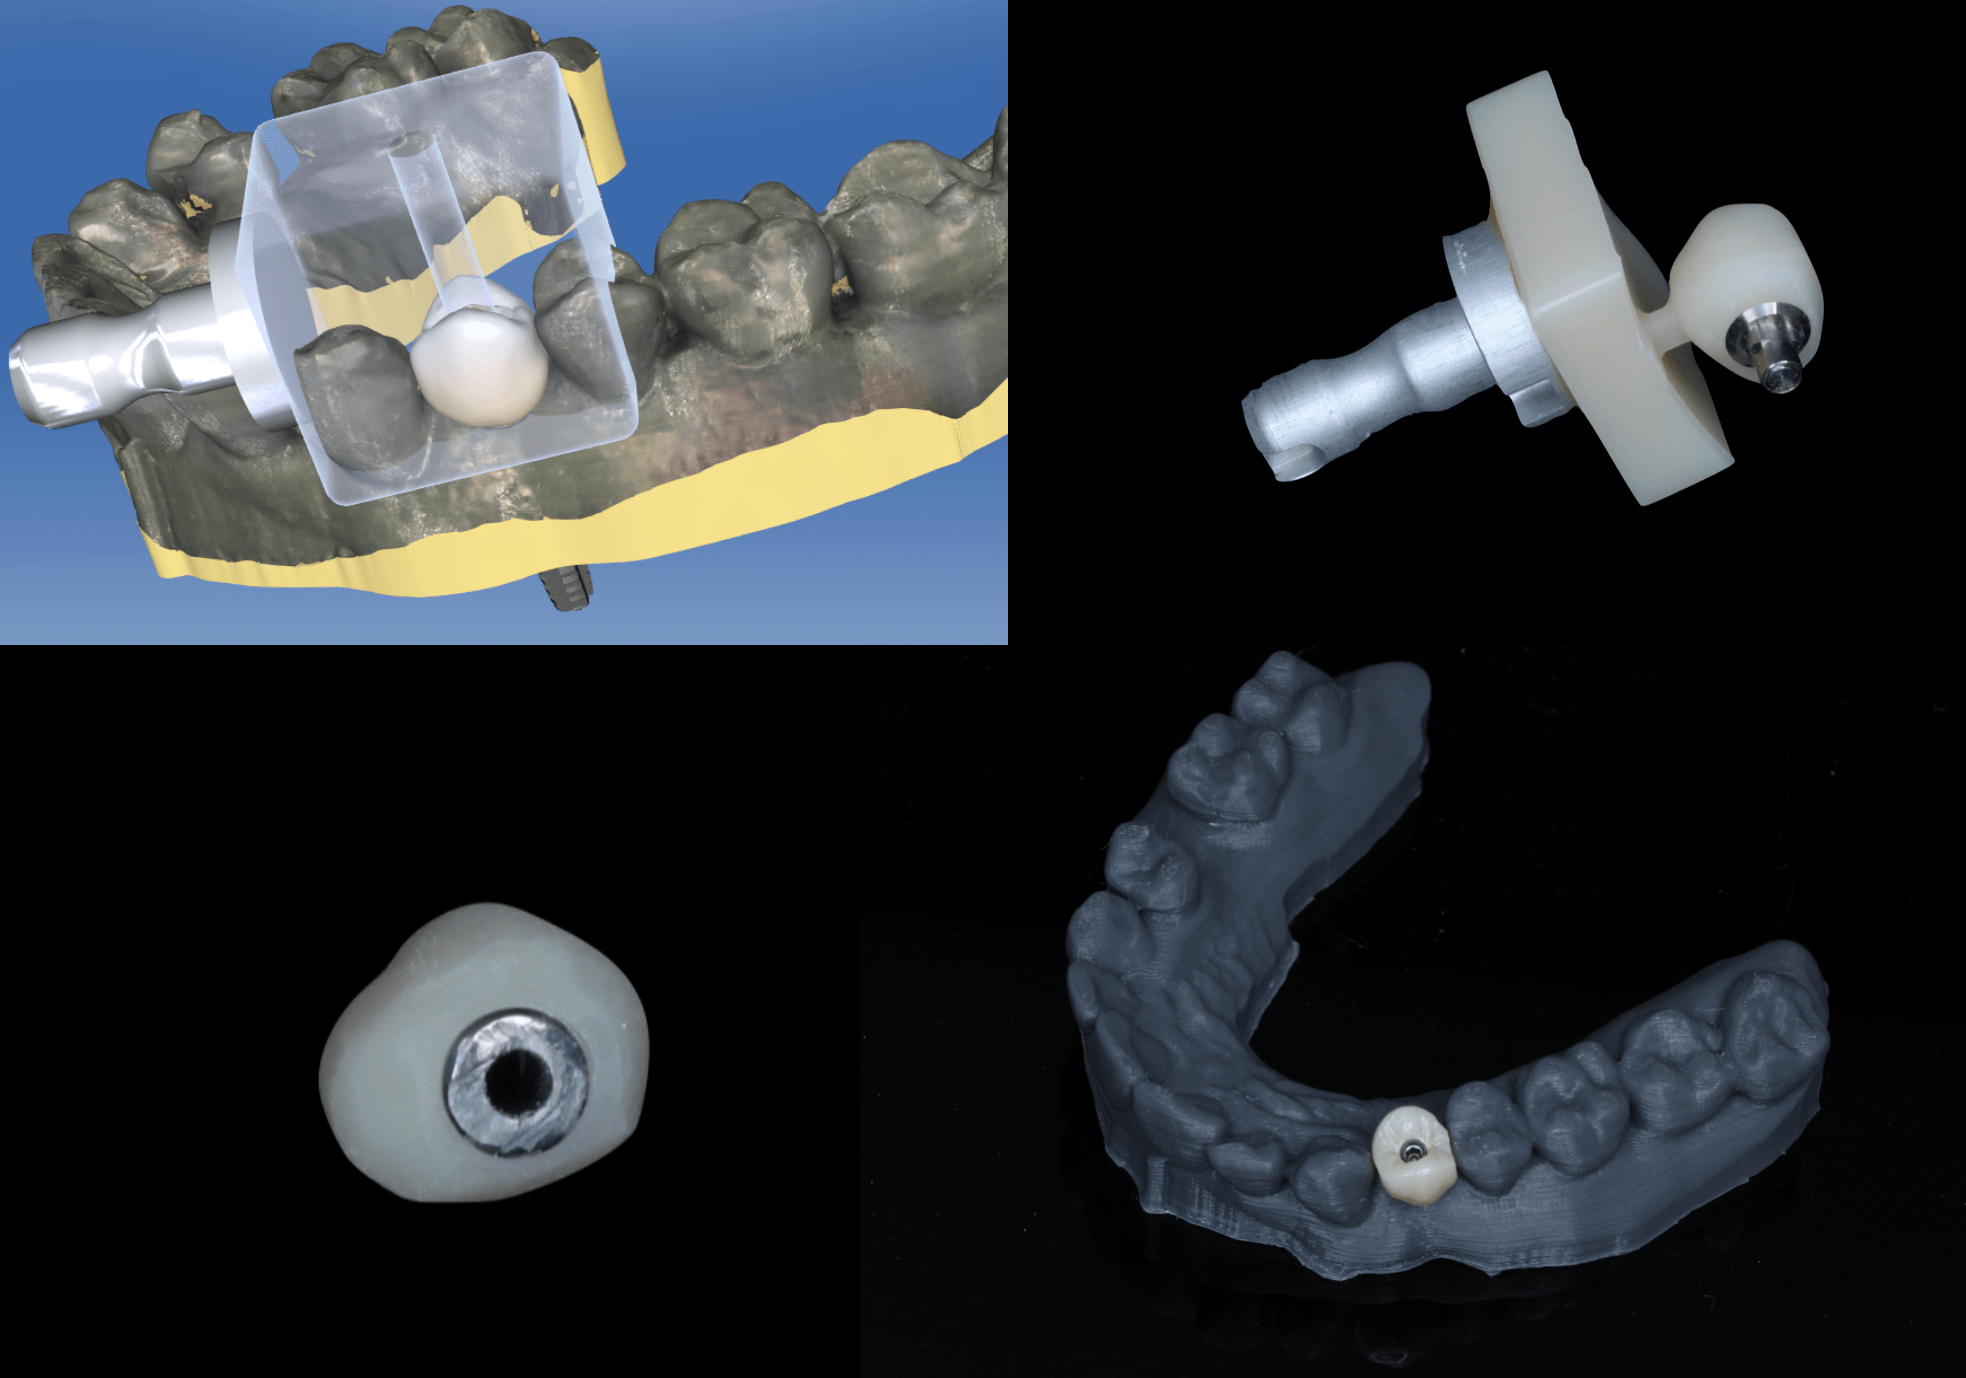
In CEREC I made a Telio CAD temp. I couldn’t bring myself to waste a perfectly good ti base so in rummaging around I found some weird ti base from another case I never seated. Surprisingly it fit well and I cut the engaging portion off of that.
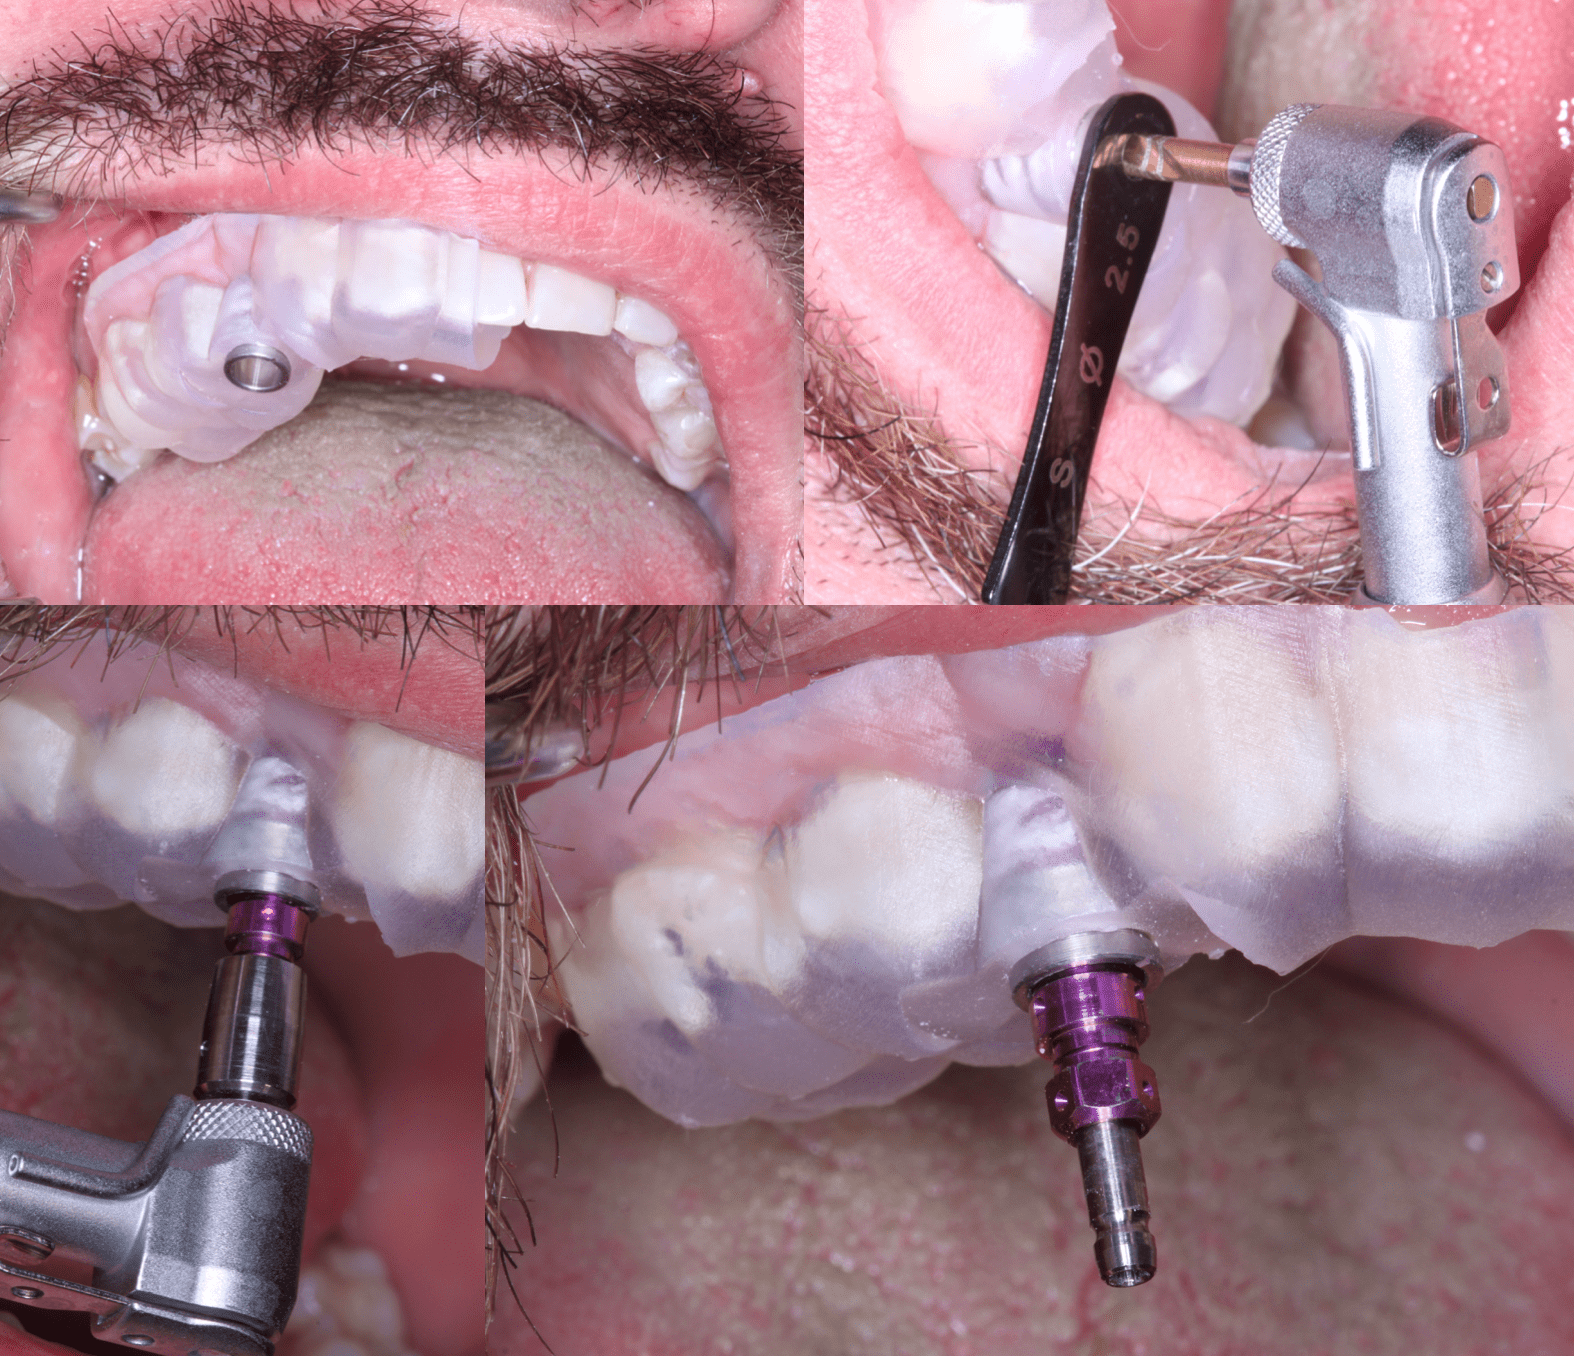
A big thanks to all for getting me away from always crossing the midline on my guides. This little guide fit great and had no rocking. I do like the “snap fit” of smaller Robox guides as well as the cost savings though.
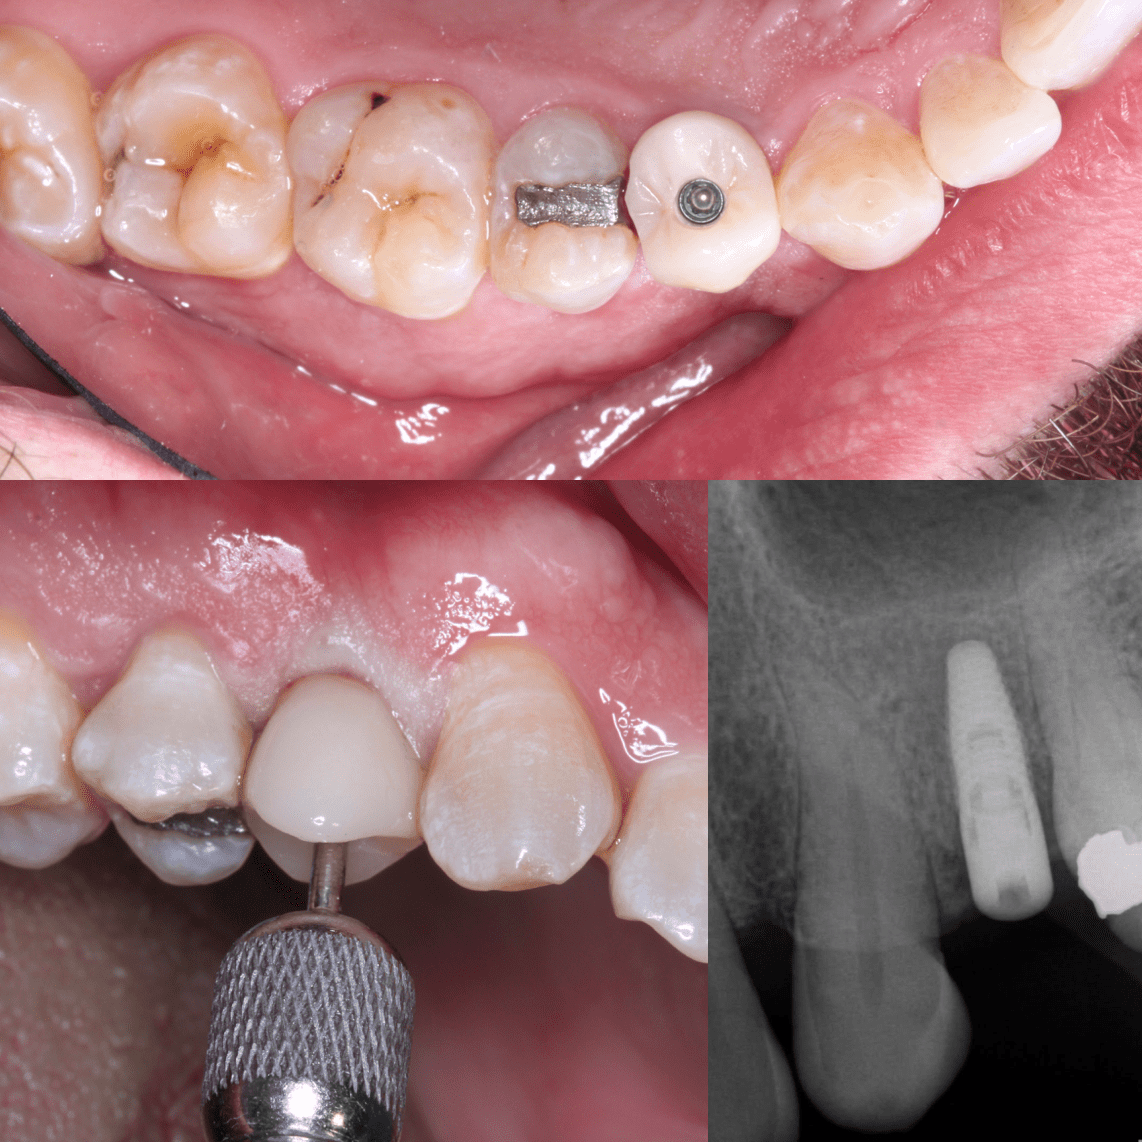
Unfortunately I had less than 35Ncm of torque on this one so I couldn’t deliver the temp. But at least tried it in and with a little interproximal and occlusal adjustment it will work great. Going to wait about 3 months then deliver it but for now I placed a healing abutment.


