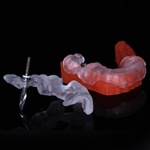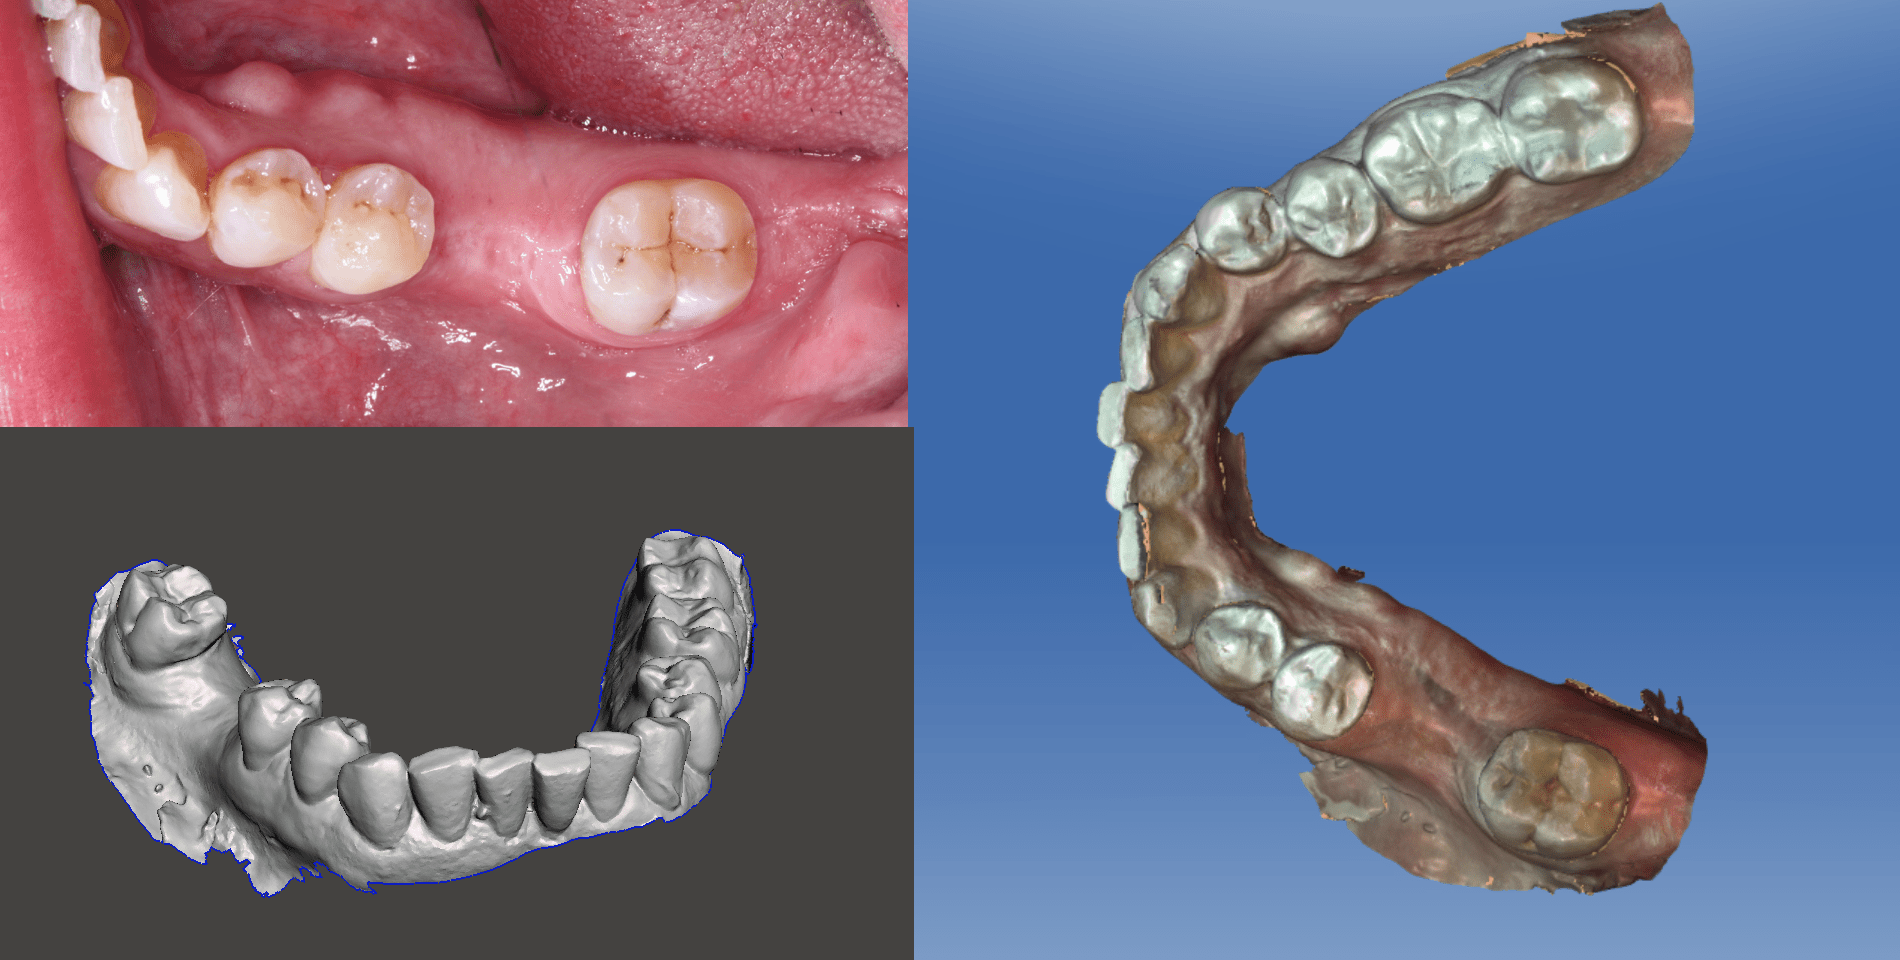
So no one is a bigger fan of Guided surgery than me (why did I just sound like Trump?) lol. But sometimes you have a patient that can’t fit the the CBCT or is a wheel chair and is hard to position. Sometimes you miss the scan and the patient won’t let you rescan, or maybe you just don’t have a CBCT. Here is a really cool technique to go one step beyond a model based guide and at least have some idea where the nerve and teeth roots are. Start in CEREC, I just default to Ortho, but you can do this in chair side I like to go with a full model so Ortho is faster for this. Hope in 4.5 the scanning will be better. In 4.5 we will be able to export straight out of the software.
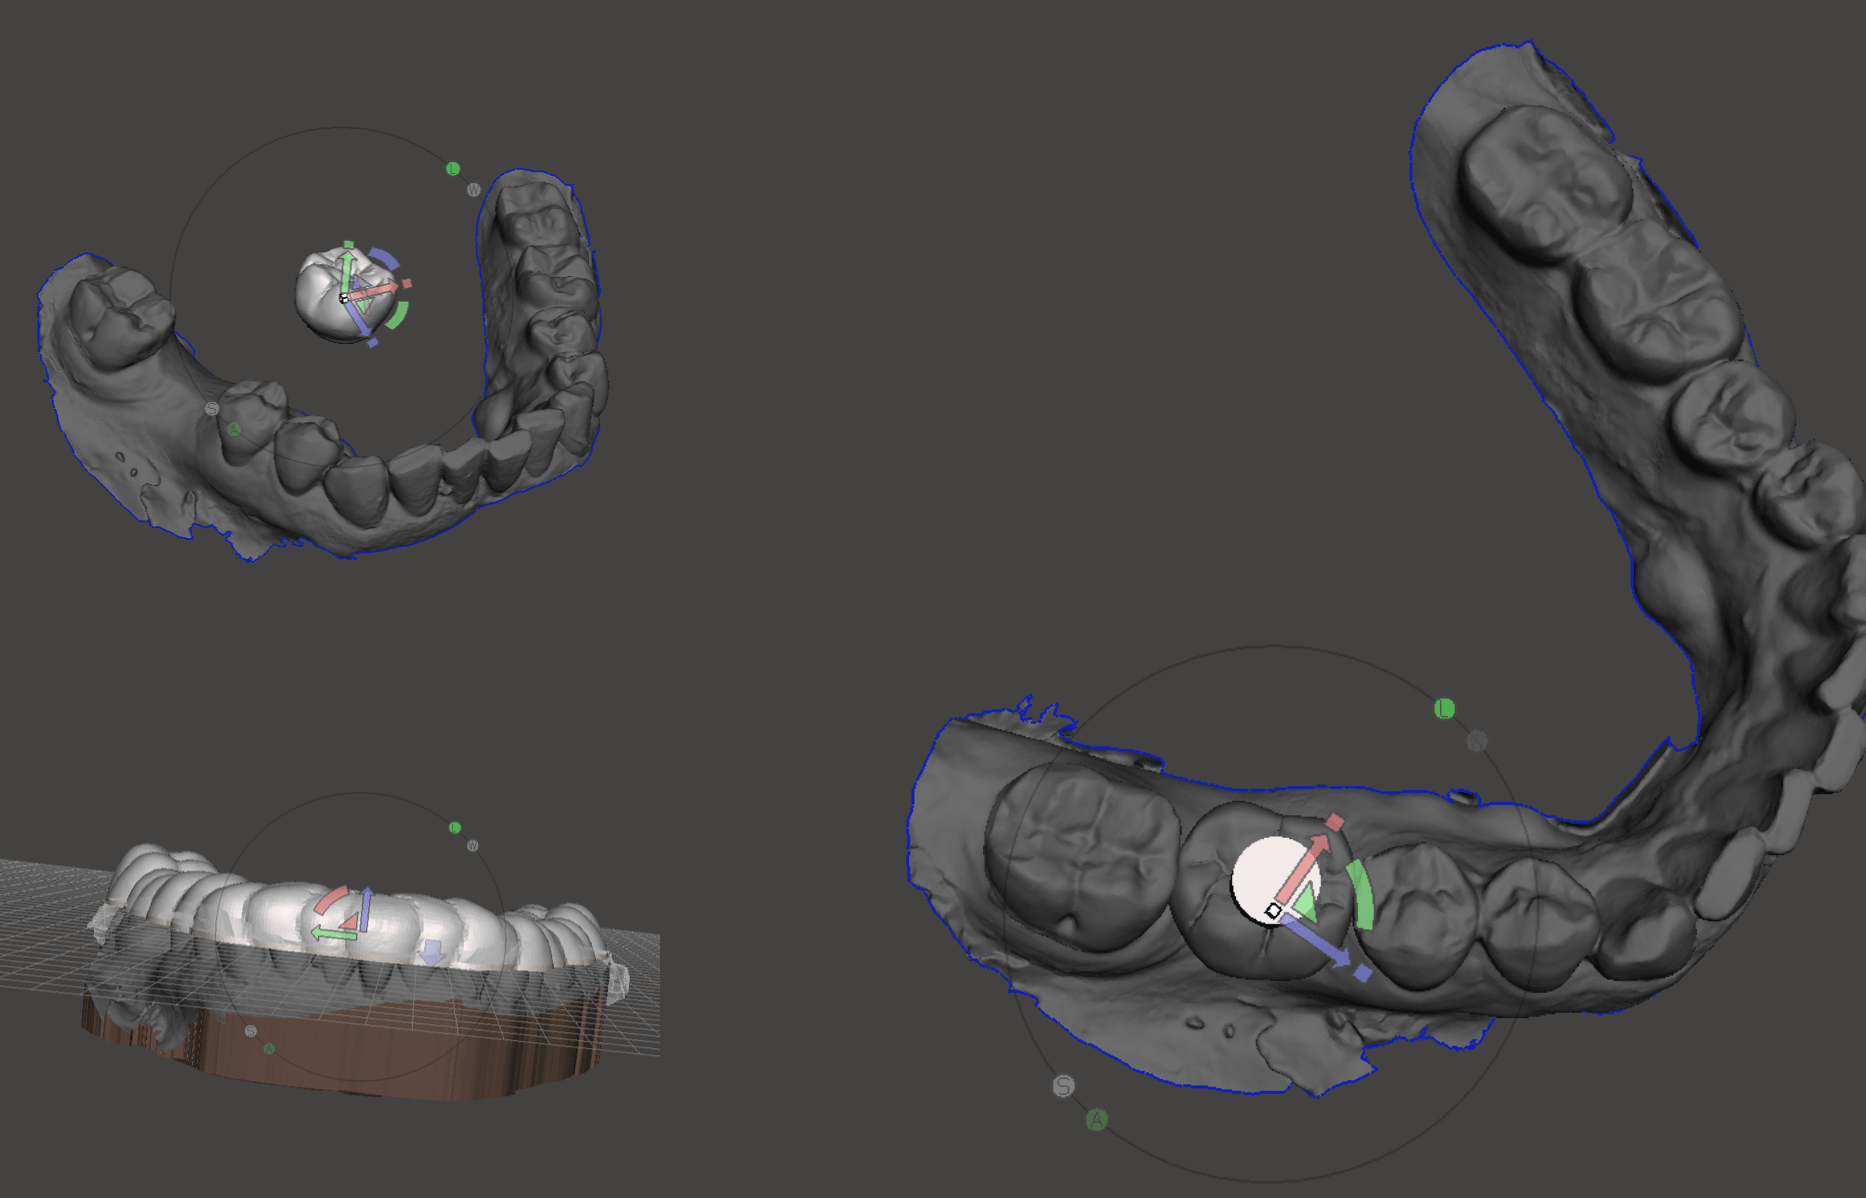
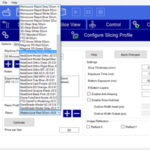
Watch the video on Digitalenamel on making a night guard but its the same process. Make copies of models as we use a process called Booleans to punch the intaglio and a hole for the guide sleeve. Use the teeth in the Christian Brenes library to help you position. Make an “implant” by taking the Meshmixer cylinder and in SCALE change the width to the implant you are using in this case its a 5.2 by 10mm implant. In a pilot guide we don’t regulate depth so make it long about 15 mm
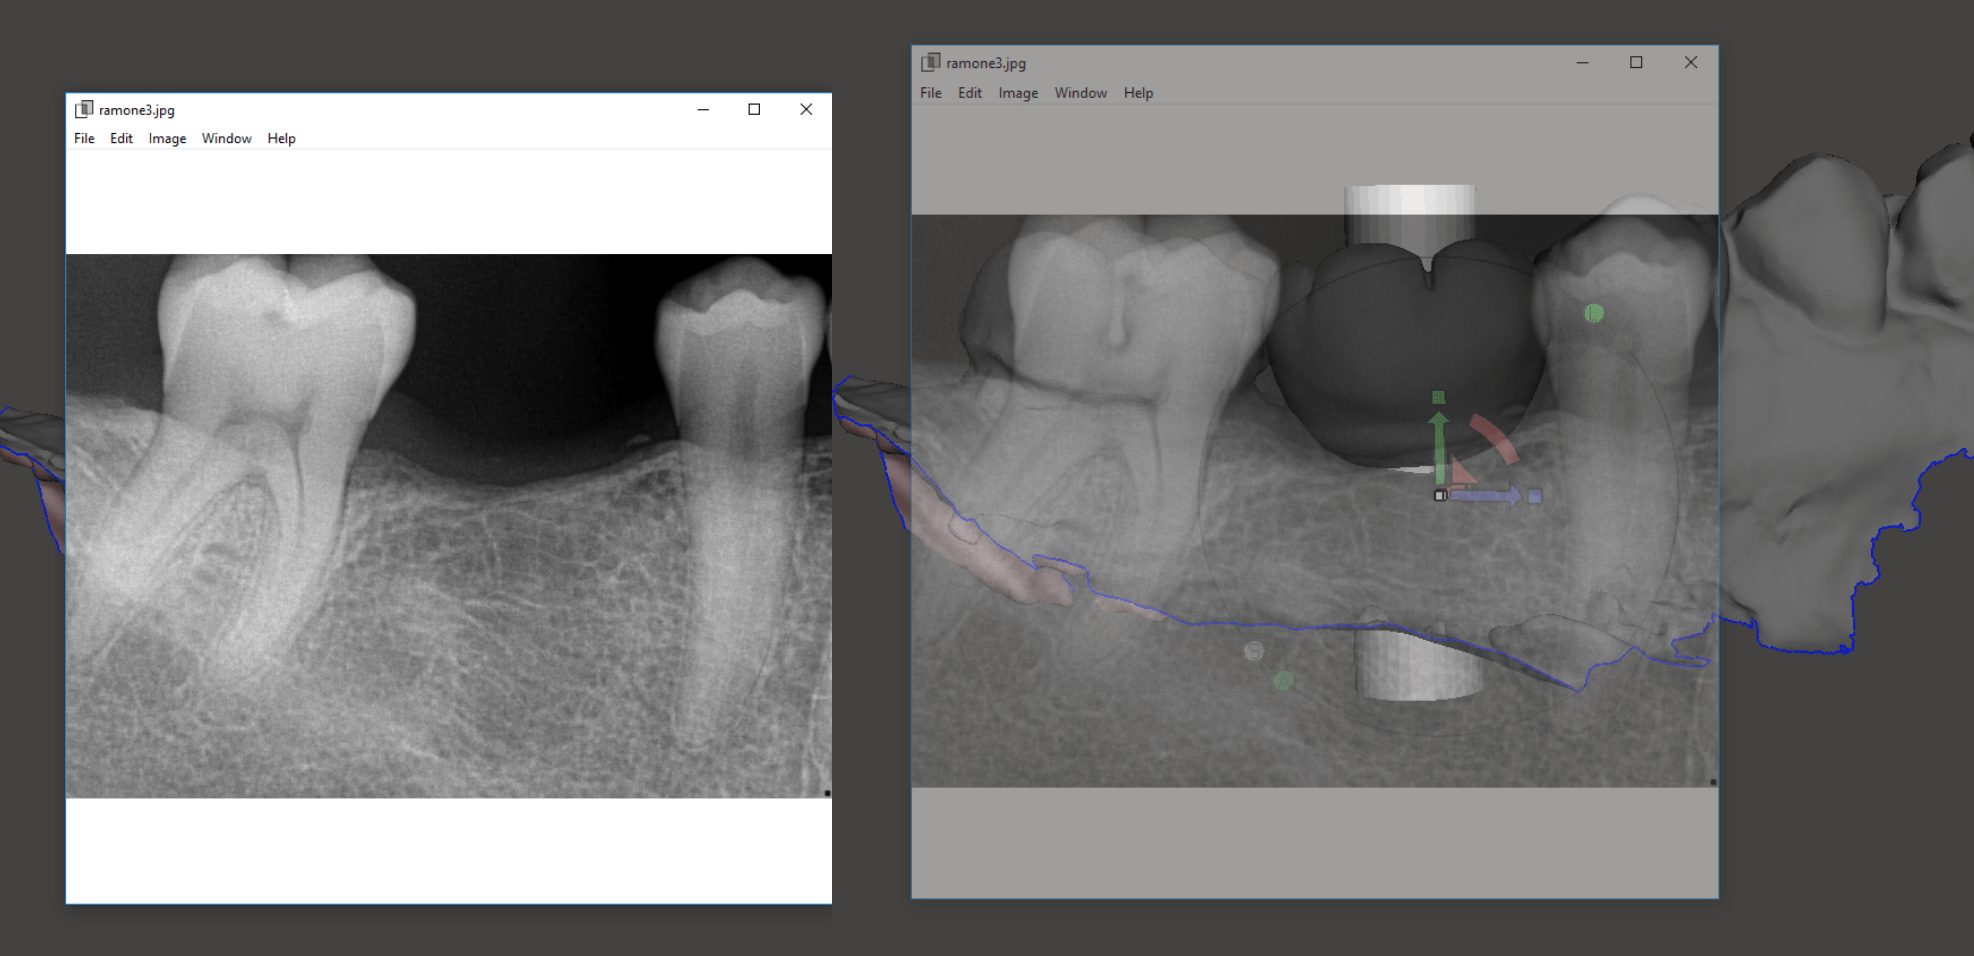
Now this is where it gets cool!! There is a free software called Overlay 2, google it. It allows you to take an image and make it transparent so you can work behind it. Line up a PA with the cusp tips. It helps if your assistant gets the buccal and lingual cusps somewhat parallel. But look at that!!! You may see a bulge on the distal on #31 thats where i missed some data and CEREC filled it in. Although not as accurate as CBCT this certainly gives you an idea of teeth roots and some info on depth.
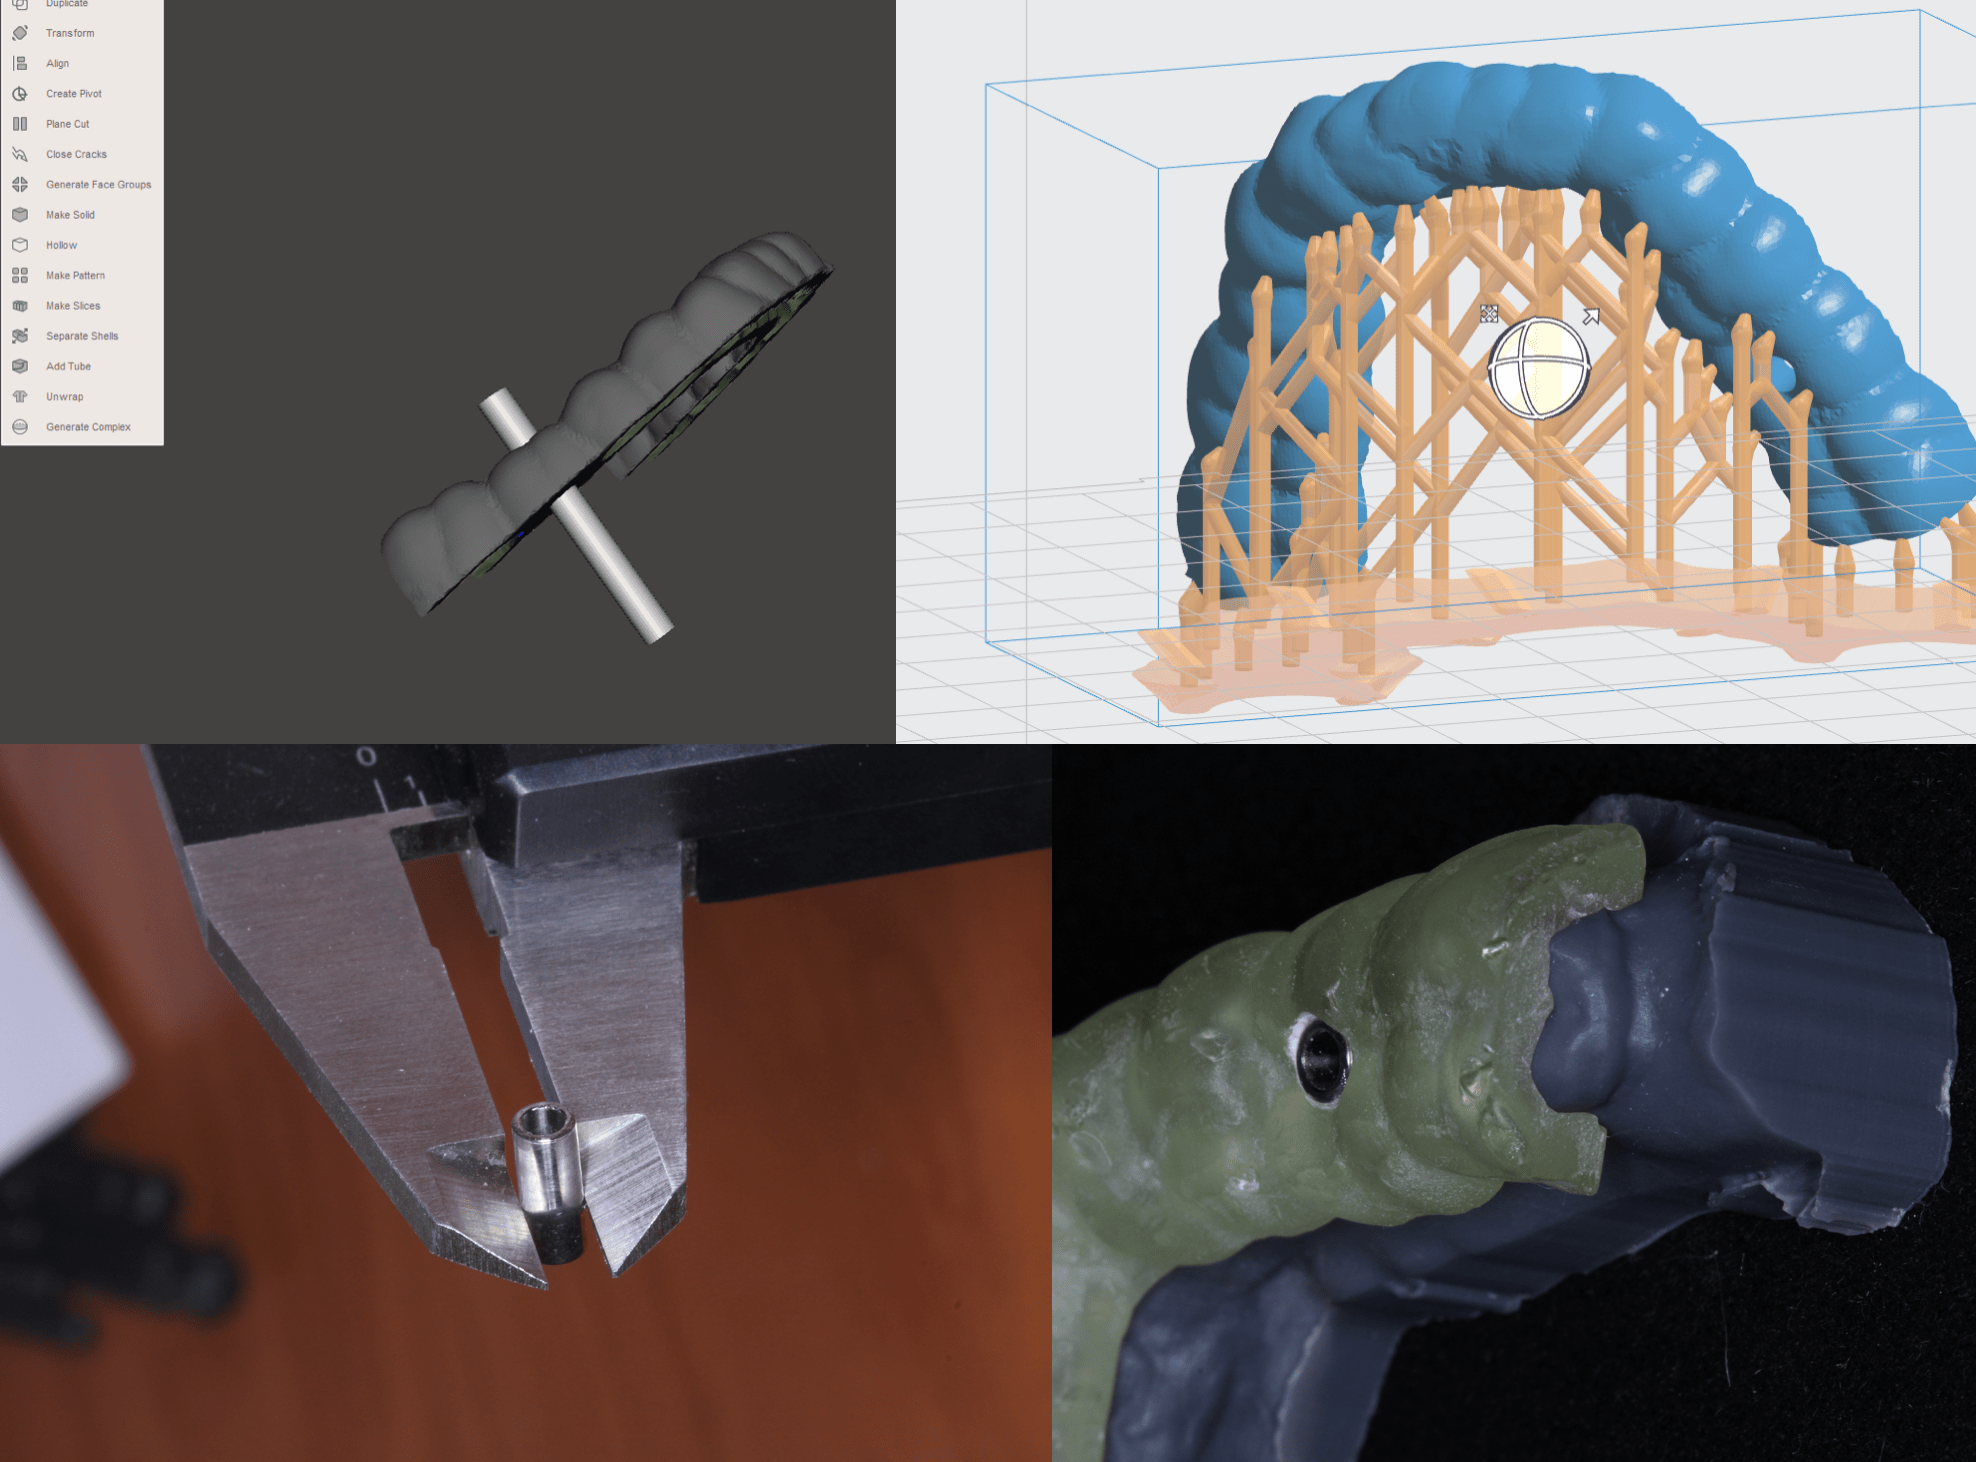
I just used an old pilot sleeve from another case but you can get these everywhere or even bring your pilot drill to a hobby shop and buy some model airplane parts. This tube measured 4mm in diameter so in mesh mixer I turned my implant into a 4.3mm diameter cylinder and used the Boolean Subtract function to punch it into my “night guard”. Great fit on the model. Now one thing to note, a lot of people are taking alginates because if you think about it the guide will always fit the STL model as thats what the guide is derived from. Sort of like an abutment and crown in CEREC.
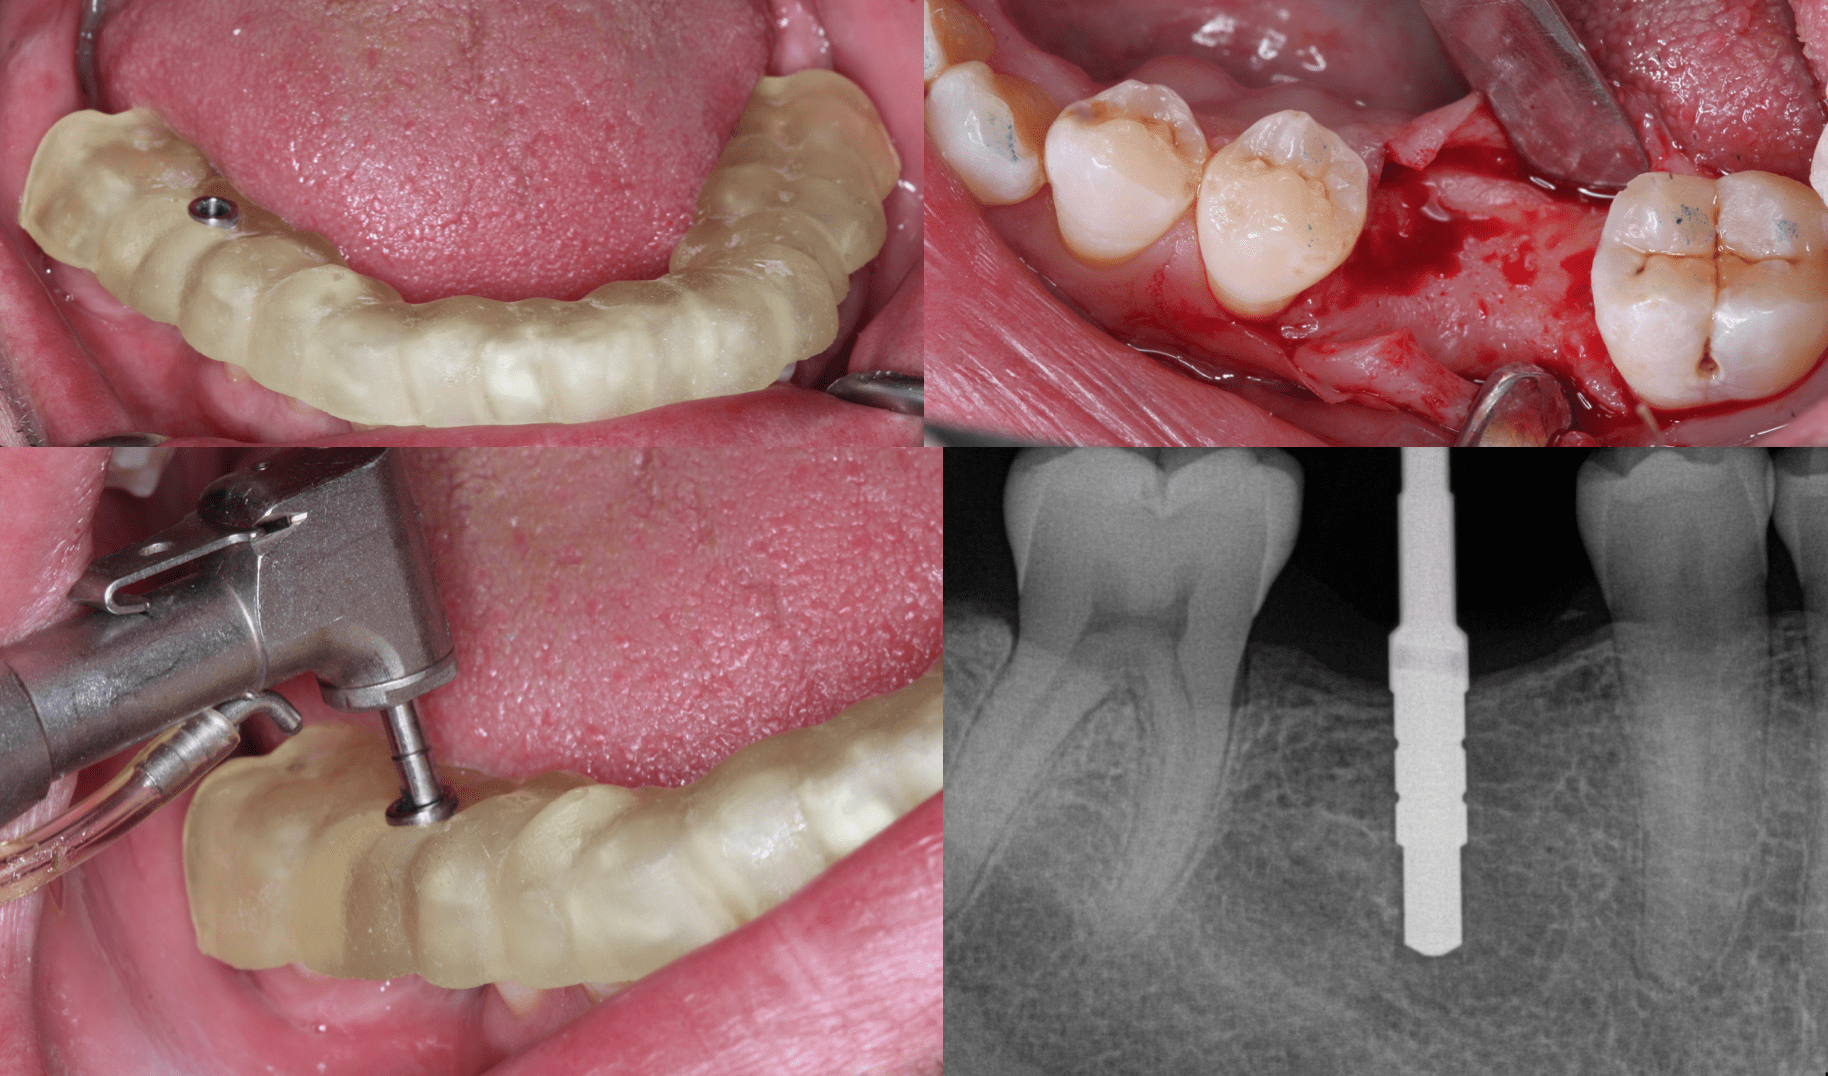
Super smooth case!!! We ended up laying a flap instead of punching this as its a pilot case so I want to measure the bone. Plus in “part 2” I’ll show you how we made an analog model out of the model in mesh mixer and created a custom healing abutment.
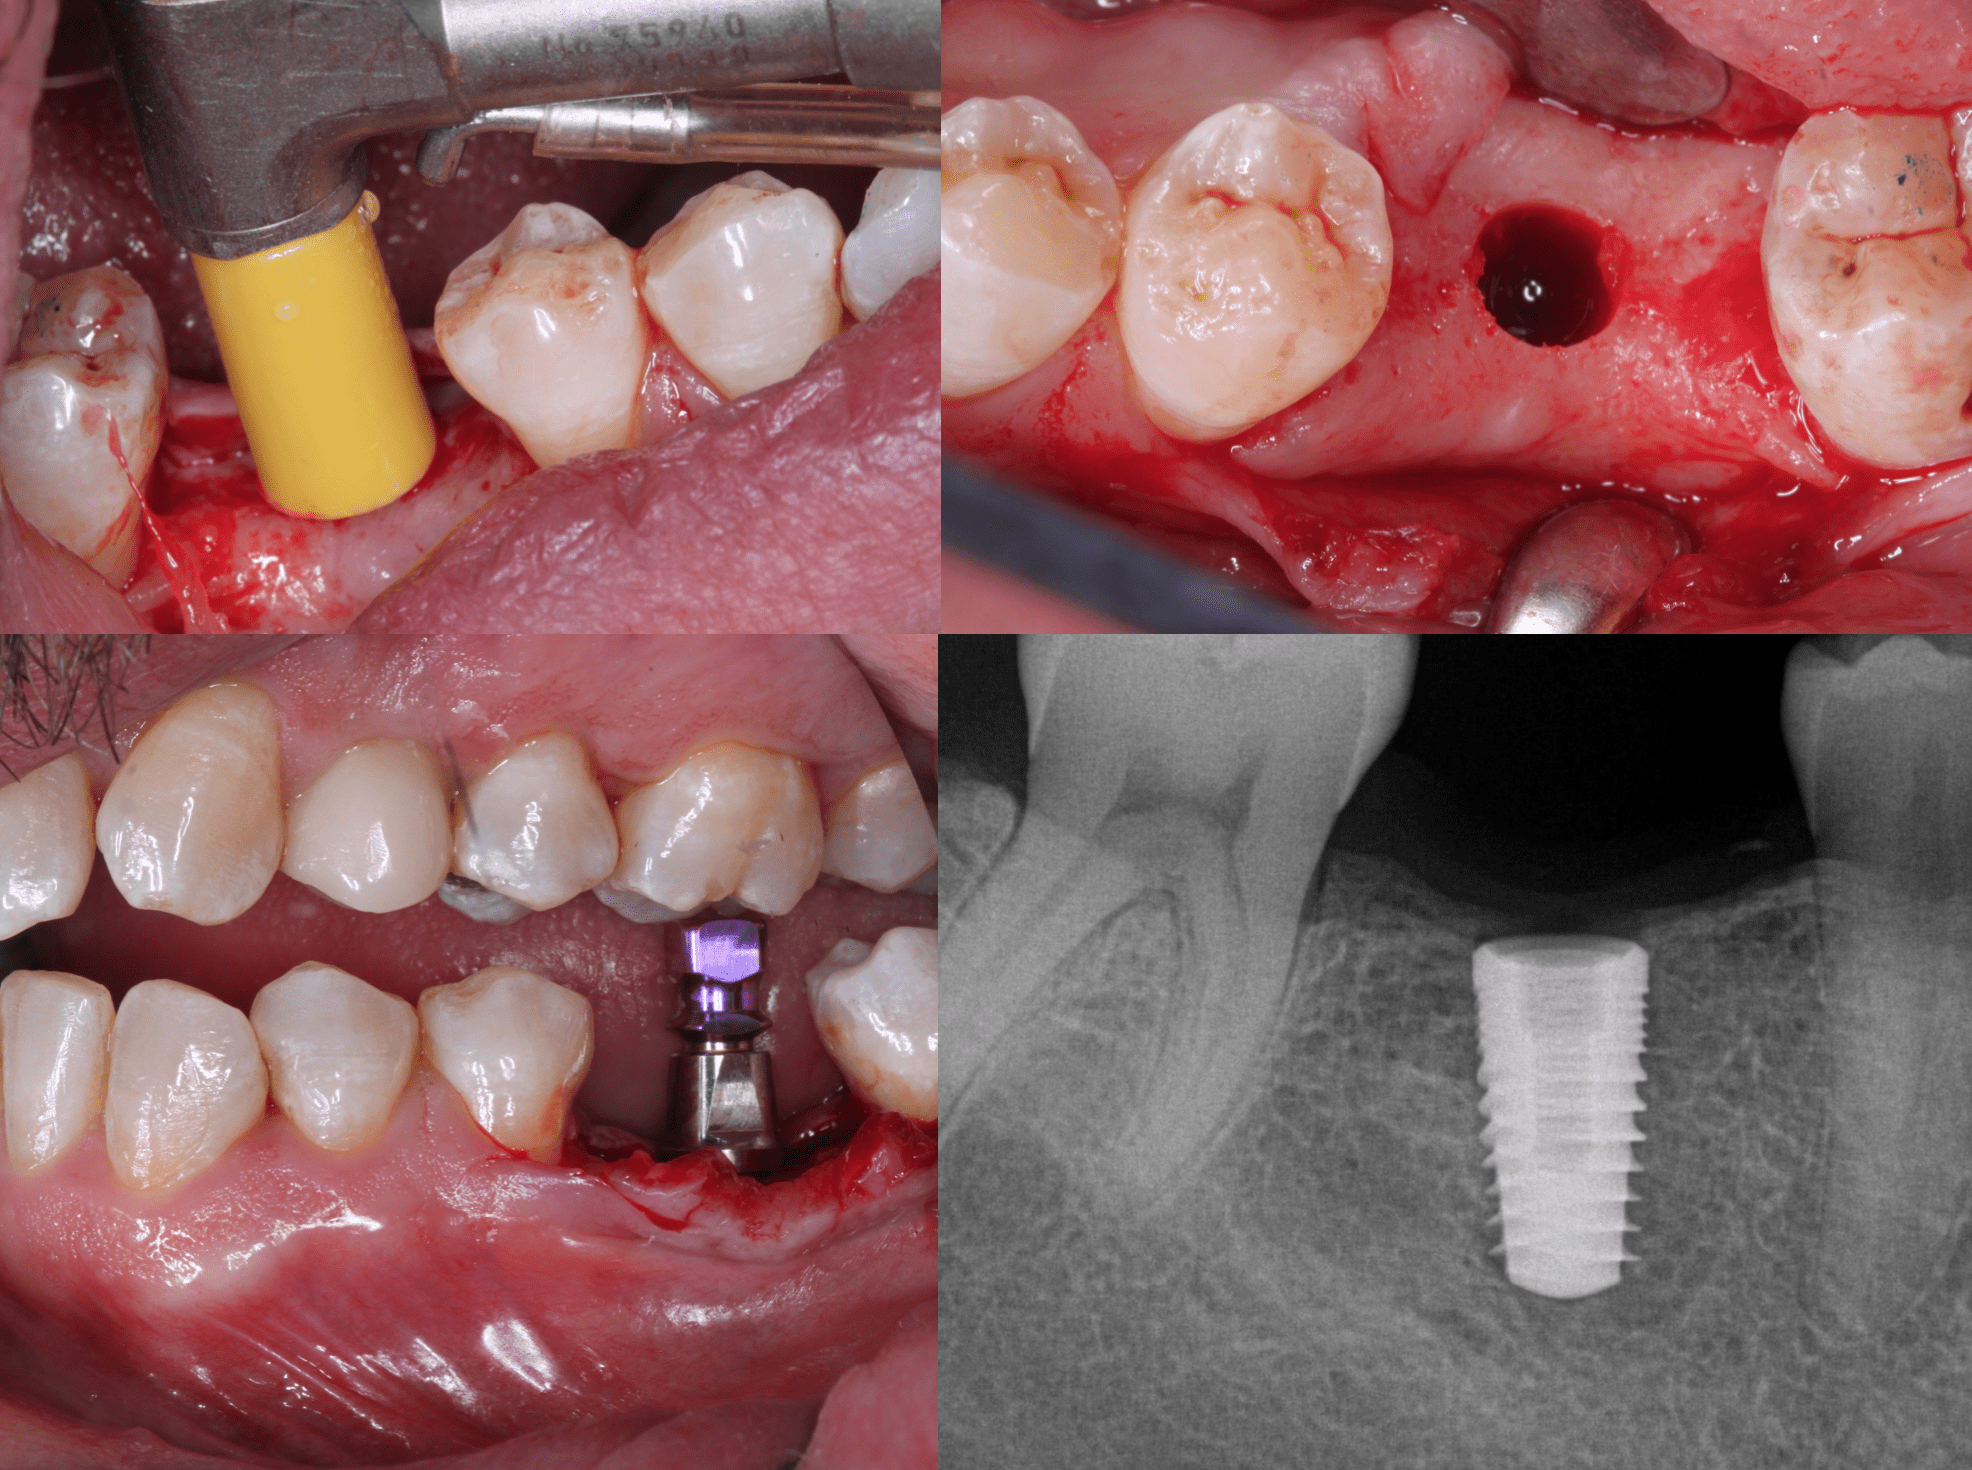
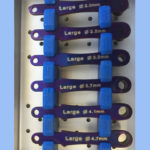
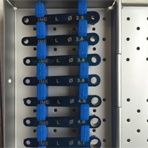
When I am not doing guided I like to use drill stops. These are from Zosseo. I like to be 1mm or more sub gingival for the platform switch to hopefully get some bone growth over the switch Tomorrow I will post a step by step case on generating an analog model from CEREC in Meshmixer and making an Enamic custom helping abutment.


