Not a lot of bone above the sinus, we are planning to stop a little short and let the implant bump up the membrane:

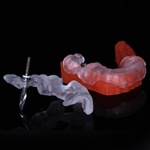
On this case when planning my Guide Sleeve position, I did not check the distal of #4, the sleeve was touching the contact and that caused me to have to adjust the Guide. You get so spoiled using Sirona Guides you hardly ever have to adjust. This was planned for an Opti Guide.

Lots of attached tissue. If you have the bone for it, the upper first molar is a great first case for the Noobs. Lots of room, no nerves in sight. You can see that the distal of #4 was an issue for me in seating the guide but just a little adjustment with an acrylic bur and we were good to go!

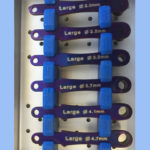
Medium Tissue punch and the Nobel Guided Protocol. The bone was super soft d4 so stopped at the RP (yellow) and let the implant expand the bone.

Case was done fully Guided, with the implant bumping up the sinus:

Planned and actual placement:

Case back from the lab, you can see where I had to place the implant relative to where the bone was. Ideally I would have liked to be more mesial, but in that case I would have to do more of a sinus lift:

Again, not terrible placement, but I always like to have even amounts of porcelain on the mesial and distal of my abutments. One thing you will find is that its easy to be critical of your specialists when you aren’t doing the surgery. There are lots of times where the bone or tissue is just not in the most ideal position and extensive grafting is not an option. So “respect” to all the specialists out there for all the crap us GPs have been giving you!

In the mouth, torqued down very carefully at 30 Ncm, note the sharpie mark for indexing.

Final, not my prettiest stuff, but good to show every day dentistry.


