In our advanced CEREC courses we discuss how “stress kills creativity.” It is difficult to have your full creative functions working when you have stress! Completing a cosmetic makeover in one visit is full of surprises and challenges that can cause a lot of stomach lining. So, the objective is to reduce those “pain points” and allow the artistry in dentistry a chance to surface. By no means am I implying that the work you see here is the envy of cosmetic dentistry, but I can say that not many cosmetic makeovers in dentistry can be completed by a team of two people (doctor and assistant.) Only with high technology is this possible.
I even understand the argument that there is no need to rush a cosmetic makeover. Do the temporaries and let them “walk around” in the temps for a while to see how they like them. I’ve completed countless cosmetic cases, and I used to think this way! However, the patient can get used to the bland look of provisionals, or not understand the contours, texture, translucencies, etc. of them vs. the final ceramics. In my opinion, we kind of set up the patients to not like the final restorations based on the temporaries.
Clinically, the overall procedure is easier in my opinion. There are, of course, no provisionals to carve, polish, and cement. Or, maybe even recement a few times in emergency appointments. I think the gingiva can be controlled better, too, in most cases. The provisional stage can be difficult for hygiene and overall gingival health. By skipping this phase, you can go directly from preparation to final and not have the difficulties of the gingiva developing any issues. Obviously, there are reasons to temporize to contour gingiva, but I STILL make a final restoration, contour the tissue over time, and then REMAKE the restoration! When you make your own indirect restorations, this is an easy process and less stressful.
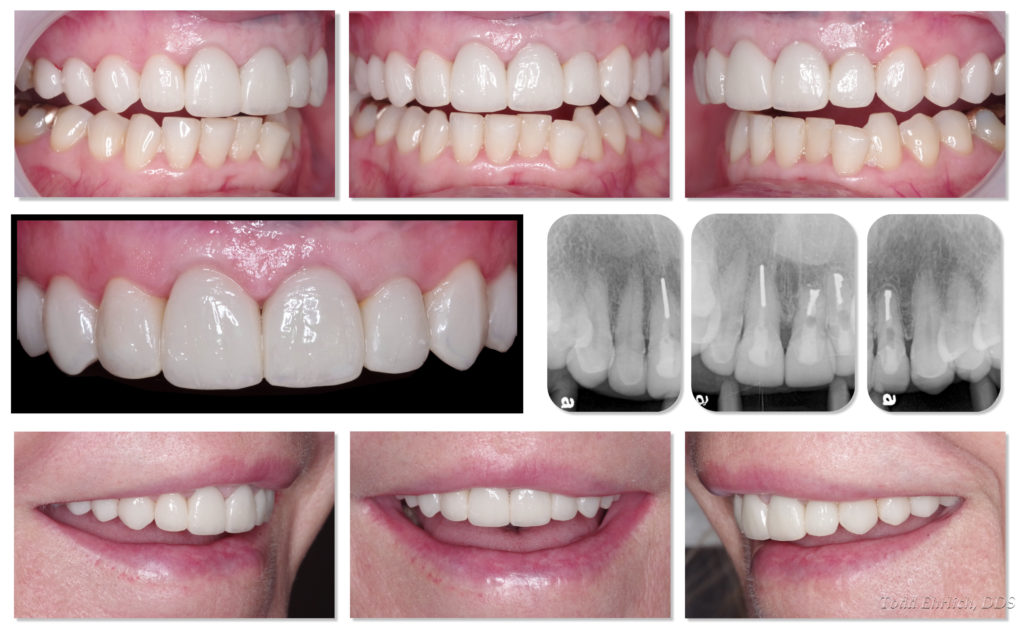
This case was filled with hurdles from prior apico-ectomies, to the patient wanting a fuller buccal corridor. She also wanted “whiter, but not too white!” (How many times have you heard this very thing?!) We chose to use eMax CAD in B1.
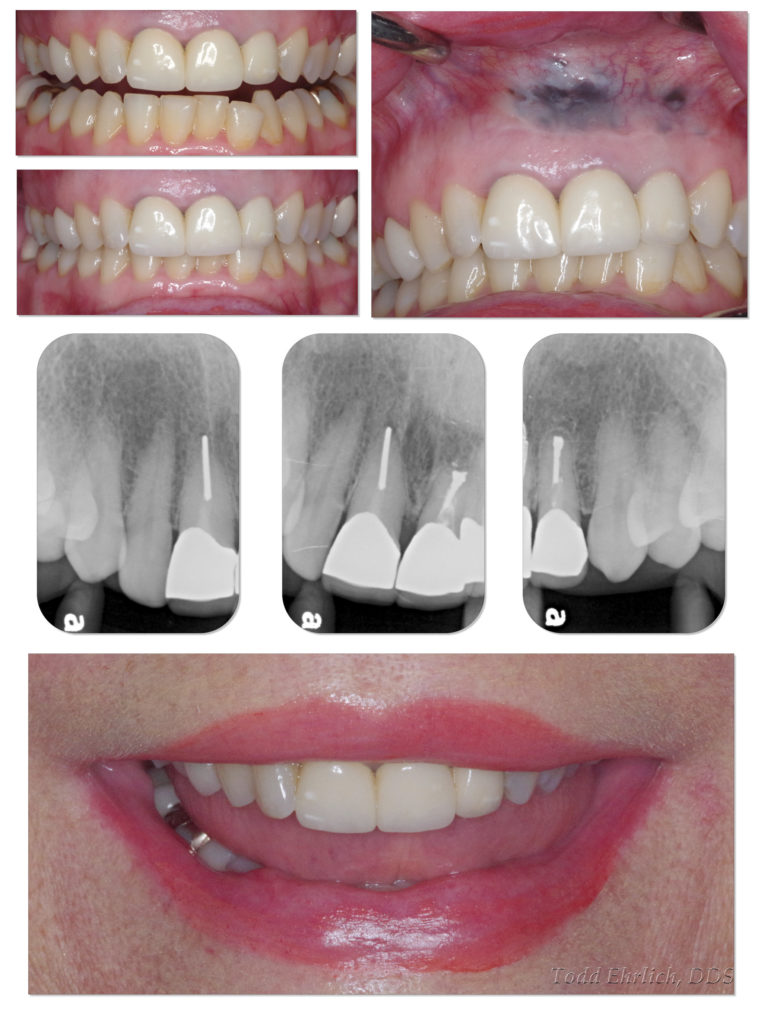
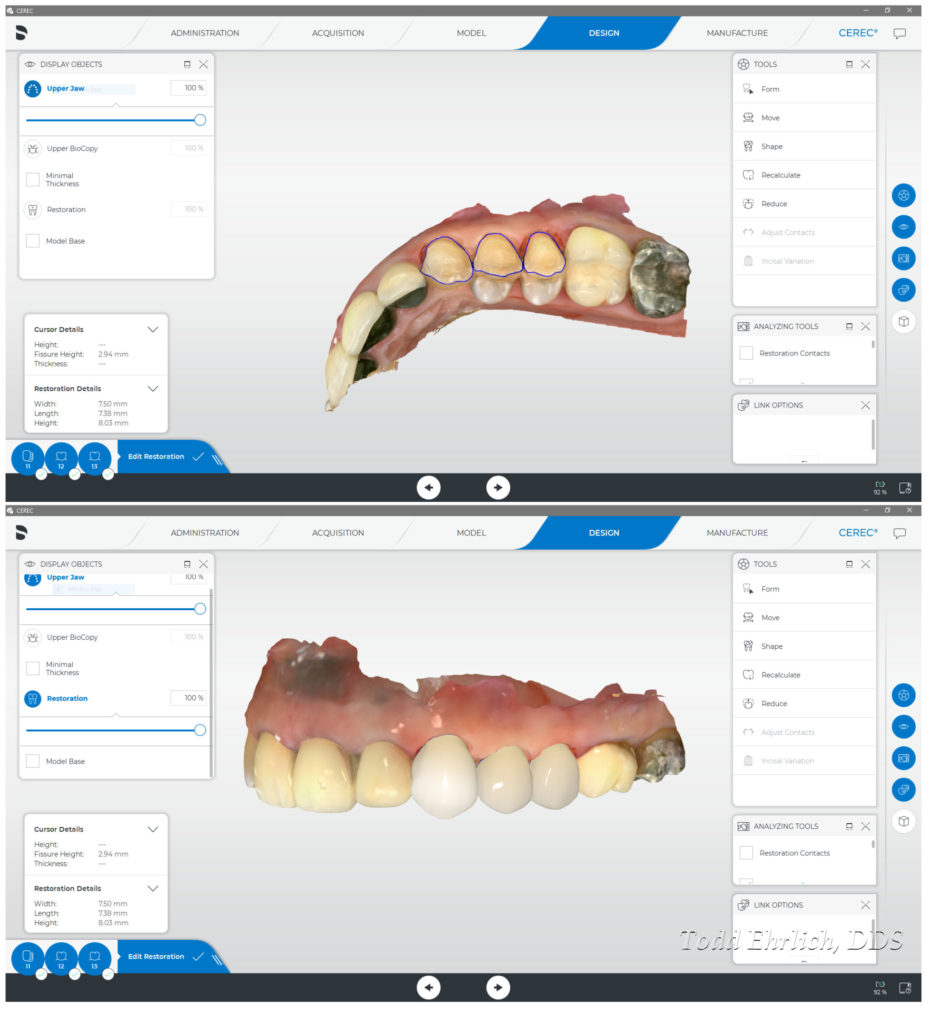
A waxup was completed and the BioCopy method in CEREC was utilized. The day was broken up into three phases: Upper Left, Upper Right, and finishing with the anterior four. I’ve done this many times, and it works very well. This optimizes anesthesia and breaks up the process nicely. The Upper Left and Upper Right are finished by noon so that lunch can be served, and a little break before completing the front four.
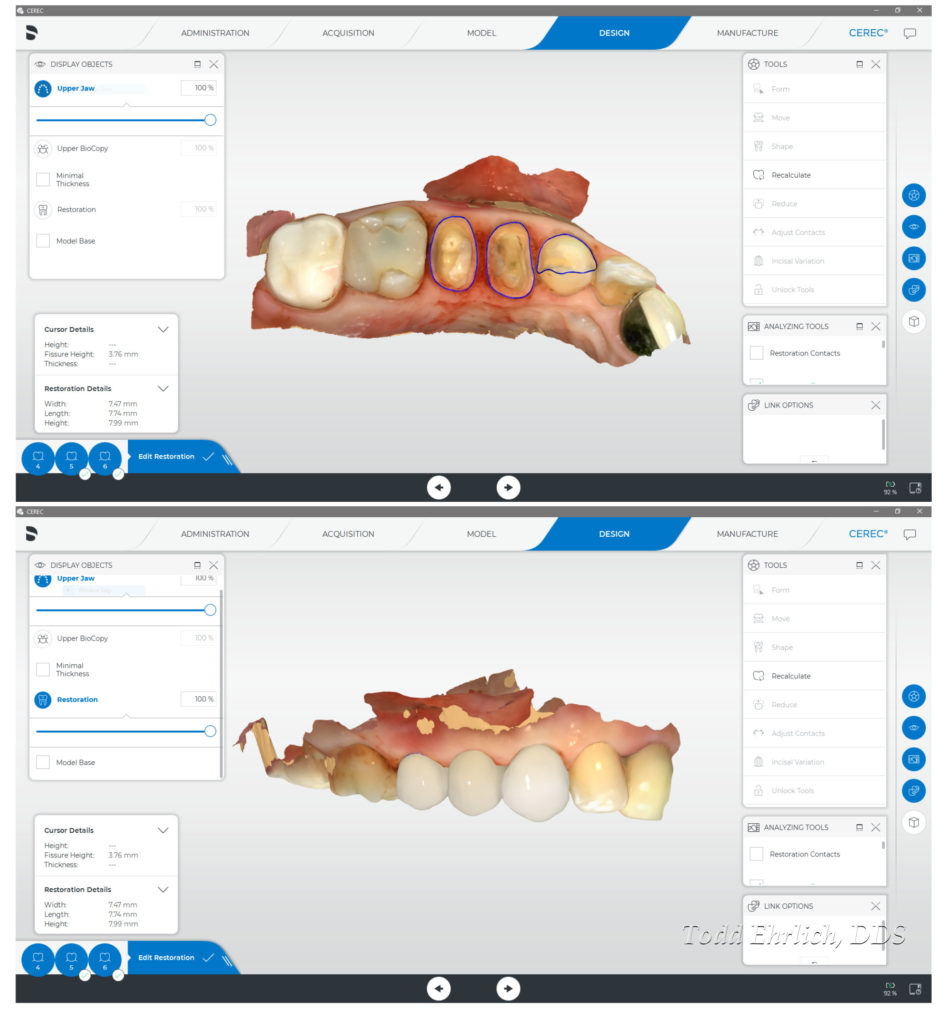
The last stage of the day is to work on the anterior four restorations. This sets the hardest of the case at the last half of the day.
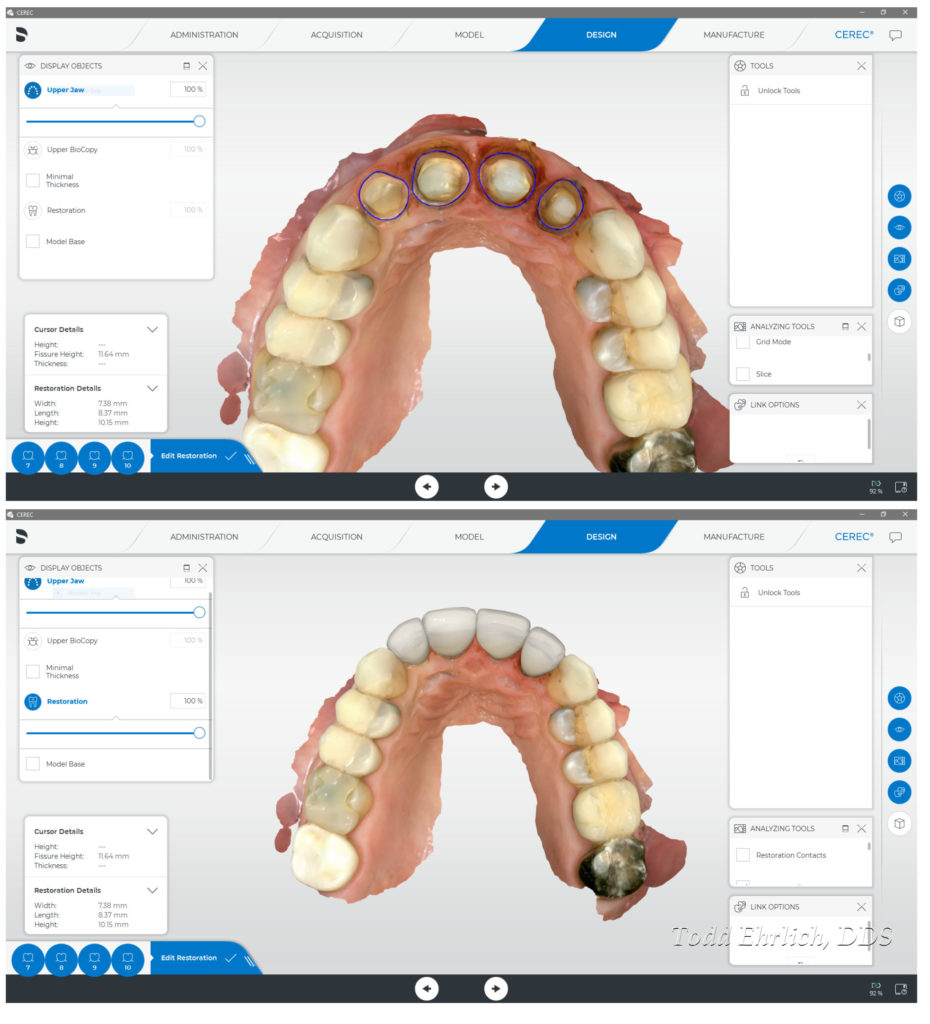
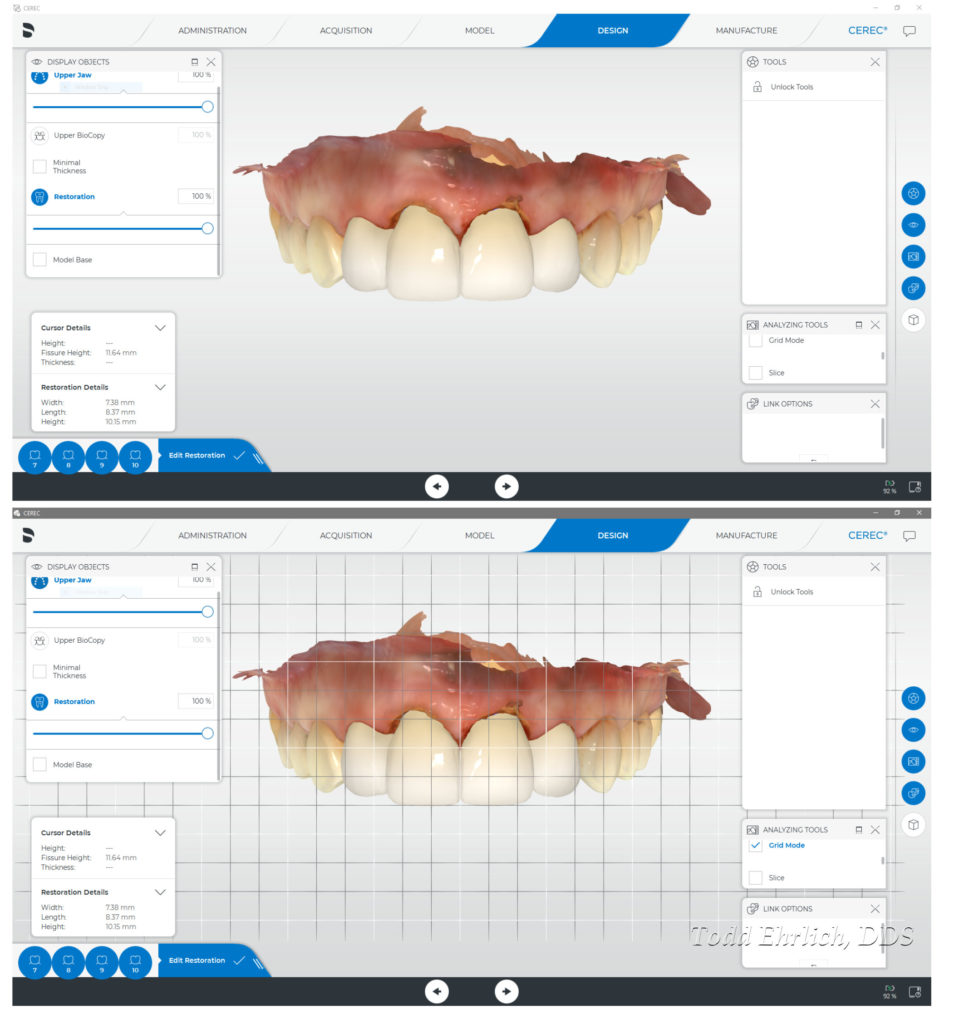
We rarely (almost never) try eMax CAD in the “blue stage.” I feel like it is a waste of time. After milling, the units need to get into the oven as soon as possible. We will fire them a second time with a glaze and staining system many times. It really depends on the case, but sometimes we will characterize them in the crystallization stage. In this case we used the MiYo system from Jensen dental. It is a predictable way to see the characterization and NOT lose it in the firing process. It is truly “what you see is what you get.” It is a powerful system.
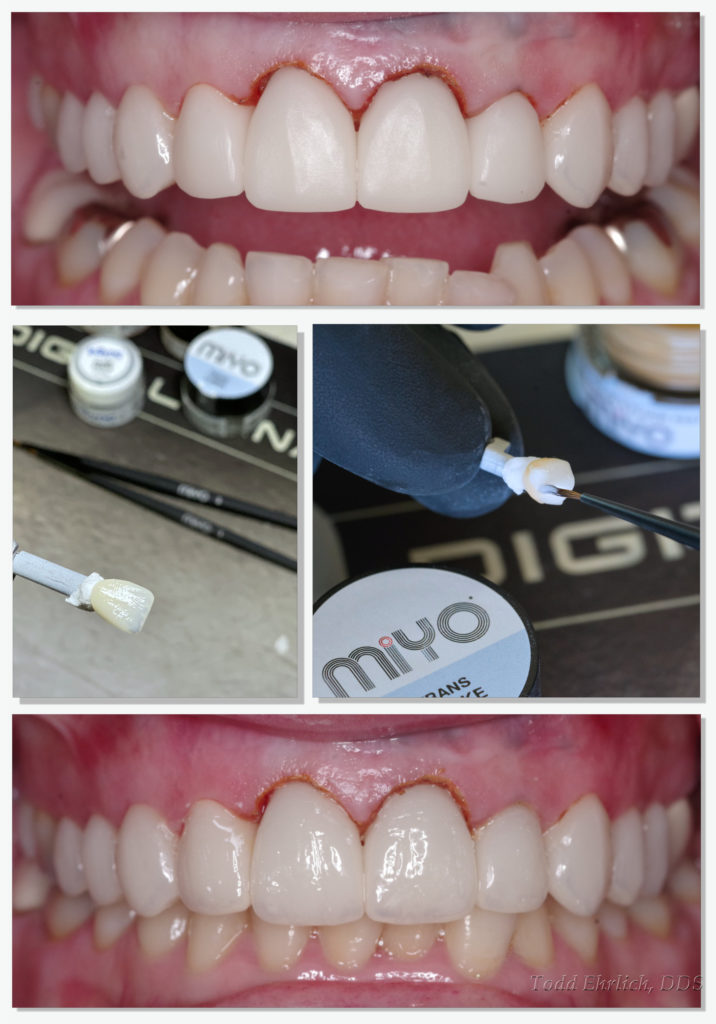
The veneers were bonded with Ivoclar Vivadent’s Variolink Esthetic and the front crowns were cemented with GC’s Fuji Plus RMGI cement. Post operative x-rays were taken to determine if any cement was left behind. The final images were take a couple weeks after insertion. This process is discussed and shown in our class: Straight Forward Chapter Two.
Our online education platform is awesome! Hundreds of videos that help your day-to-day use of CEREC! Works directly through your Apple or Android devices! 