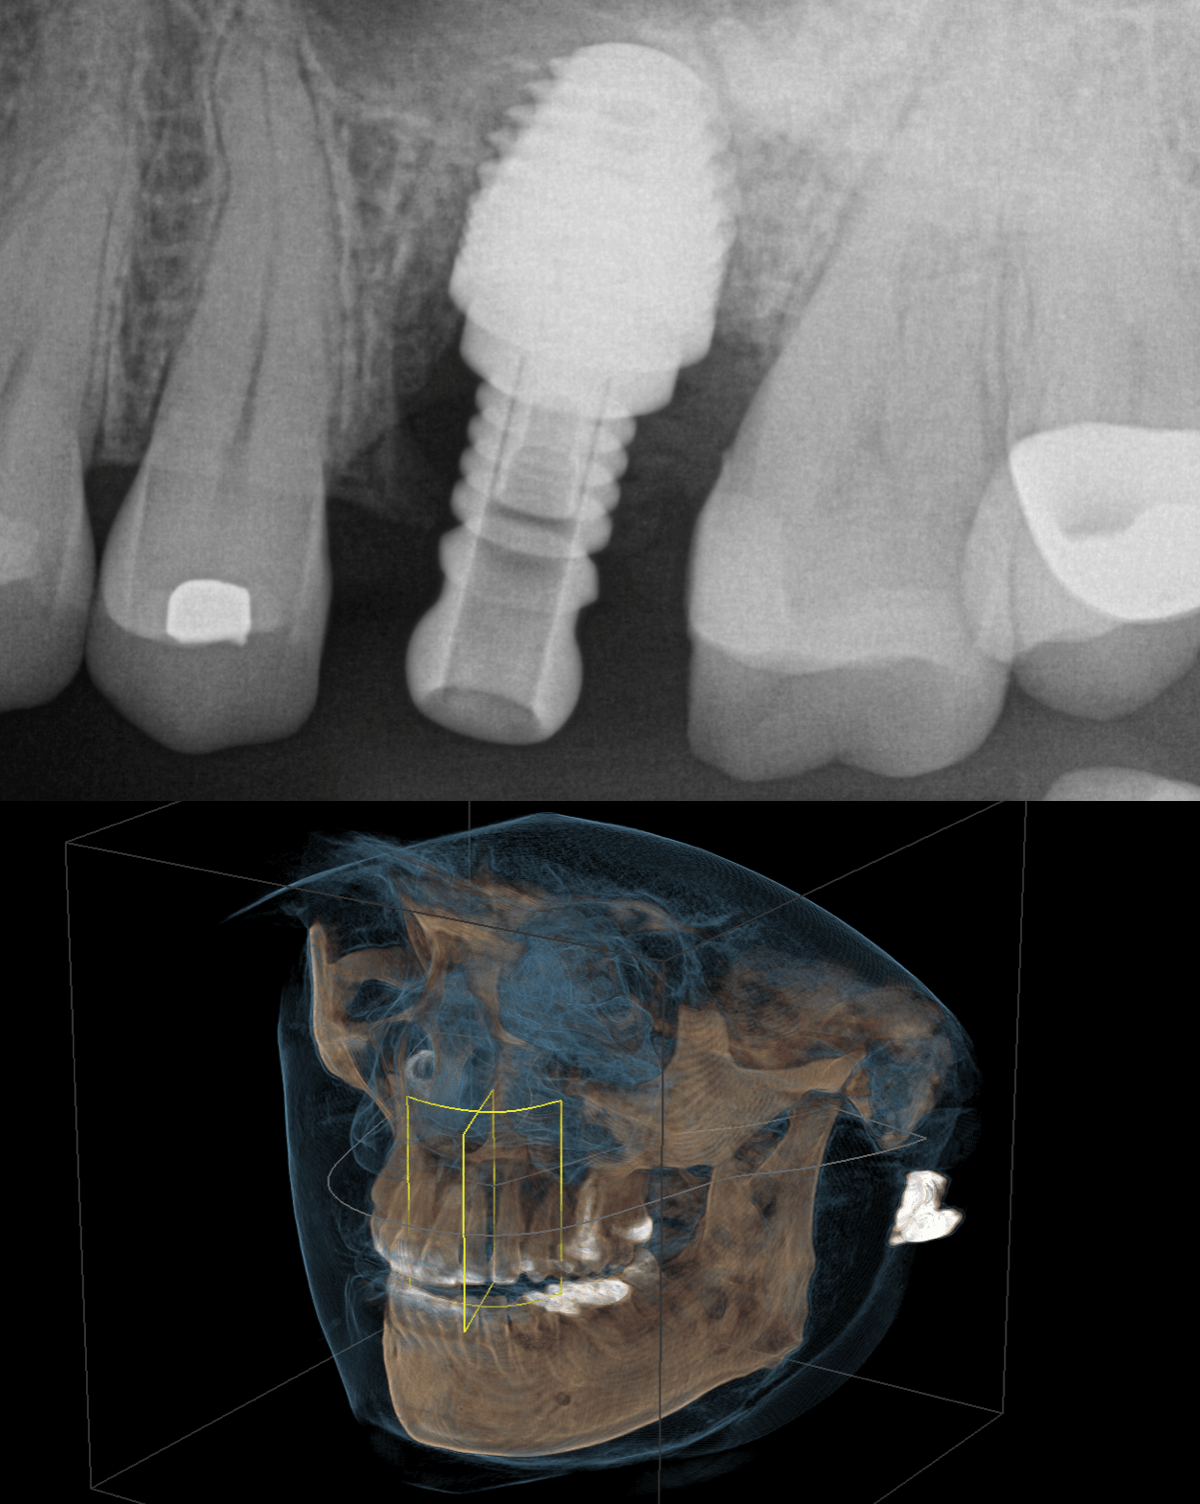
Here is a case where I didn’t initially plan on using 3D printing, but am glad I did. #14 large lateral lesion on an old RCT. Gave patient the option of retreat or ext. She went for ext. Was going to extract, graft and wait, but once I got the tooth out I had a lot of bone in the furcation. Placed a 7mm by 8mm Legacy 2 and grafted and placed a membrane.
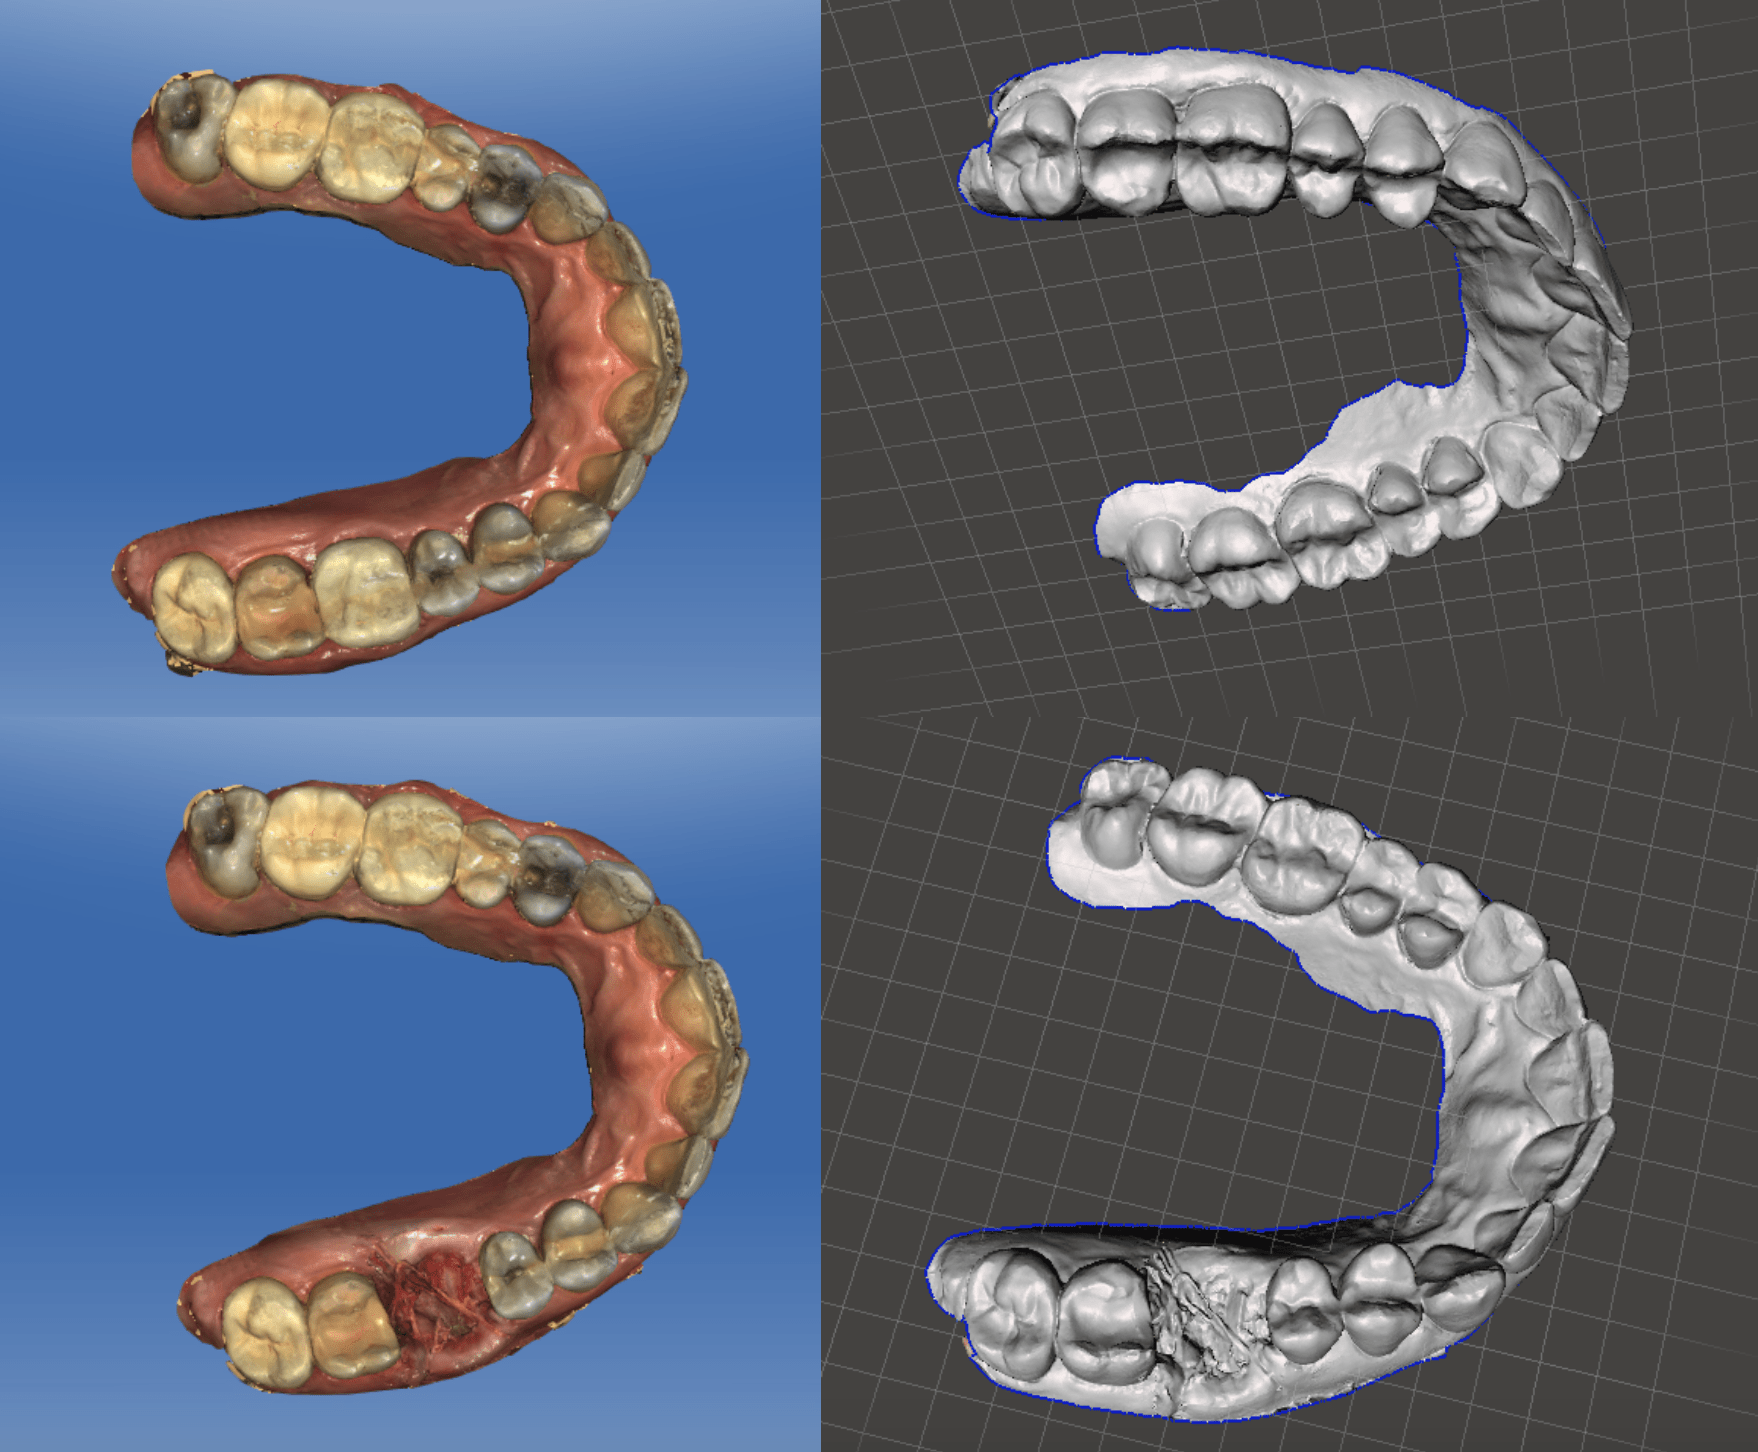
Sent a pre op and post implant CEREC scan to Frankie Acosta to convert into STL via InLab 15. As of now we cannot convert our RSTs into STL, but InLab can. Another option would be to take a PVS impression and invert it in Blue Sky Plan or take alginates and scan stone models in Galileos. I like the detail I get from a CEREC scan, plus no impressions, which is especially good on an recent extraction site.
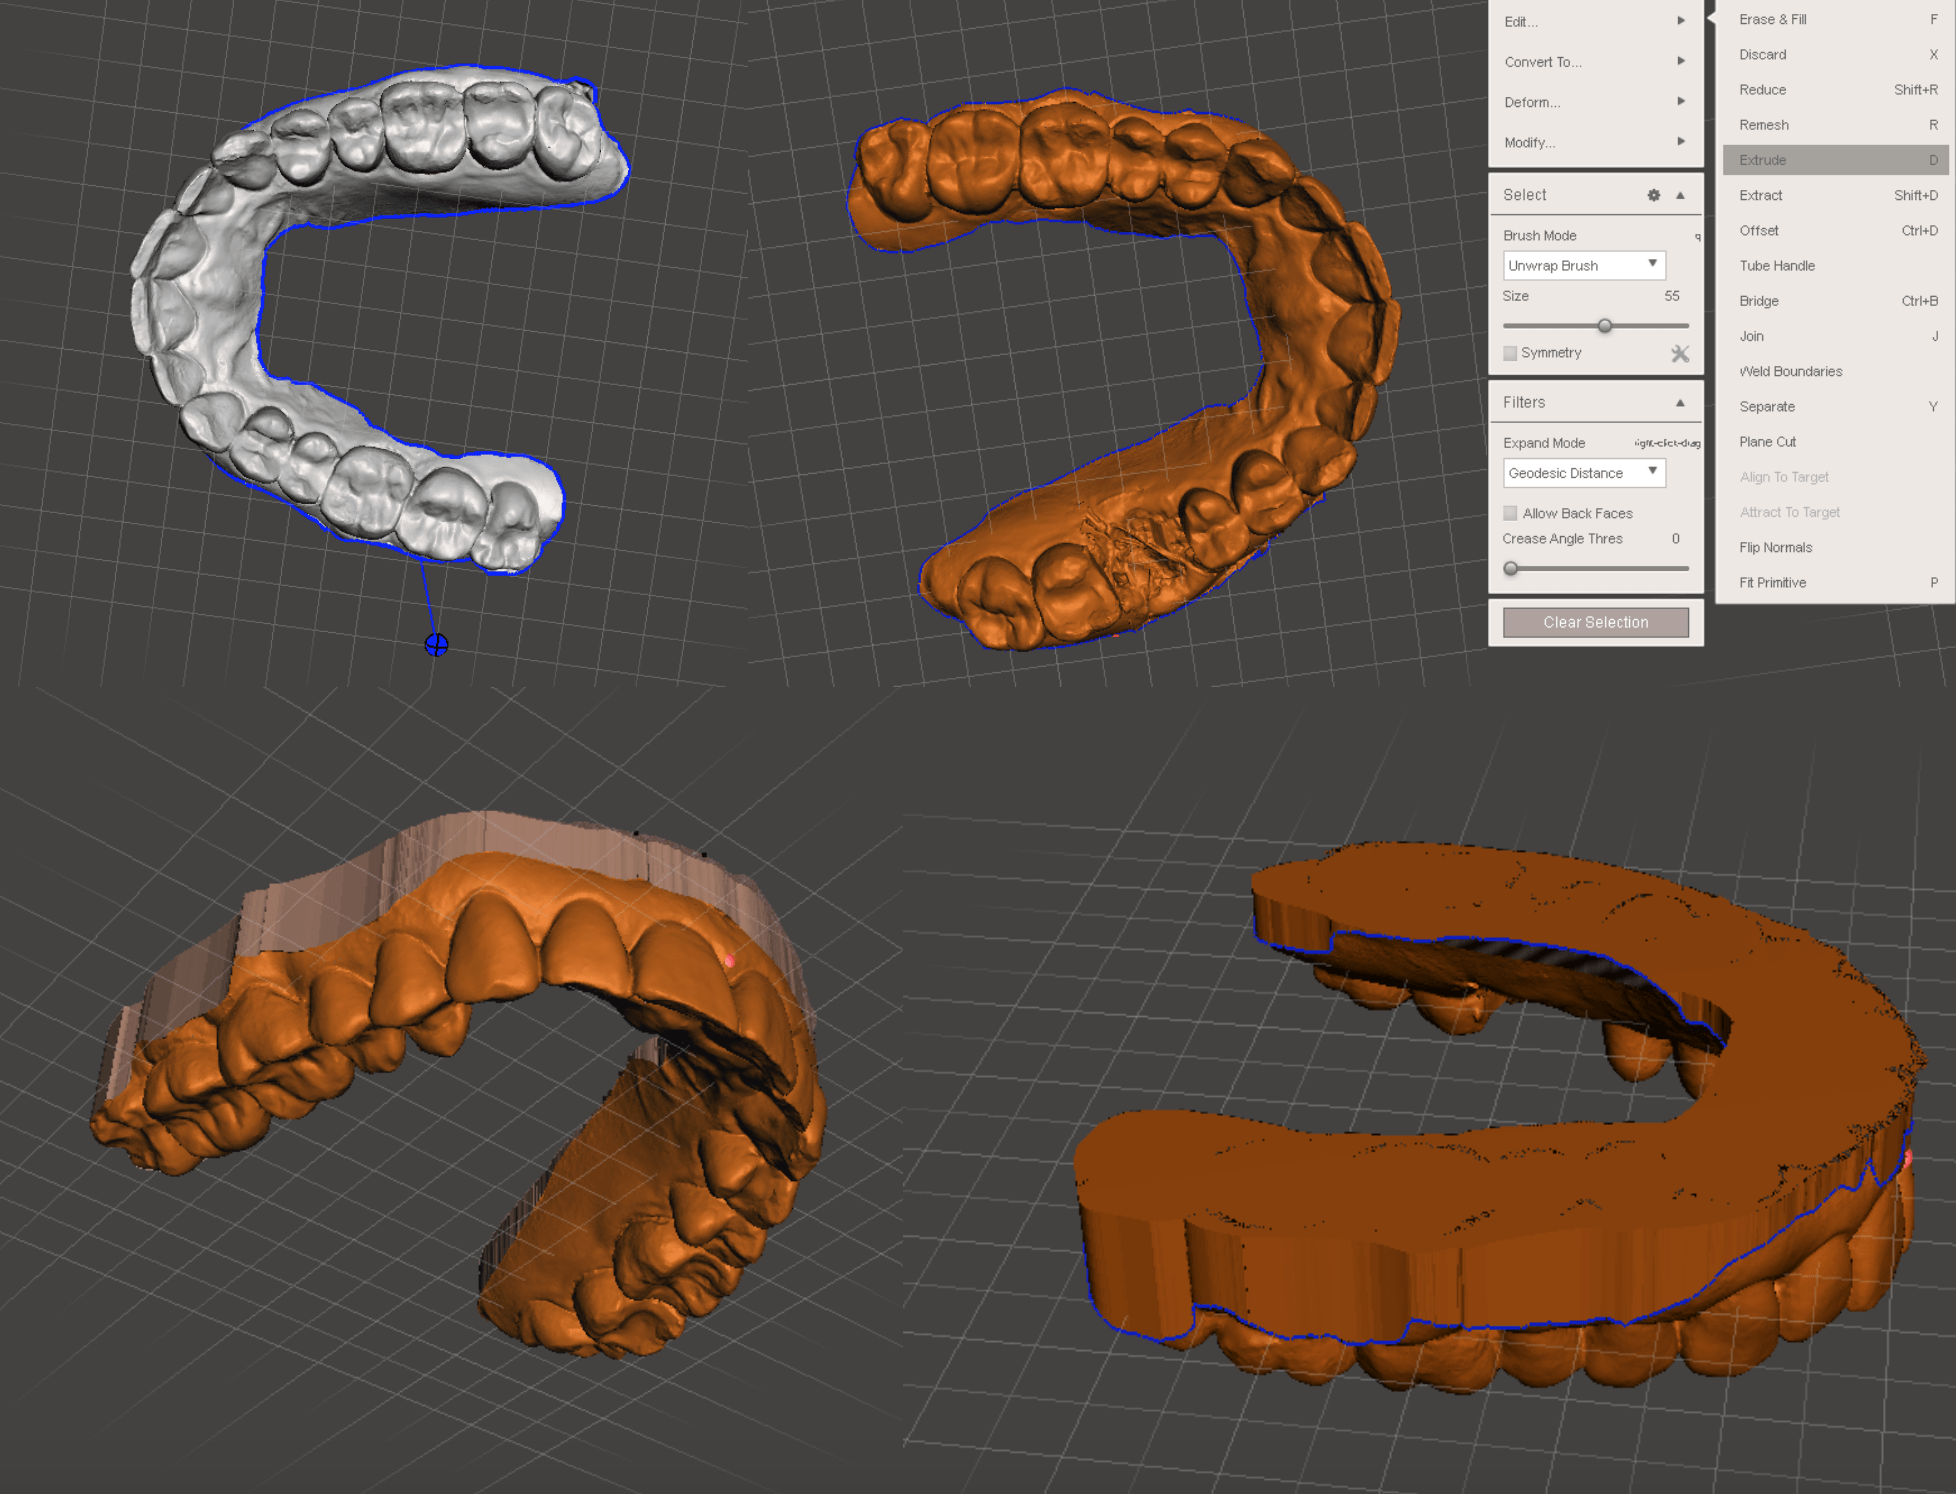
One of the first steps when getting an STL model is to check that there are holes. In Meshmixer there is a tool called “Inspector” that looks for holes in the mesh of your model. They show up as little globes around your model. Just click away, but don’t click a globe associated with the border of the model. A mesh is a shell, it really has no thickness so we need to “pour a base” in Meshmixer, which is super easy to do. Just click command or CTRL A and the whole model gets selected, then a menu will pop up with a bunch of choices, in this case we want to extrude the model, you can select to cap off the model, now you have a file ready to print.
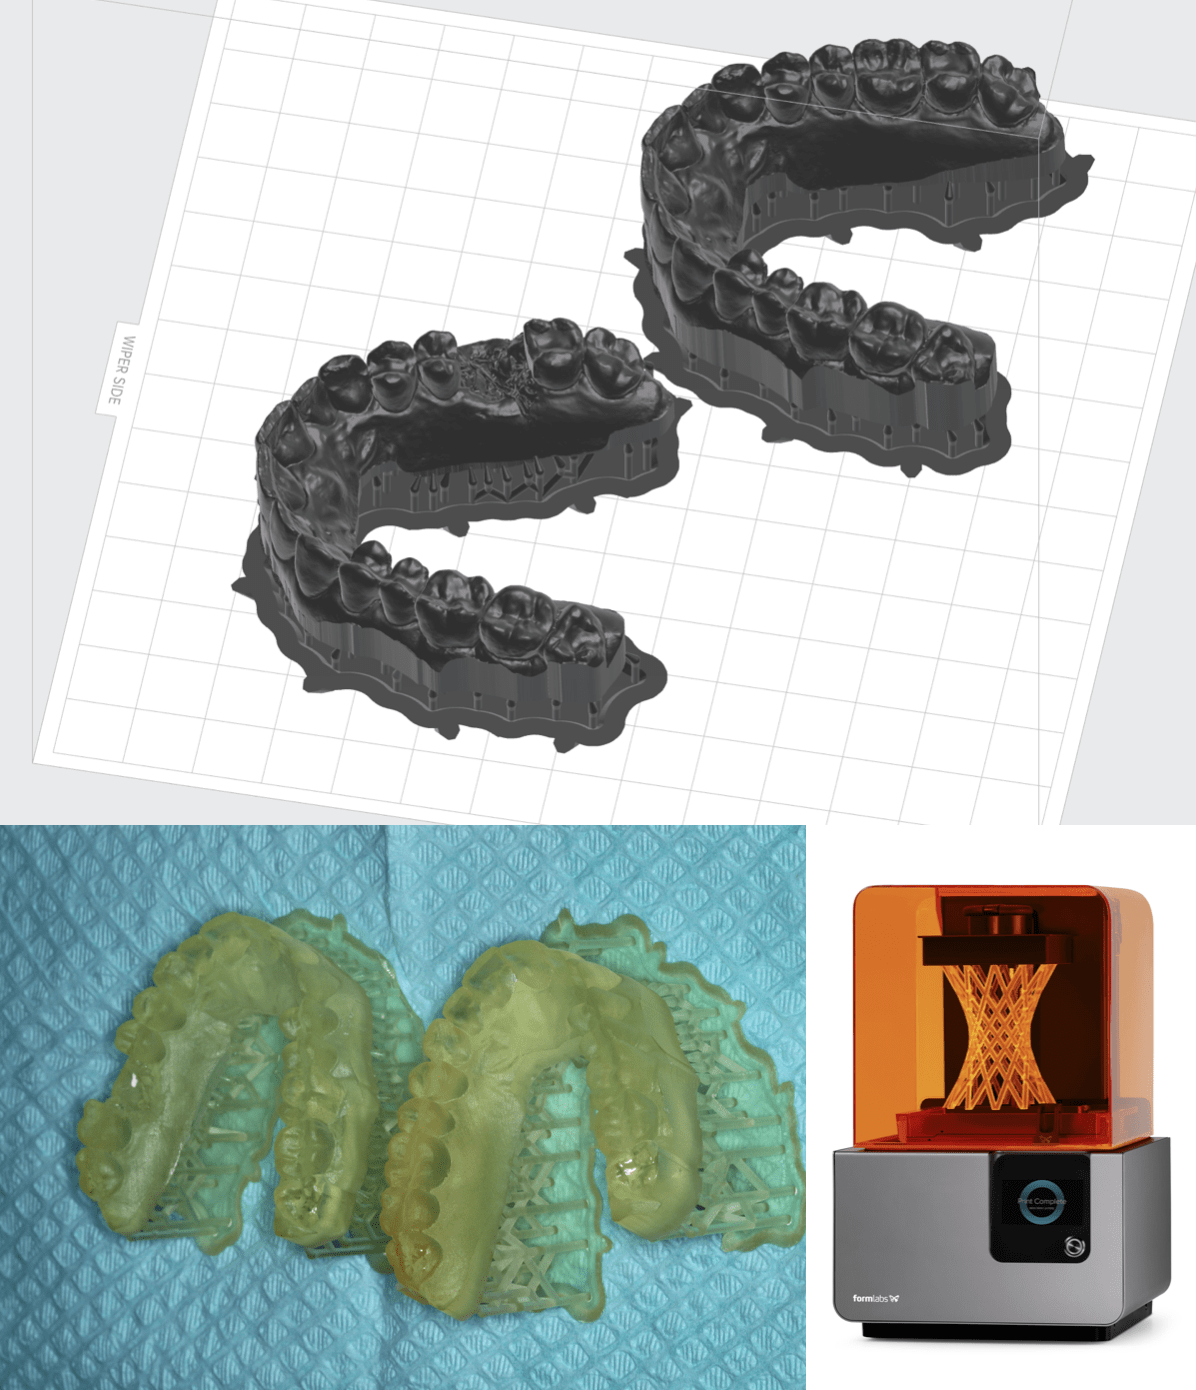
In the software for the Form 2 printer you can arrange your model and print with or without supports, which are like sprues in CEREC. I had a few models misprint, so so tried these with supports. Took about 3 hours to print both.
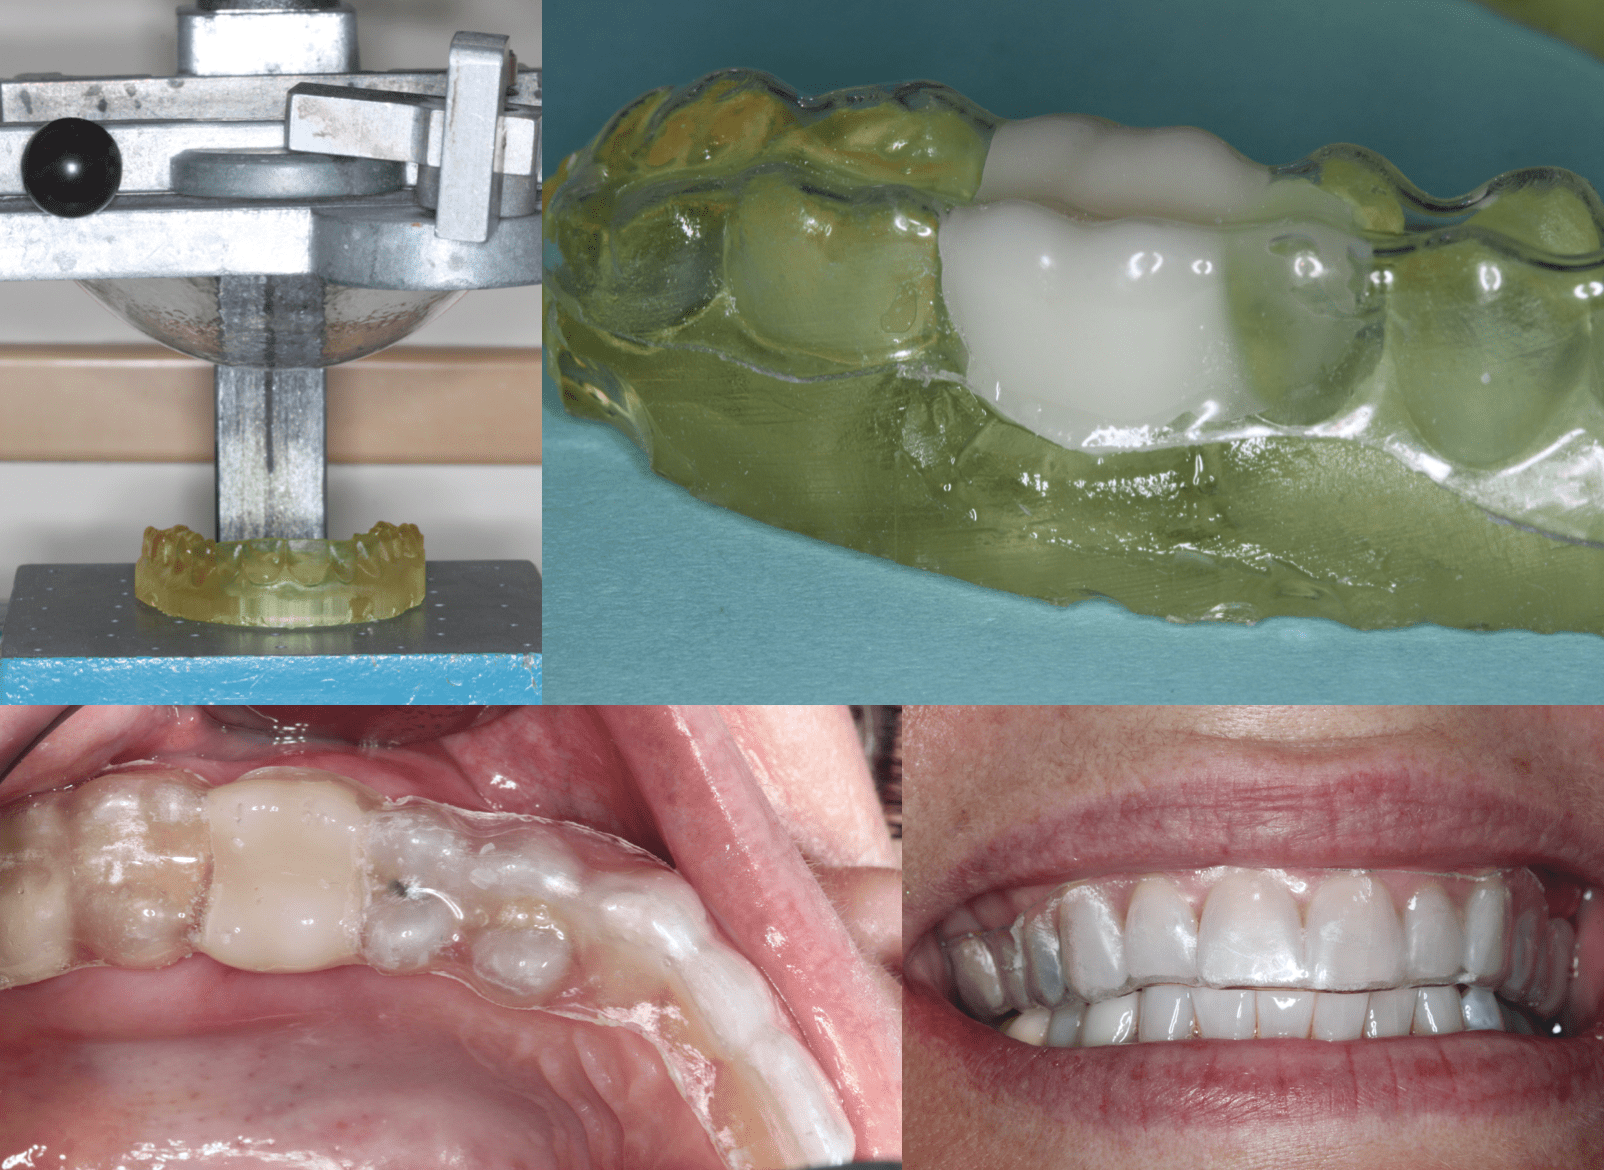
The next steps are pretty low tech. My assistant did a vacuform over the pre-op model. It was trimmed them we placed a few holes in it for retention and used Luxatemp. Now, can you do this with an impression and stone models? Sure, but in this case we were totally digital, and the fit was great!

