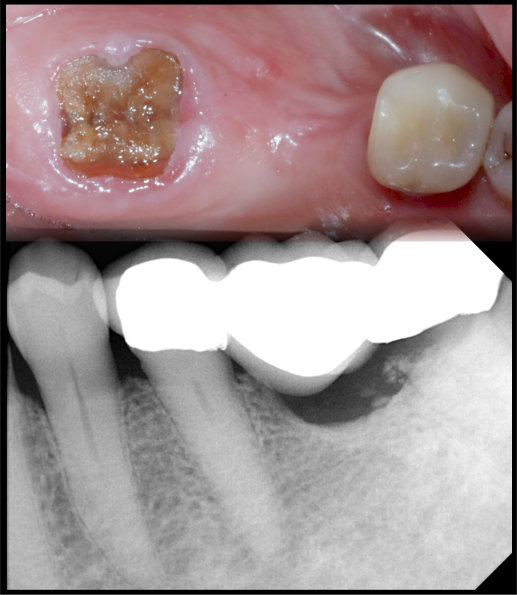
This case is a perfect example of gaining the patient’s trust by showing them how well and how quickly things can be done using a digital workflow. This patient presented with a failing 3 unit bridge #18 – #20. He previously had another provider place an implant in the number #19 area which failed, hence the 3 unit bridge. After educating the patient, he reluctantly elected to go ahead with another implant, continuing to remind me how bad his first implant experience was with the other provider. We assured the patient that the use of a digital workflow does provide a whole new level of comfort and efficiency.

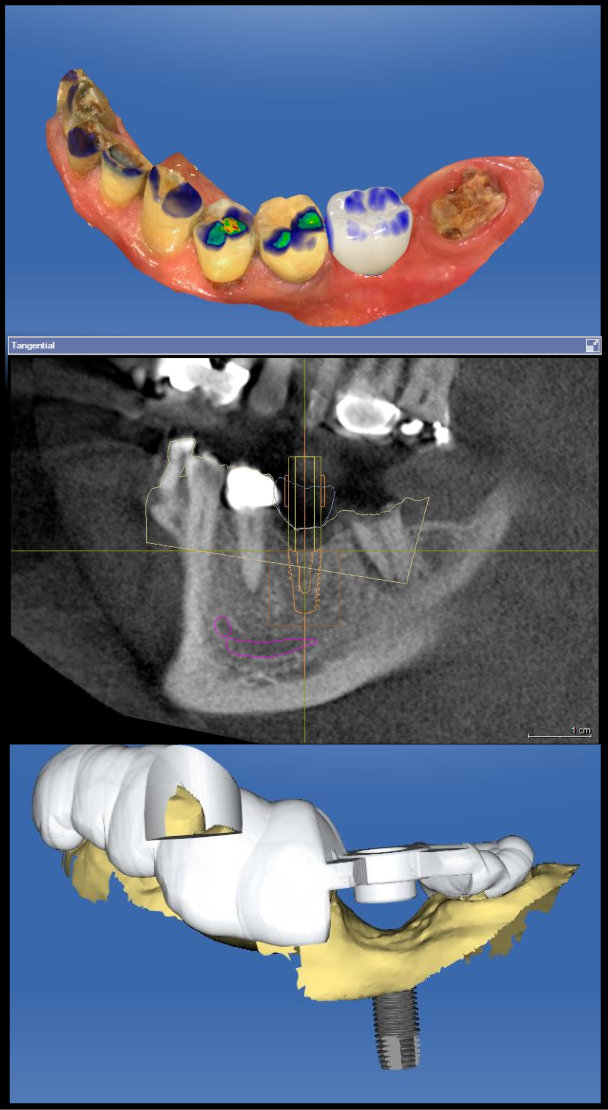
After a quick Cerec scan and crown design to verify the implant would be in the correct position, we imported the .ssi file into Galileos.


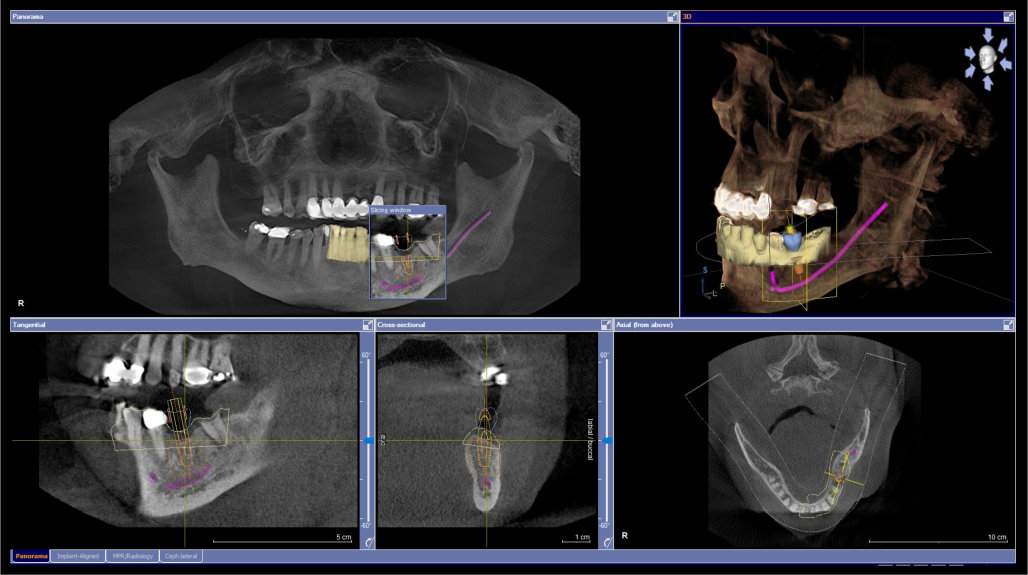
In Galileos, we digitally placed the implant and confirmed the placement in the implant aligned tab.
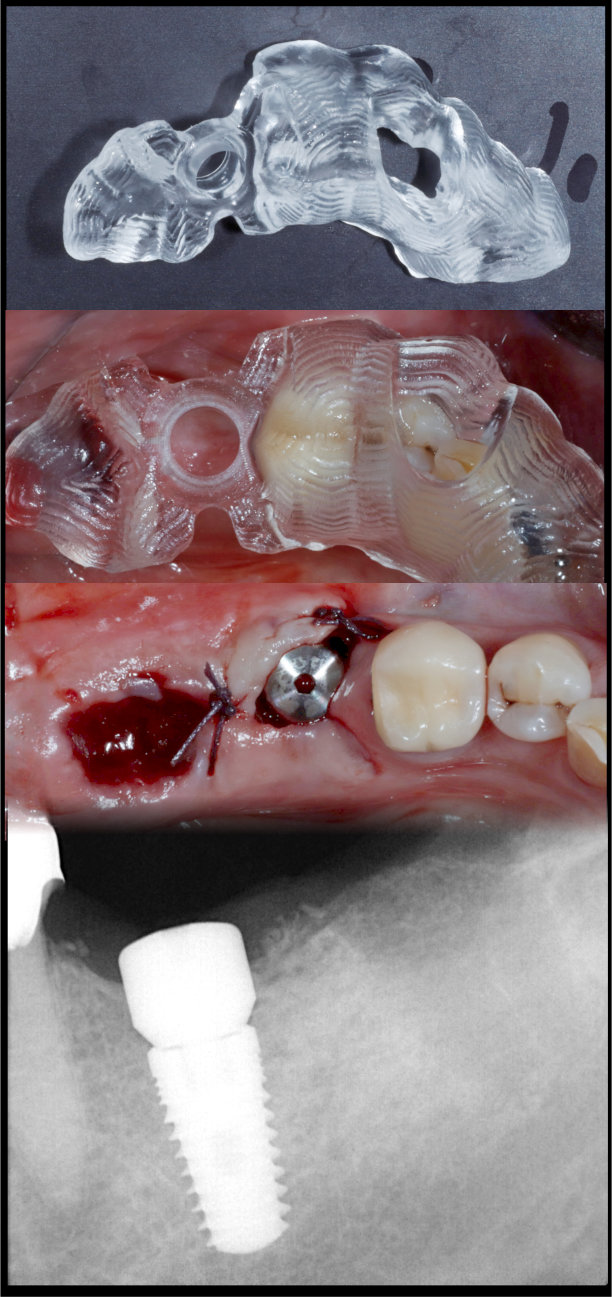
With everything the way we want it for the day of surgery, we put in our D2 parameters. The next step was to make the Cerec Guide 2. First we exported the file as a cmg.dxd and then imported it back into Cerec to design the guide. Once the guide was designed, we simply milled it out using the MCXL and then placed the implant. You can see from this case how digital workflow using Cerec and Galileos makes implant placement more predictable and ultimately more successful.

It’s hard to tell in the pre-op photo but we needed more attached gingiva. A flap was laid and the attached tissue was pushed toward the buccal. Doing this ensures that when the implant heals it will have adequate tissue for implant health. On surgery day the patient was in and out of the chair in 1 hour with anesthesia, extraction of #18, implant placement and sutures. Talk about efficiency and convenience for the patient and the team! The best part of this surgery was the patient said nothing hurt and he couldn’t believe the speedy process. Digital workflow allows for the planning of a surgery knowing the end result before it is ever started.

