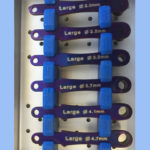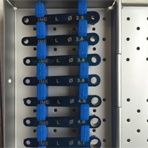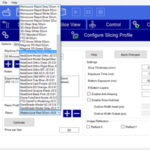
Here is a prime example of what always gets in our way in Guided Surgery, Metal Noise. In this case we have #4 broken off at the gumline with two PFMs and two RCTs and a considerable amount of noise. I plan my implants to draw with the adjacent teeth contacts and to be in line with the central fissures of the adjacent teeth, so I know I will have problems. Small Reference Body tried in.

Patient scanned in my shiny new Comfort Plus. You can see the metal scatter. While that was happening I was scanning my patient in CEREC 4.2. Love the new Move tool!

On the upper right you can see how scattered and bulbous the adjacent clinical crowns look. But all that is null and void when adding the CEREC .ssi data. Now the implant can be planned taking into consideration depth, alignment, buccal and lingual tip, as well as the position in regards to the final restoration.

We can get further noise reduction if we export into Dolphin. Look at the lower left images of the metal, much less scatter.

While the Guide was milling I removed what was left of 4 and you can see we have a sizable defect on the buccal.

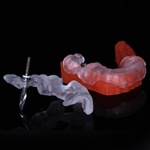
Guide placed (I removed the tags of Thermoplast), I hate to sound like a flake but I am still working on my CERECguide keys. Note the angulation of the pilot drill.

Used a long 3.7 by 16 for surface area and stability. I don’t love temporizing pre-molars but this patient really wanted a tooth.

DirectGen DFDBA Mixed Cortical and Cancellous (I used straight cancellous if I have 4 walls), Cytoplast resorbable membrane . Stock Zirconia abutment torqued down (should have been 30 not 35). This is the whole, one abutment one time concept. When all is healed I will remove my temp and freshen up the margins then take another impression but the abutment will always stay there.

Temporary milled from CEREC with Empress Cad Multi block. I was a little concerned with the proximity to the canine, but I am a bit Palatal and took a scan which showed a solid 2mm away from everything. Will restore in 6 months


