As with anything, it all starts with determining if you can do the case flapped or flap less. Here we have a ton of attached tissue, so I’m definitely going flapless.

Here we have some bone but its in a weird location, normally in this position I would like to use the 5.7 or a 5.2, but in this case we could only go with a 4.2

I think just as important as getting a crown proposal, is looking at the edentulous space and “sizing it up” first then comparing your planned position to the future crown. Sometimes you can design the crown wrong. I want to have equal amounts of porcelain on either side of my abutment, so I start by centering the implant then tweaking later with the crown proposal.

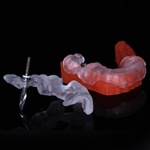
As stated on other cases, look at the windows to confirm seating and use either an Isolite or a bite block to stabilize the Guide. I am favoring the Isolite lately as I use a lot of irrigation.

Punch used, note the large band of attached tissue.

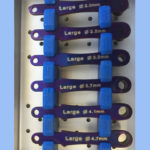
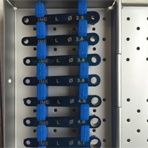
The Implant Direct Guide Handle kit was initially invented to correspond to laser lines on the long drill at 19mm and 22mm. I found this to be too inexact for me so I figured out how to get a hard stop with the handpiece head. This works about 95% of the time, but you may want to use the laser lines for the 16mm Implant, or if the adjacent teeth are really long.

I use q lot of irrigation, both external from the handpiece and supplementary with a Monoject syringe. When working close to the sinus floor I keep a ball ended probe handle to feel the floor:

I usually don not take a lot of working length films, but when I am planning a lift I want to be as close to the floor as I can without perforating it:

I like to go up to a 2.8 before using the expanders. Again I used the laser lines for depth in this case just to show how to use it, but in general I would have set the D2 to 22mm which would allow my handpiece head to serve as the stop:

Starting with sharp and then blunt condensers I slowly lit the membrane up. In this case we had some nice bone ahead of the condenser.

Again, feel after each condenser that the sinus floor is still intact:

A lot of the time I do not feel hard bone ahead of my explorer, but in this case I felt comfortable placing MFDBA. Use the condensers to further lift the membrane up:

Placed the implant through the Guide to get it started (D2 was at 17.5 to correspond to the laser line), however final confirmation was done visually (4mm tissue height, 2mm collar on abutment )

Its hard to see in the sinus, but we have a little cloud around the apex where the bone graft was. Right where we planned it. Again, I would have liked to go with a fatter implant, but you get what you get sometimes.


