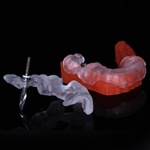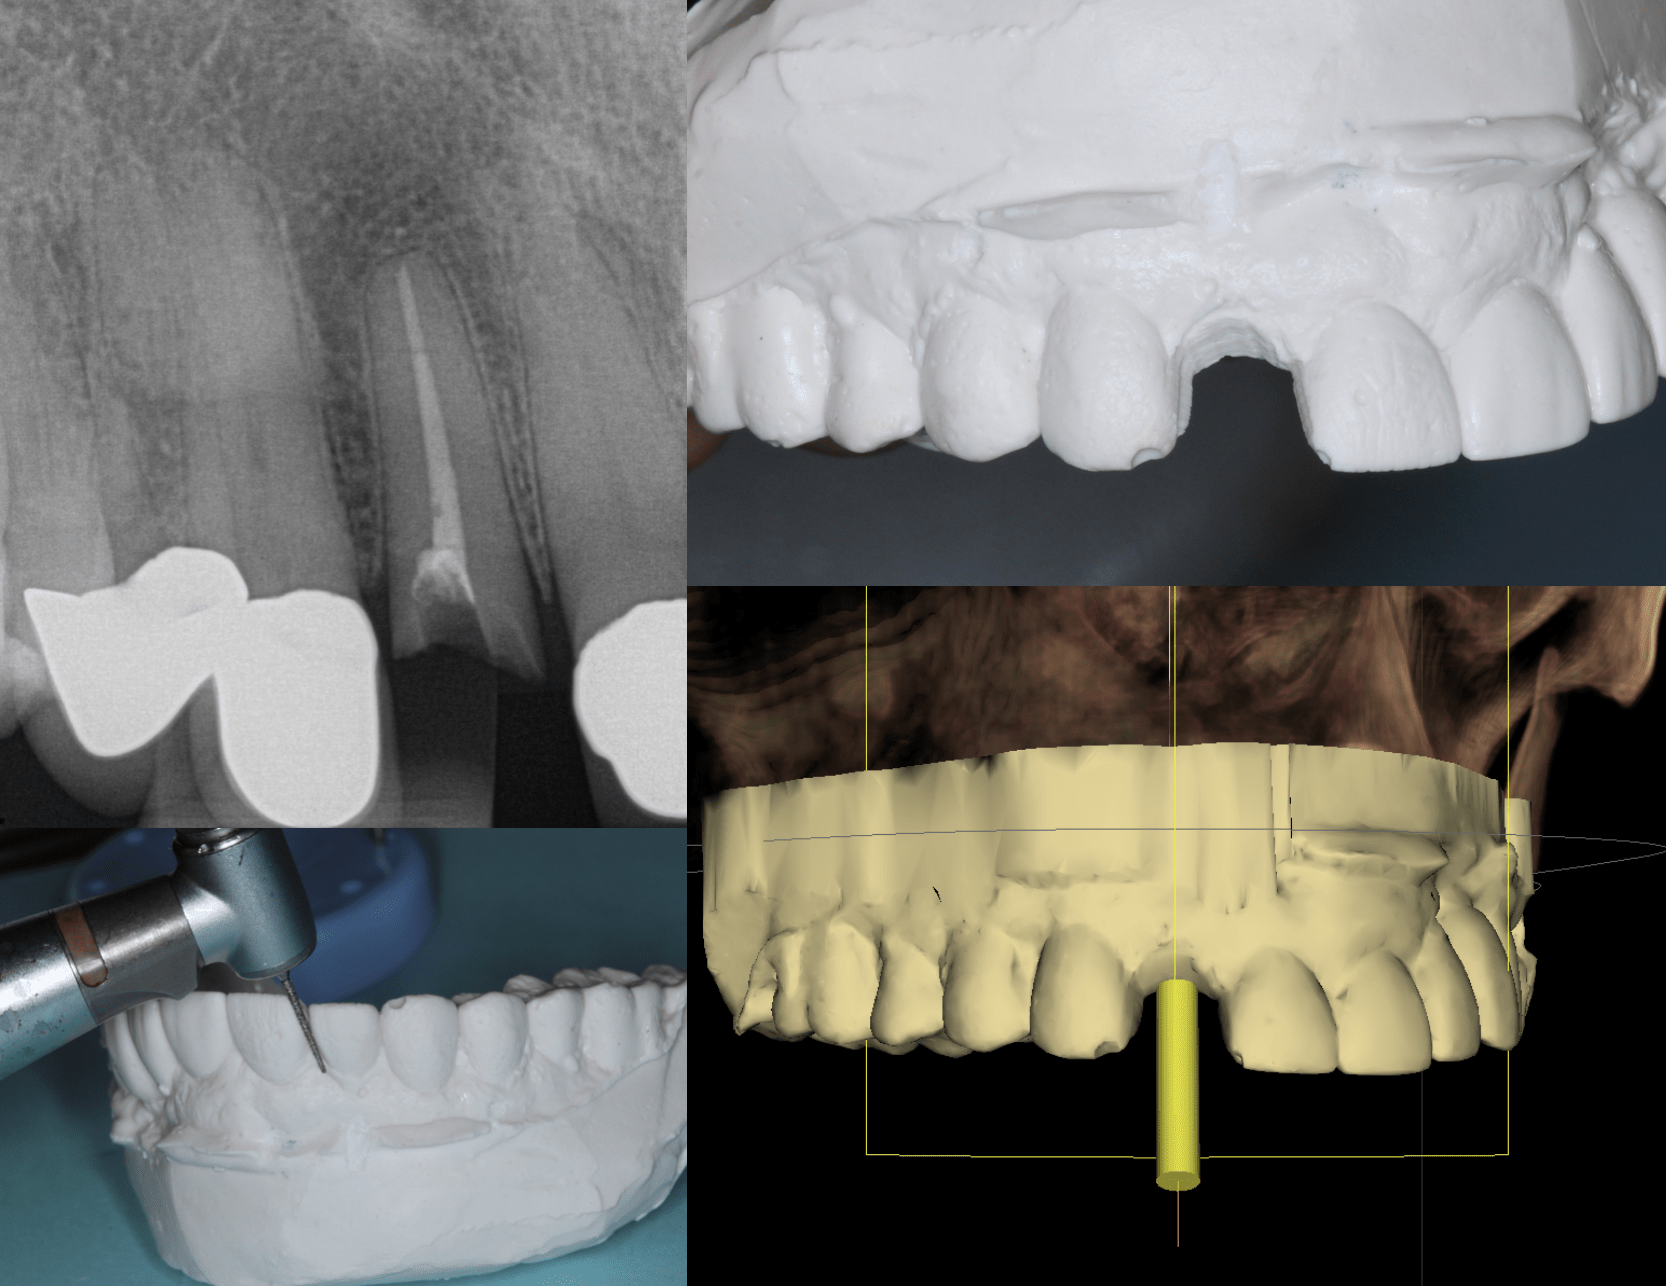
Wow talk about a kitchen sink case! Here we have an immediate implant and a common problem with immediates. This patient came in between patients on a Thursday with his crown and post in hand. I forgot to take a pre op photo before I cemented it back. We should have taken an alginate before or a CEREC scan but alas it was a shit show that day! So we got an alginate after the crown was cemented and got a CBCT scan. The problem is that we need the tooth out to make the guide. So I simply cut the tooth out saving the contacts as much as I could and then designed the CEREC Guide.
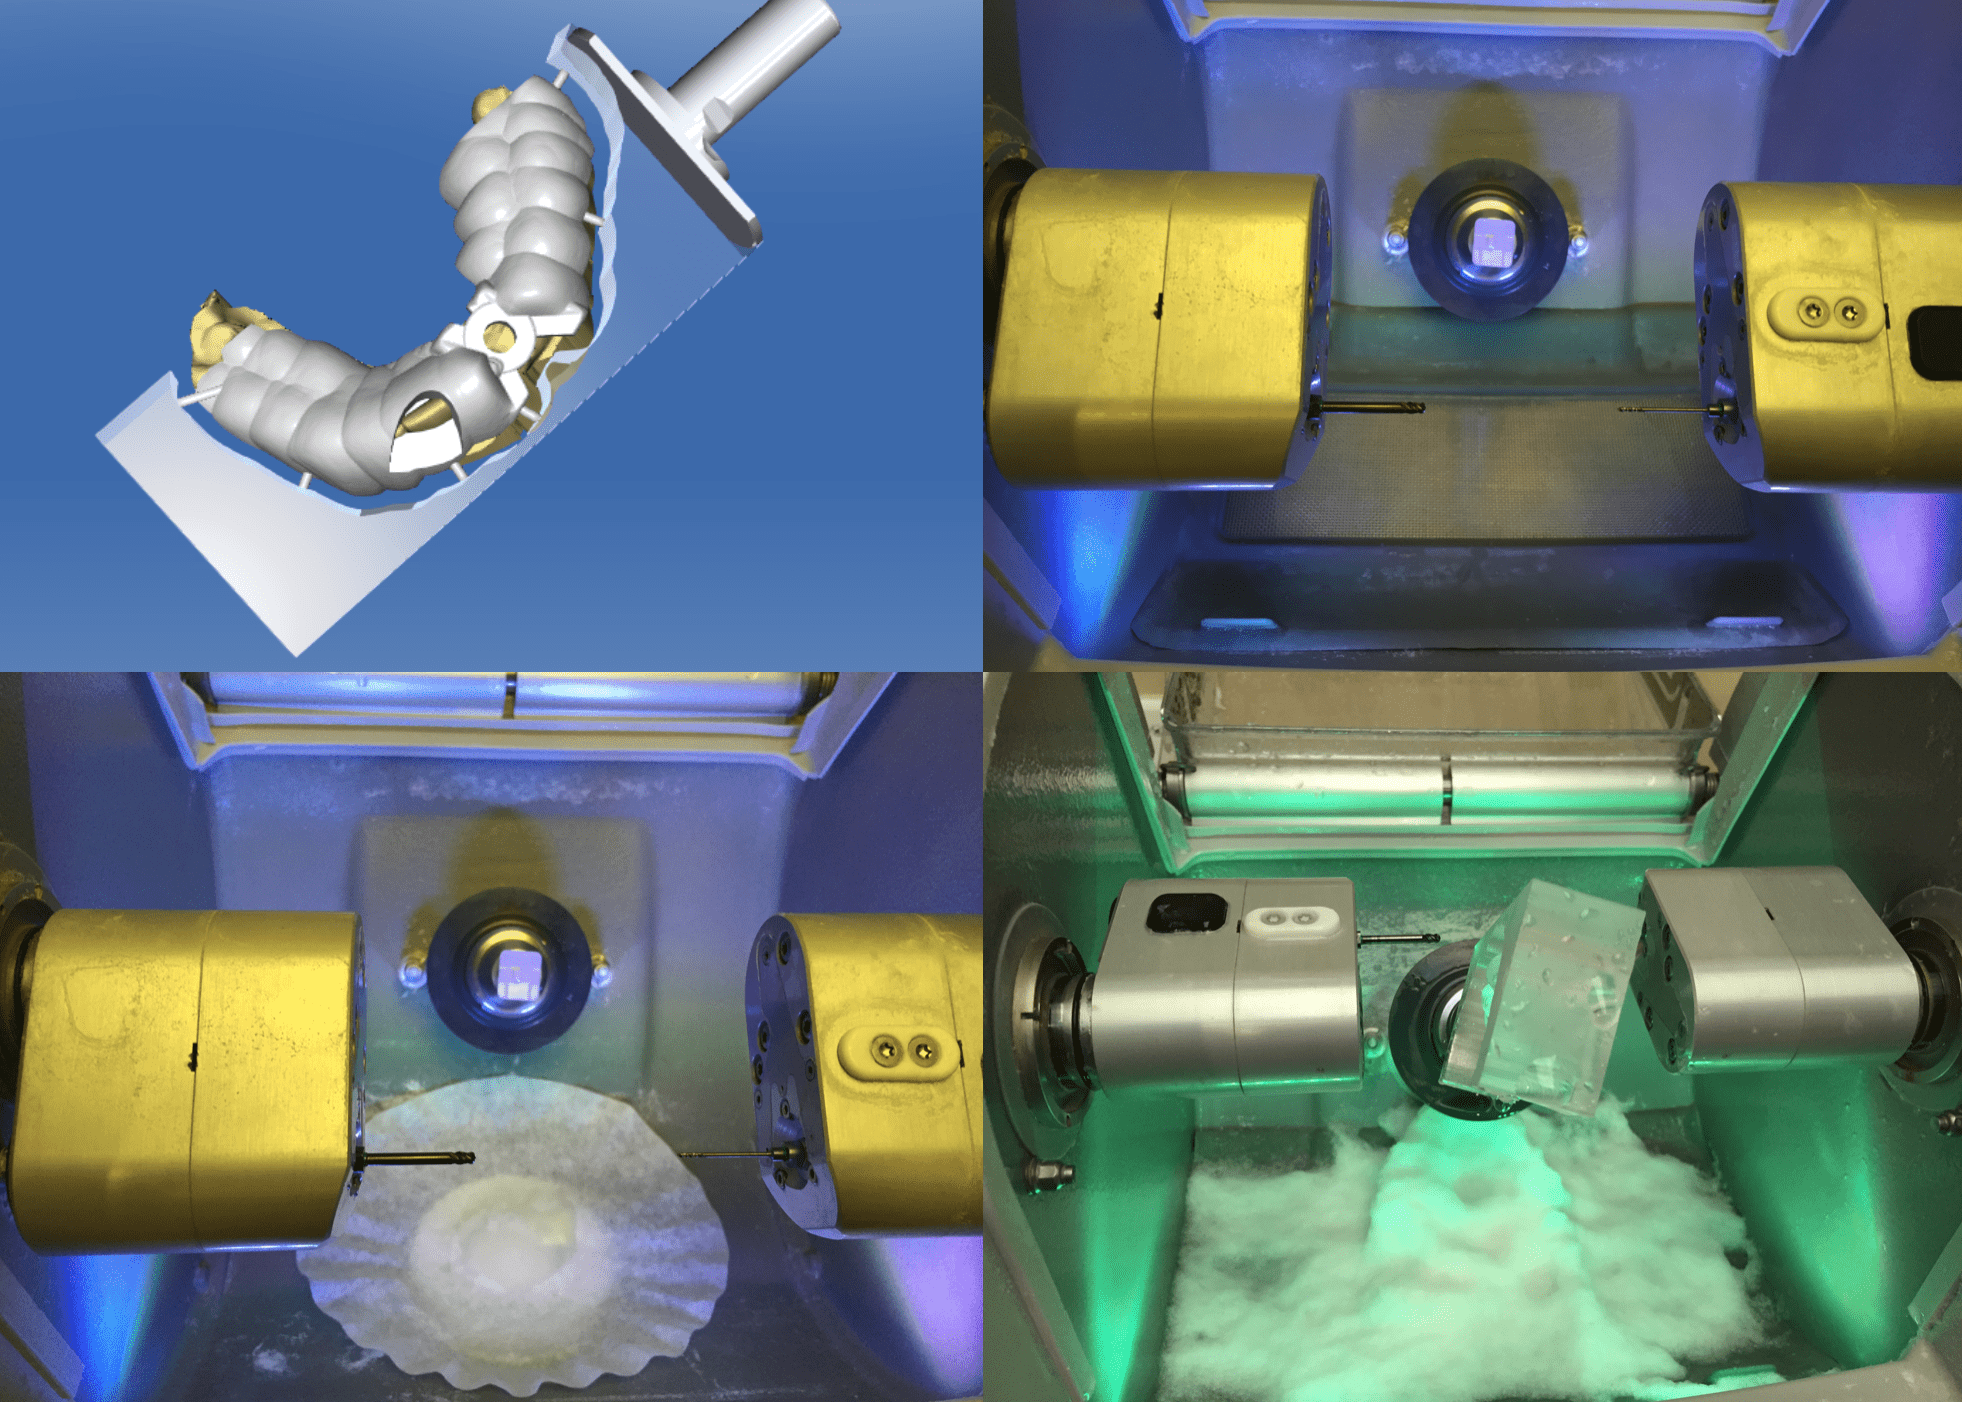
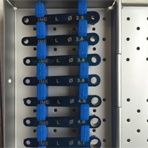
More to add to the “cheesy” title but I have been having issues with the water not draining in my MCXL when using acrylic blocks. One solution that the PTC gave was to put a coffee filter under the grate. I know, a little ghetto but it worked!
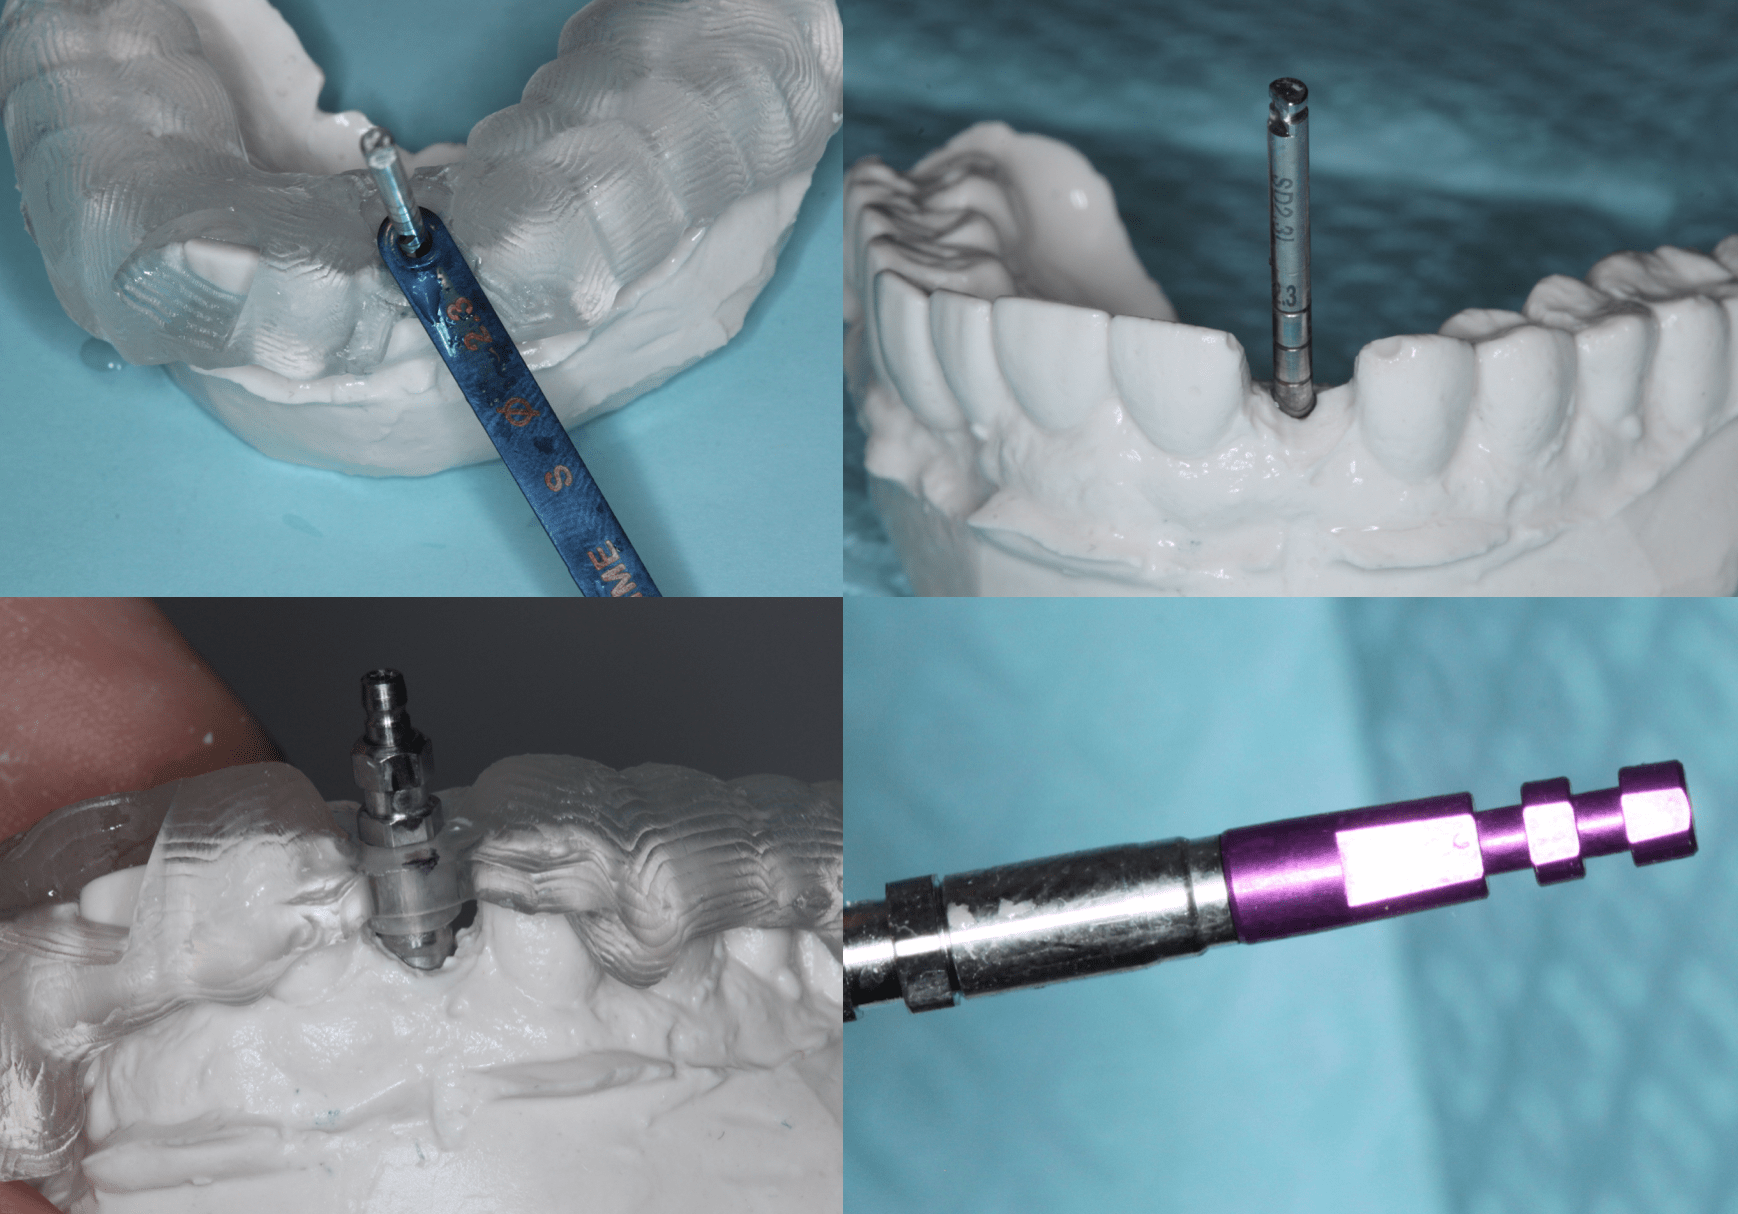
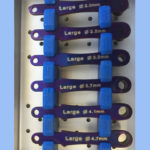
One of the benefits of using a fully guided system where you place the implant through the guide is pre-making a temp. Also I have to say that I have been spreading some mis information again! You can just buy my ID CEREC Guide keys and ONLY buy the NP and RP guided conical mounts for the Nobel Replace Conical Implants!!!! I just saved you 7K!! You do not need to buy the Nobel Replace Tapered Guided kit and ID prefers that you use the normal Legacy kit with the Interactive implant. Now I have to re list my guided kit on Ebay! Just remember that the mounts are set 9mm higher than the implant so the D2 is 10,11.5 13 etc plus 9. Since there is no key you don’t subtract 1mm
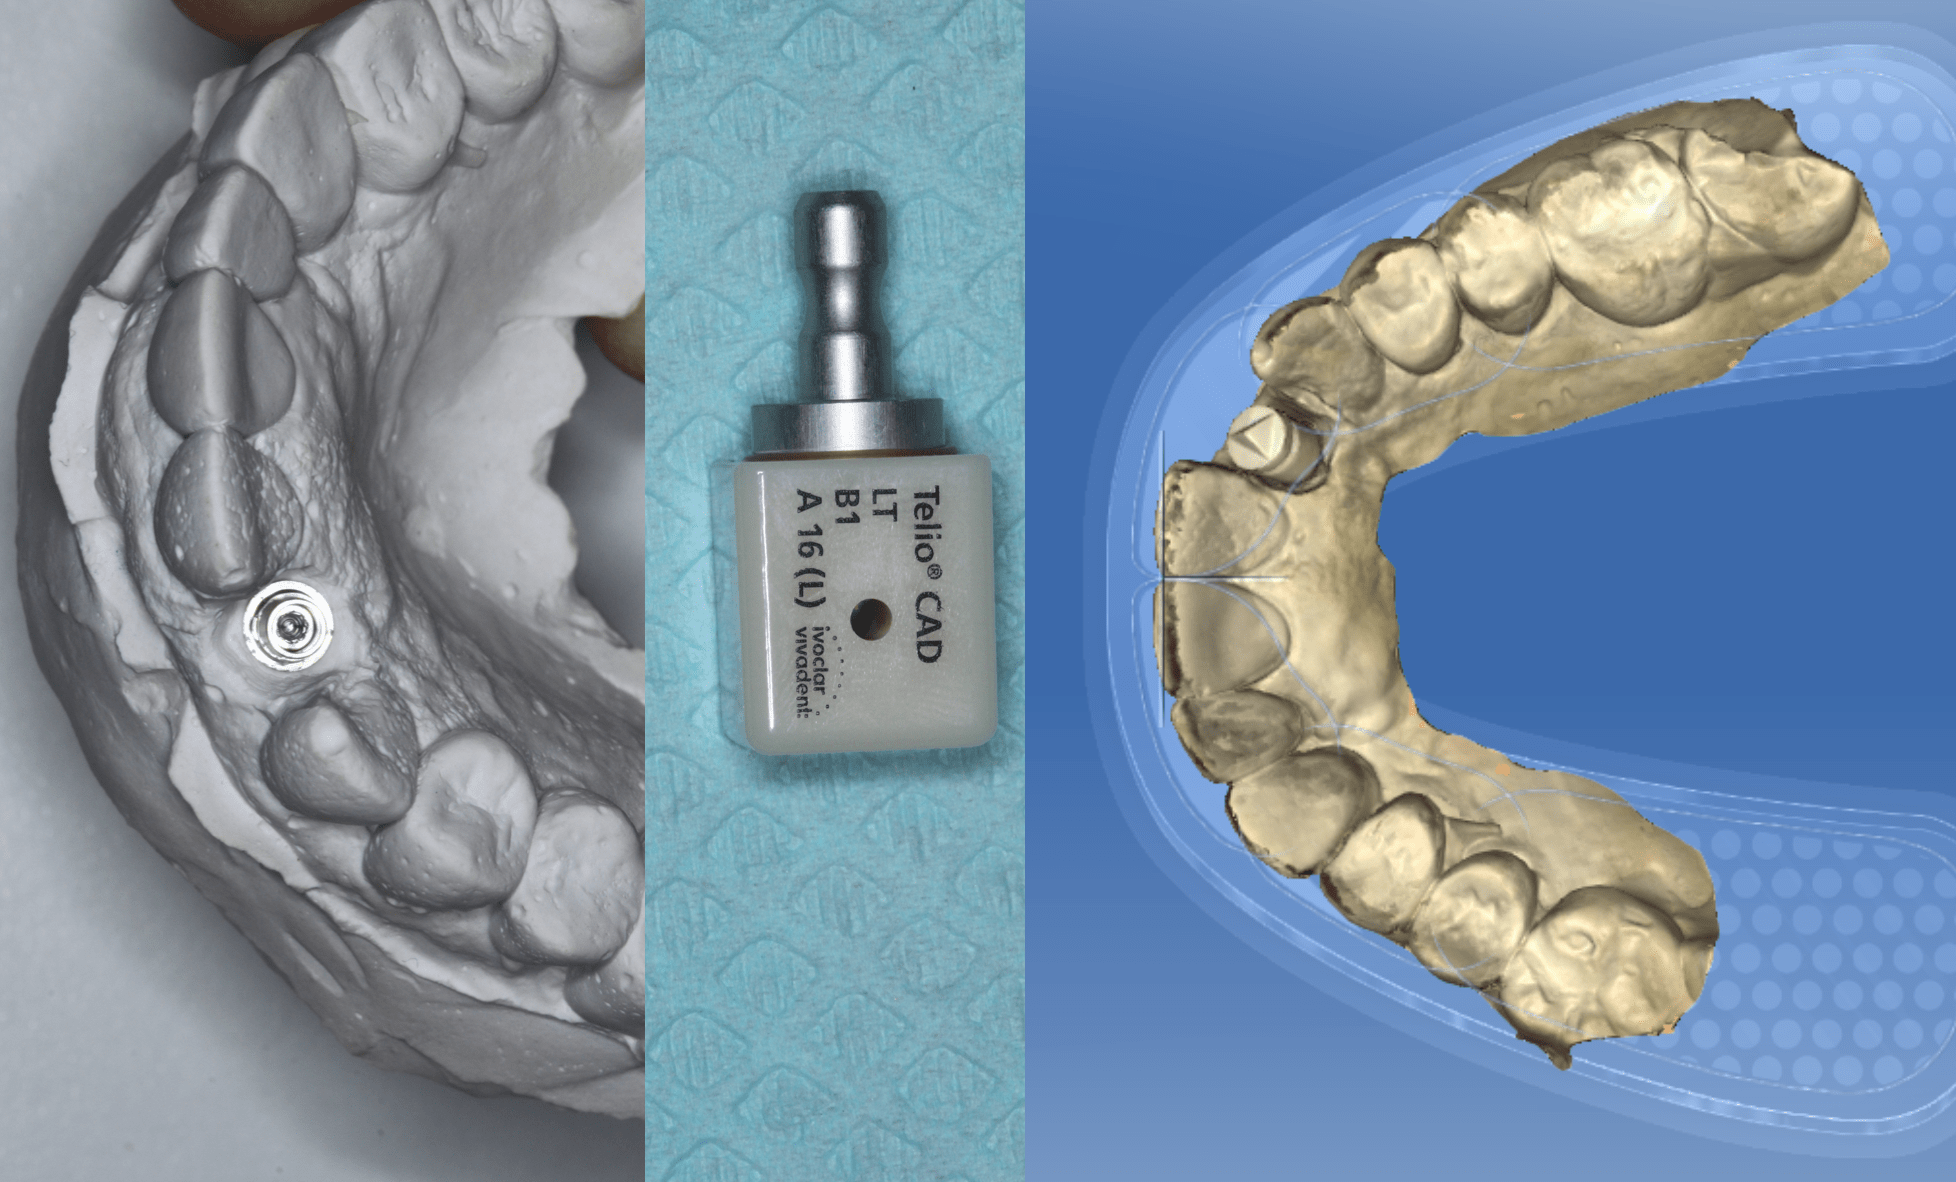
After placing the analog into the stone model, you can use the Ti-base and scan cap to make your Telio CAD temp off the model.
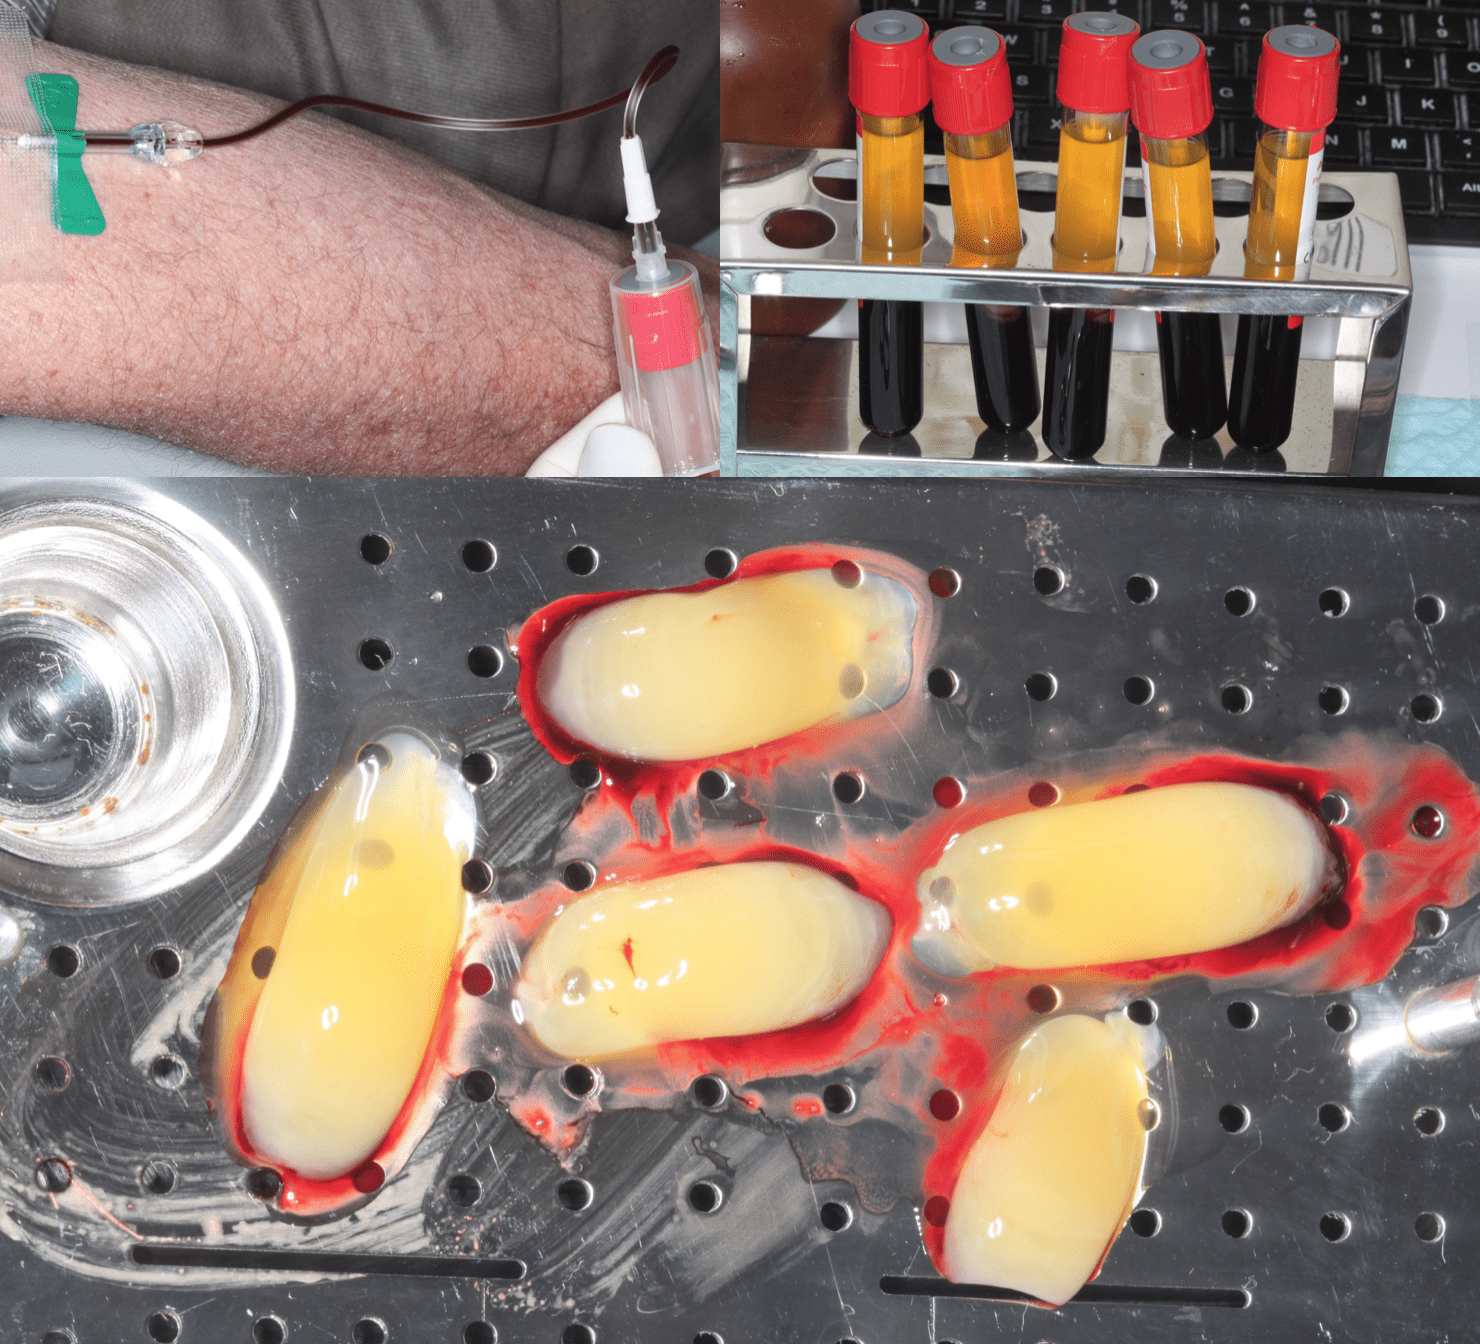
I love PRF!!! So we spun out 5 vials. I really only needed 2 but its better to have more than less and have to stick the patient again. Some will be used with our grafting material and others can be flattened into the membrane used on top!
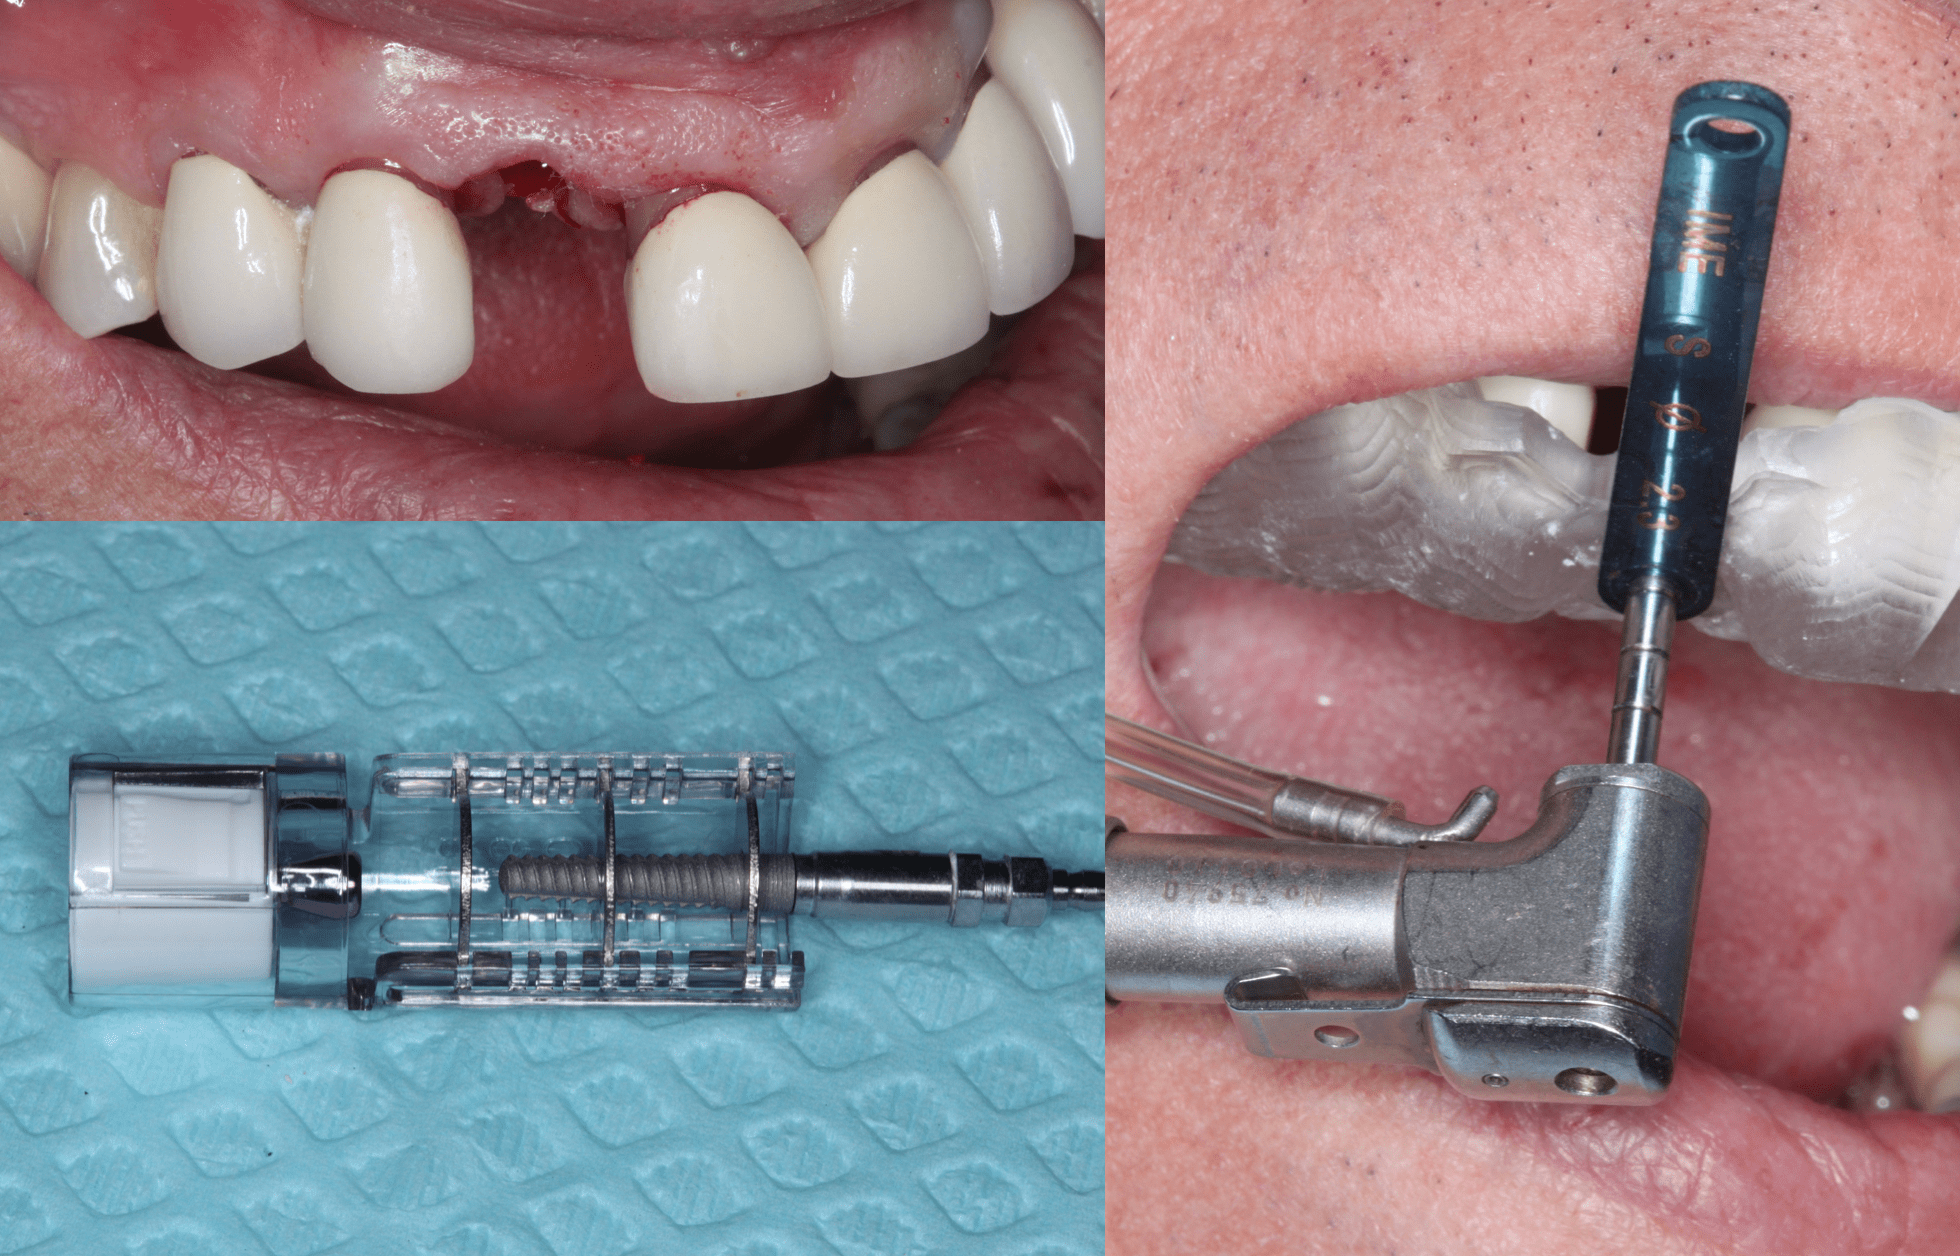
Used my guide keys, and as this is a 3.7 by 16 I tried to use just the 2.3 drill which worked. Also we used the Nobel NP mount with the Mount Free Simply Interactive implant.

Placed the implant through the guide and as you can see we are placed pretty ideal. We have 2mm of gap between the buccal plate and the implant so we know we are going to graft.
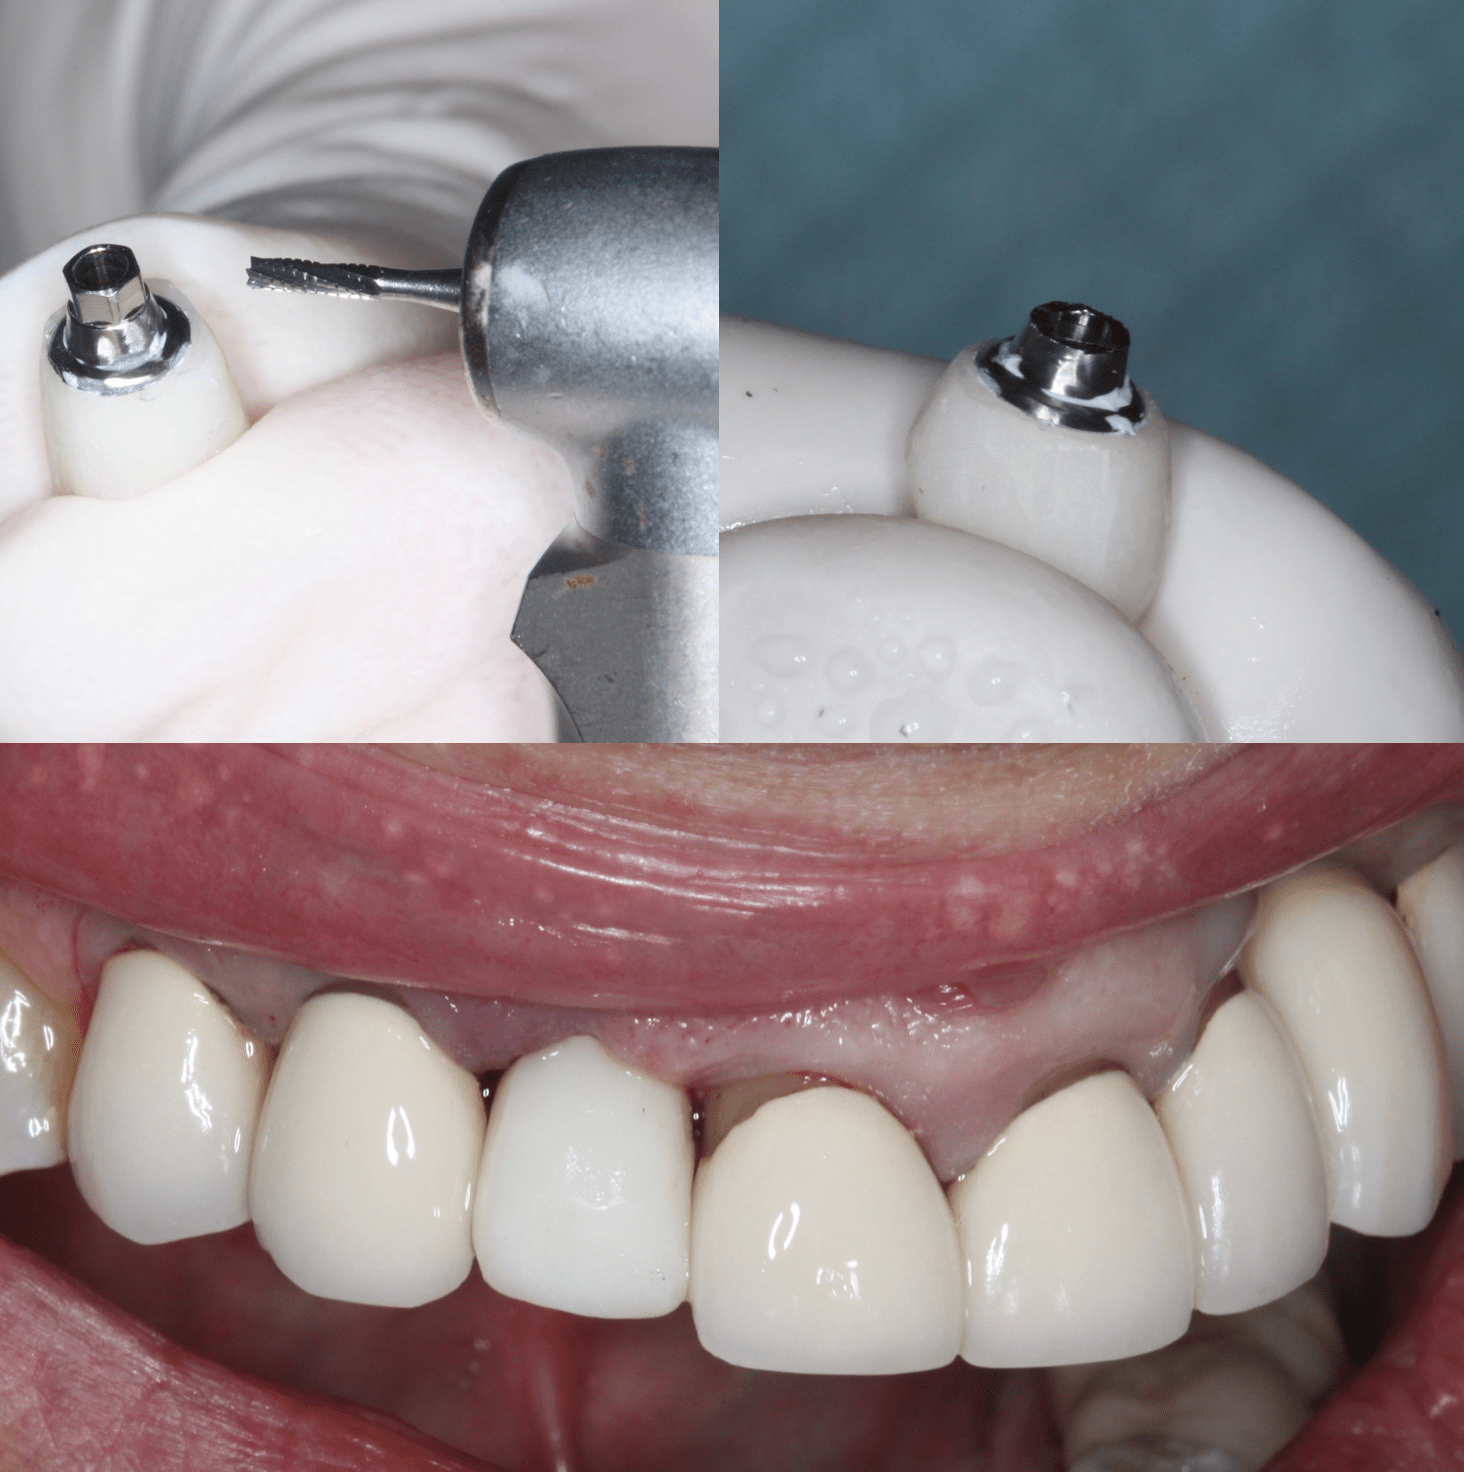
In order to get the temp to go in it must be non engaging. The drawback is that if you cut off the hex you ruin your ti base for the final. We did it anyway just to show it. Unfortunately we didn’t get 35 Ncm, so we are going to save the temp to shape the tissue in 2 months.
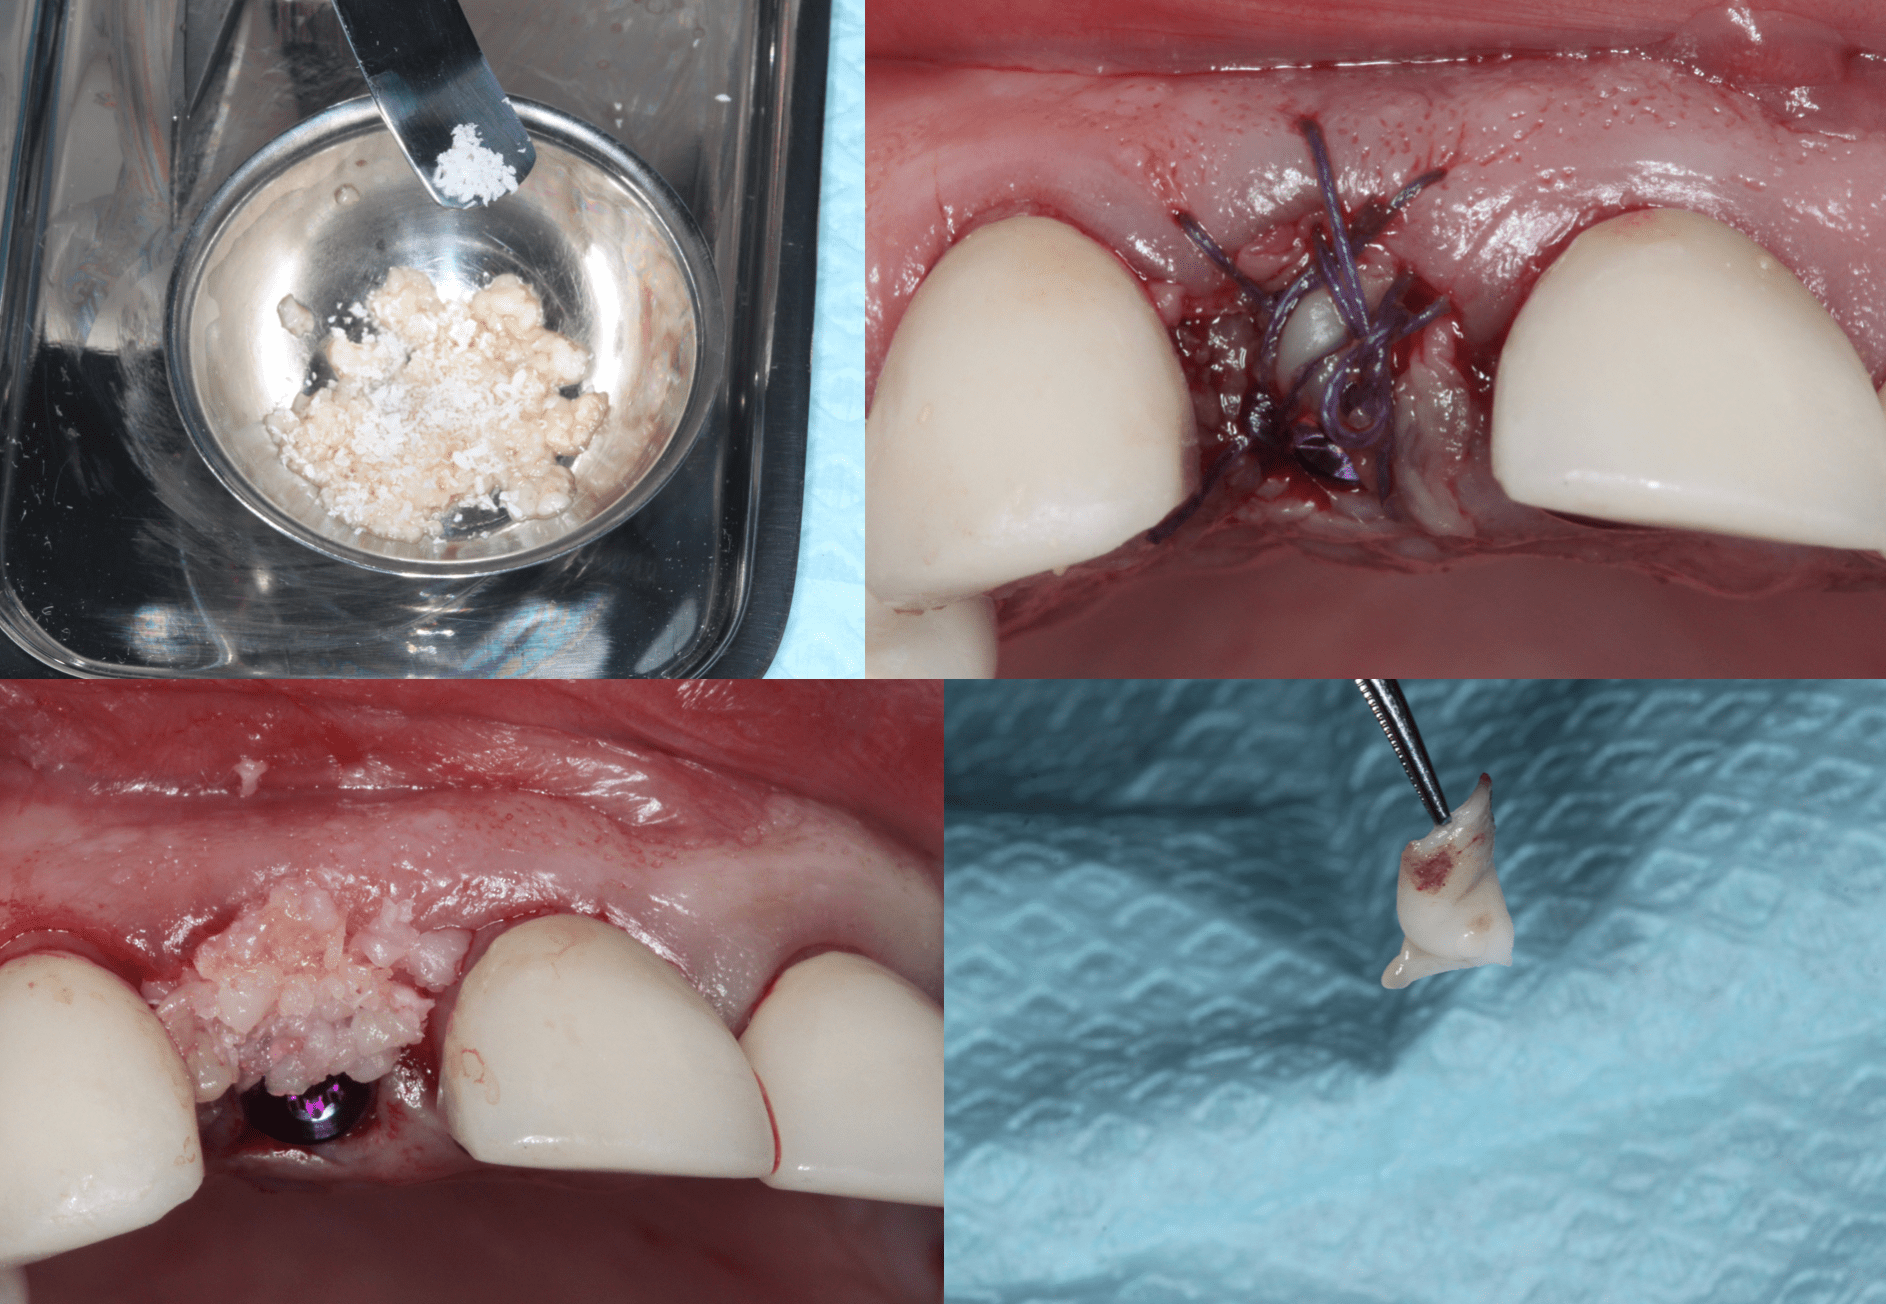
We combined the A-PRF with DFDBA cadaver bone and inserted it into the buccal gap. We then flattened the other Fibrin pieces and made a membrane. Sutured with resorbable Villet sutures and made a flipper. Long case but lots of things to show!
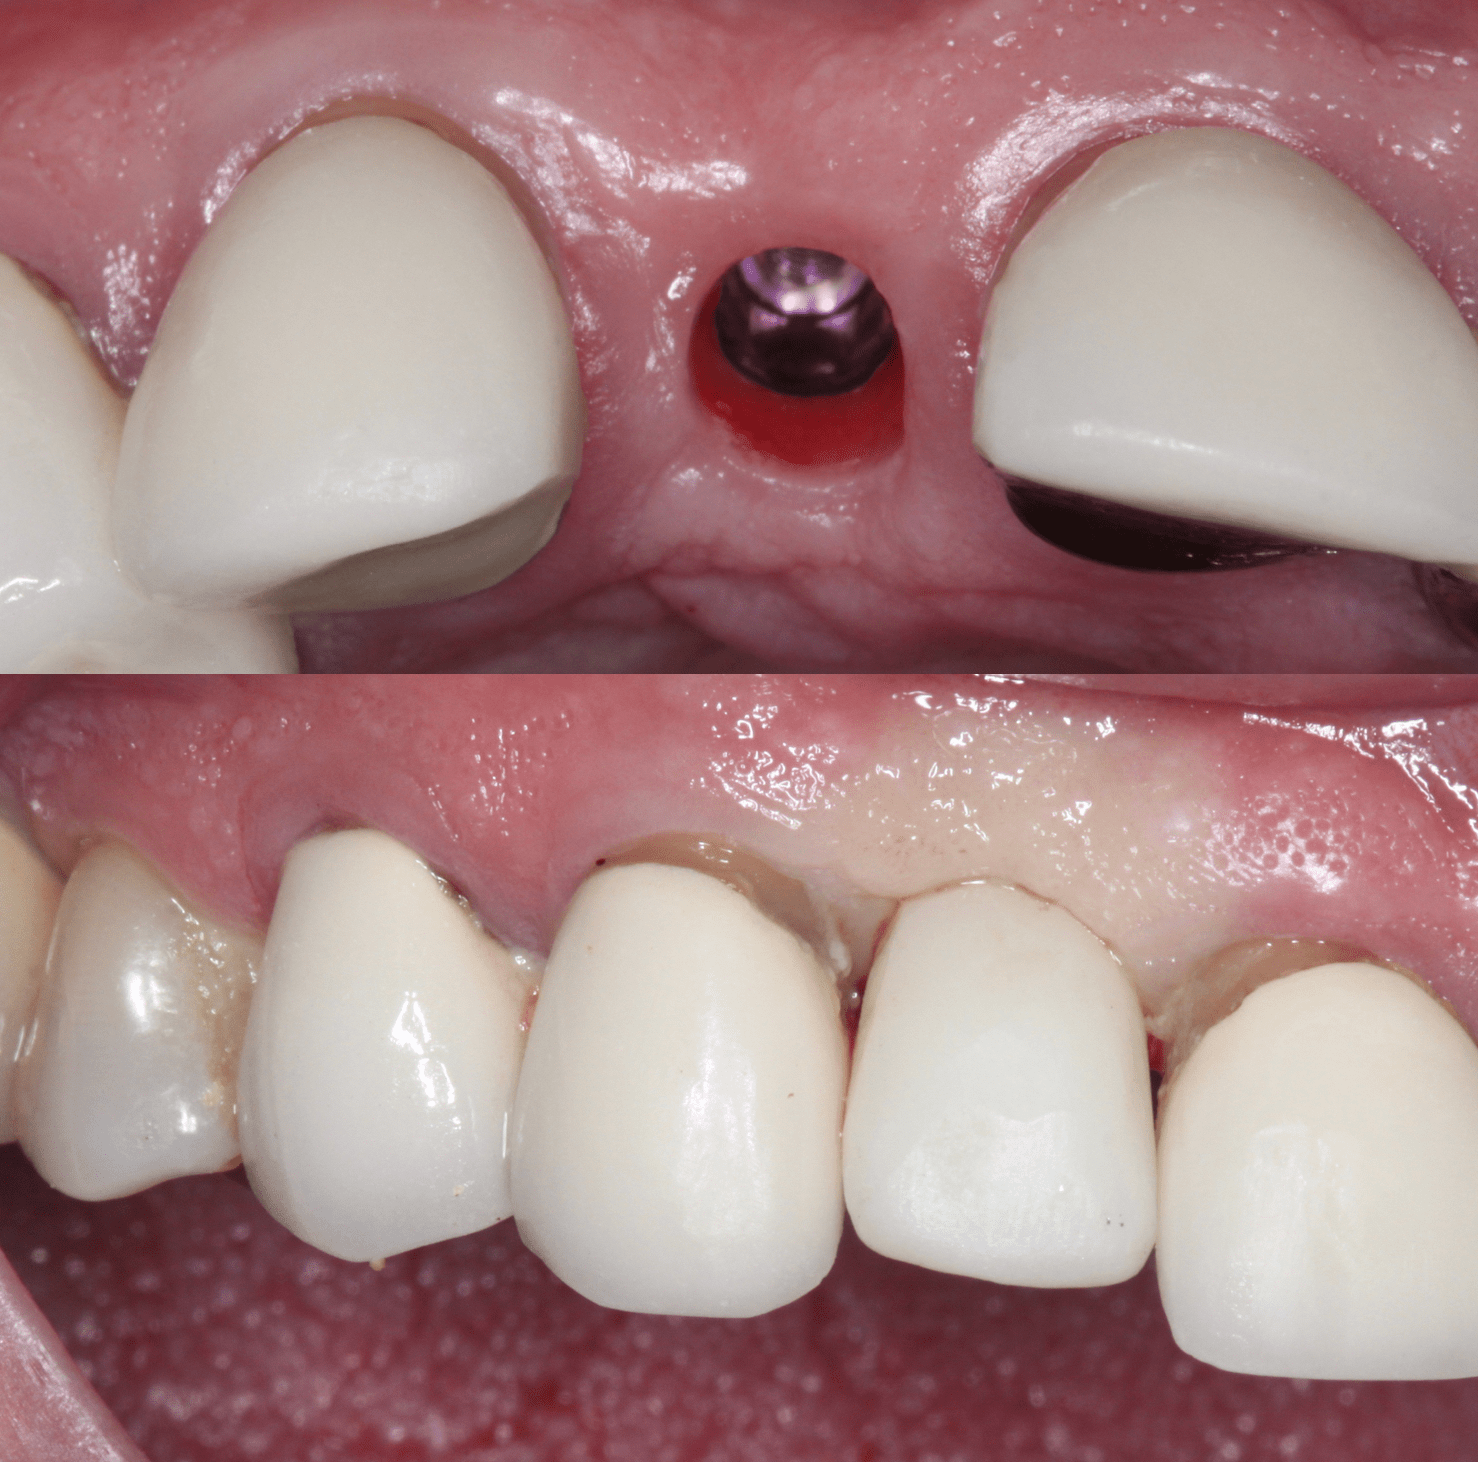
Brought the patient in 3 weeks ago to put the temp back on. Good stability!
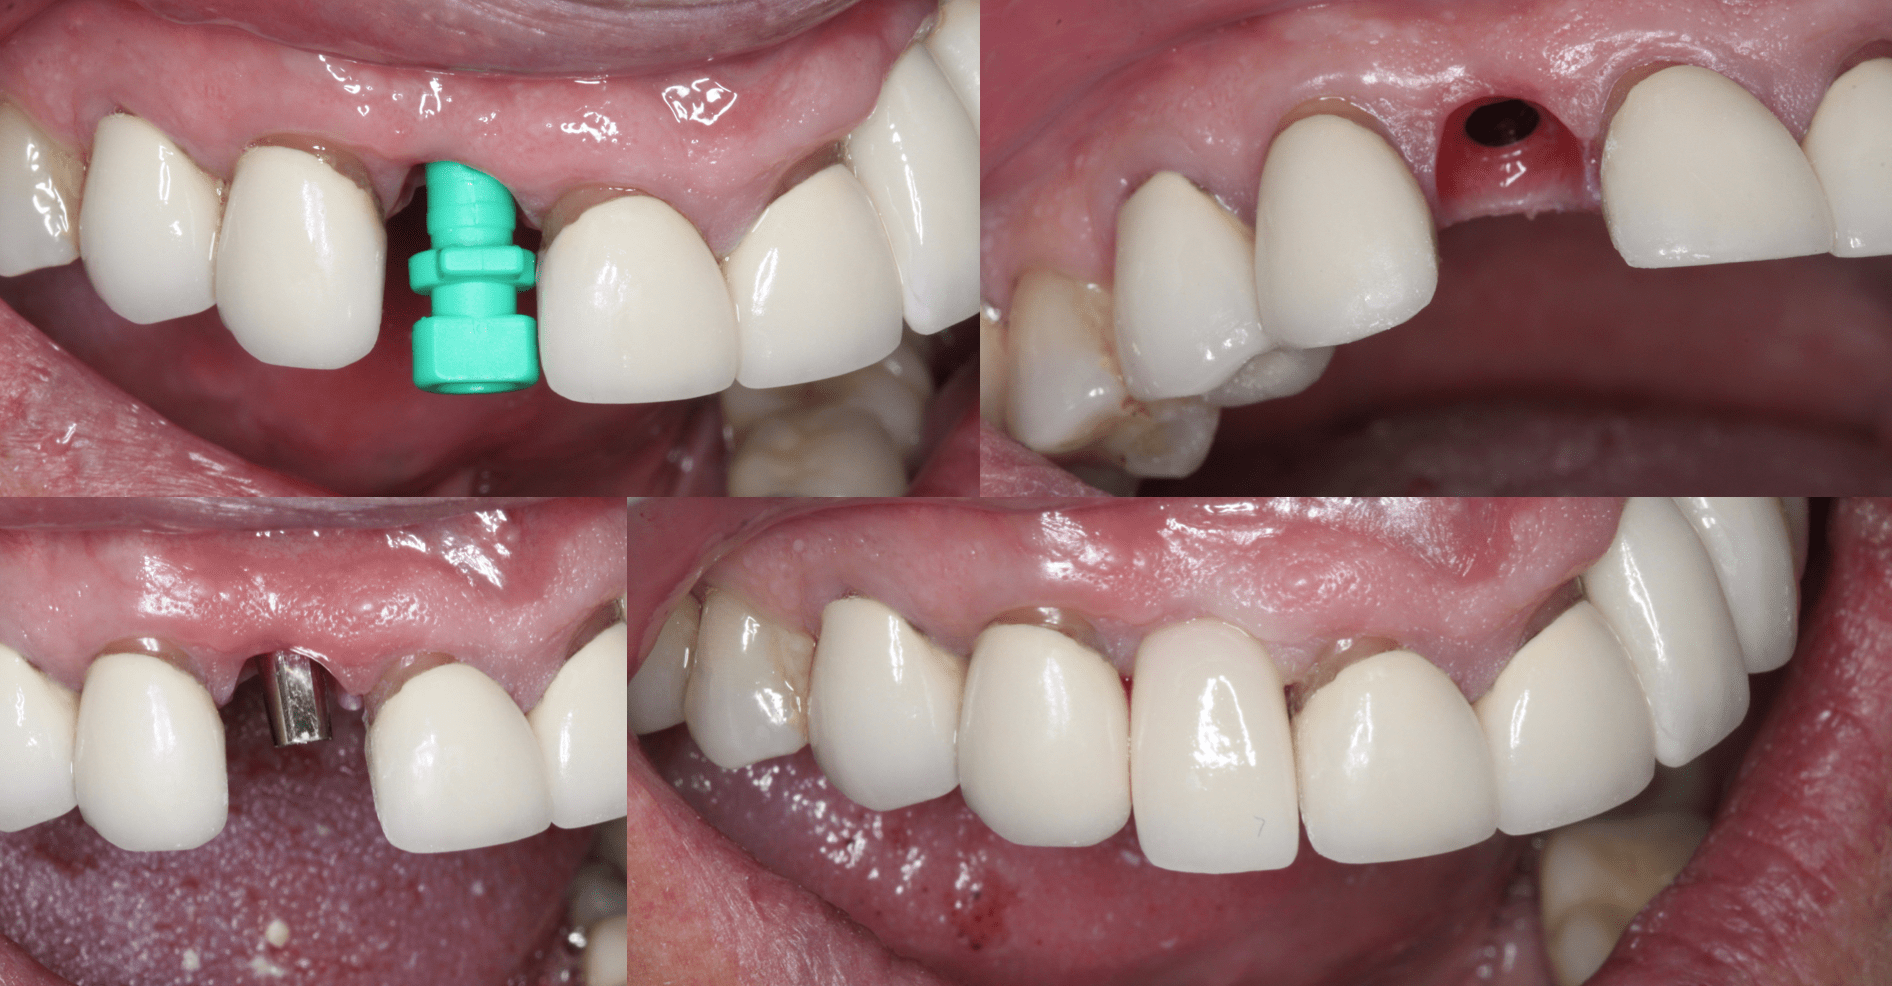
Why didn’t I just do Zirconia? He had PFMs on the neighbors and I would have to try to match ceramic with a PFM. Not a lot of papilla but there wasn’t much on the neighbors.


