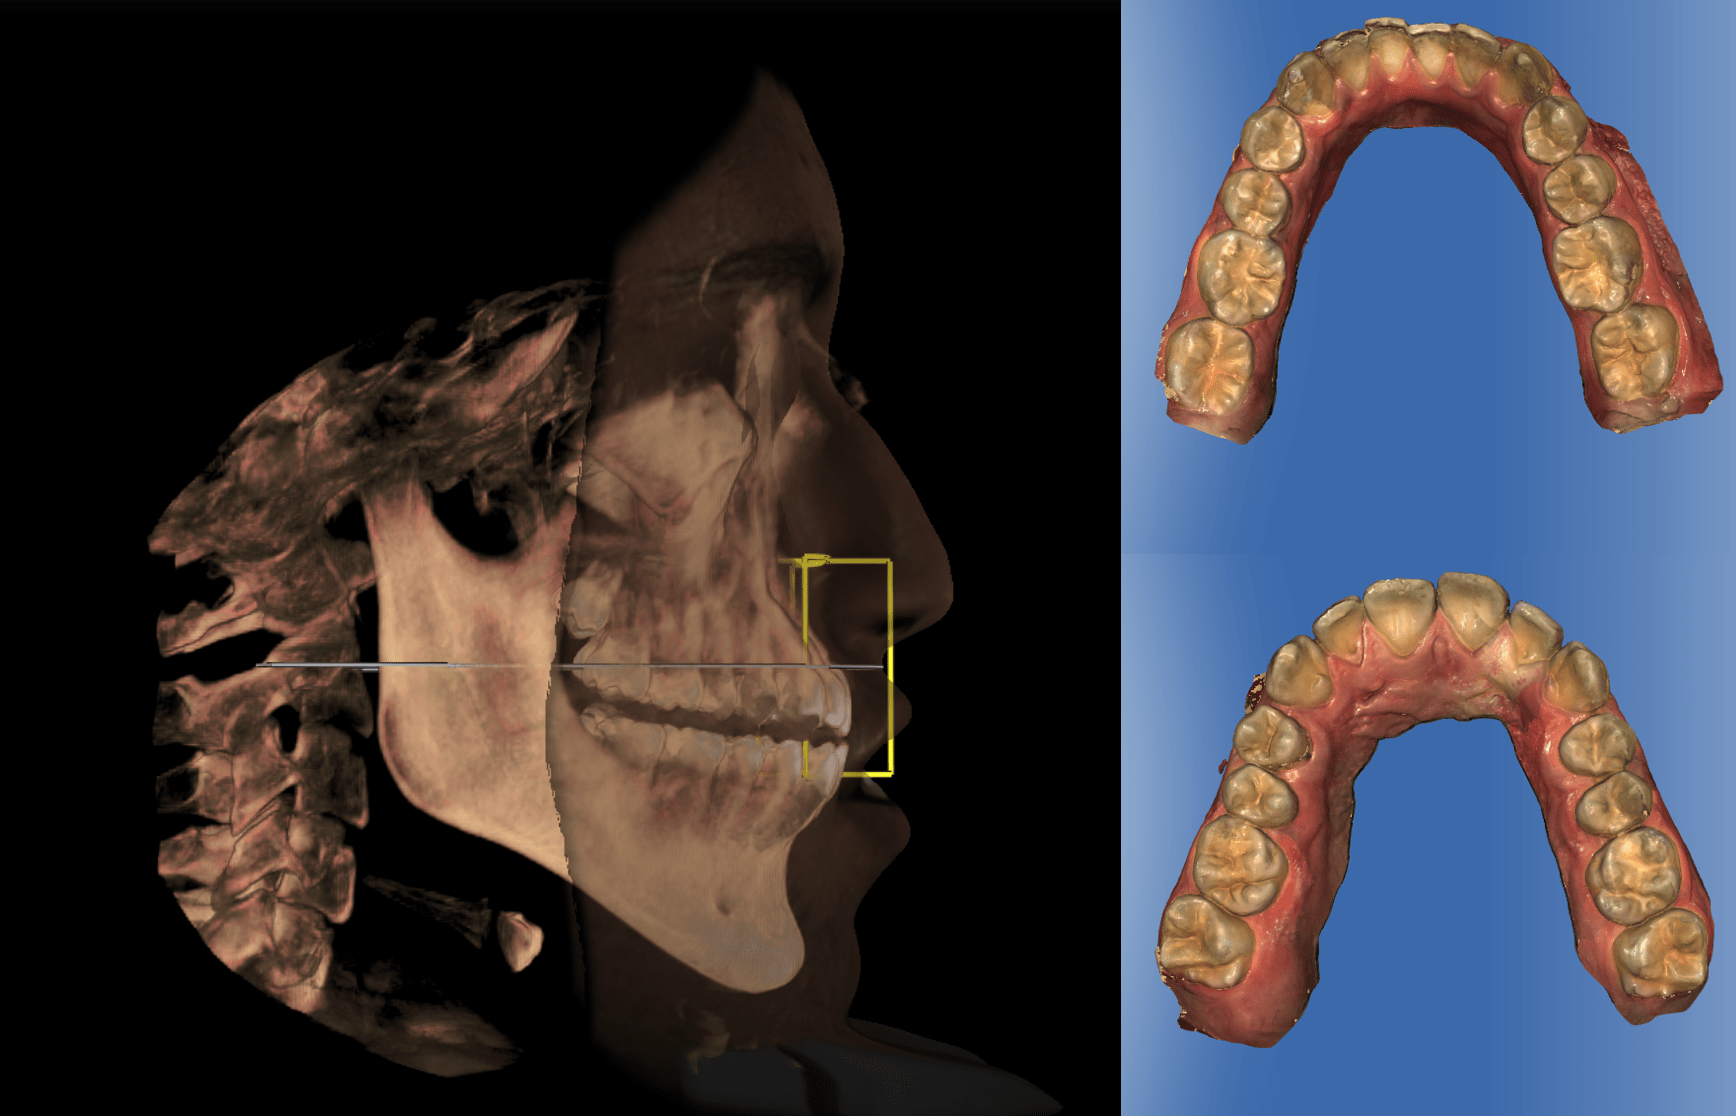
This was a really fun and my first bracket case. Patient is Class I crowded typical post ortho, not wearing a retainer. Scanned in CEREC Ortho.
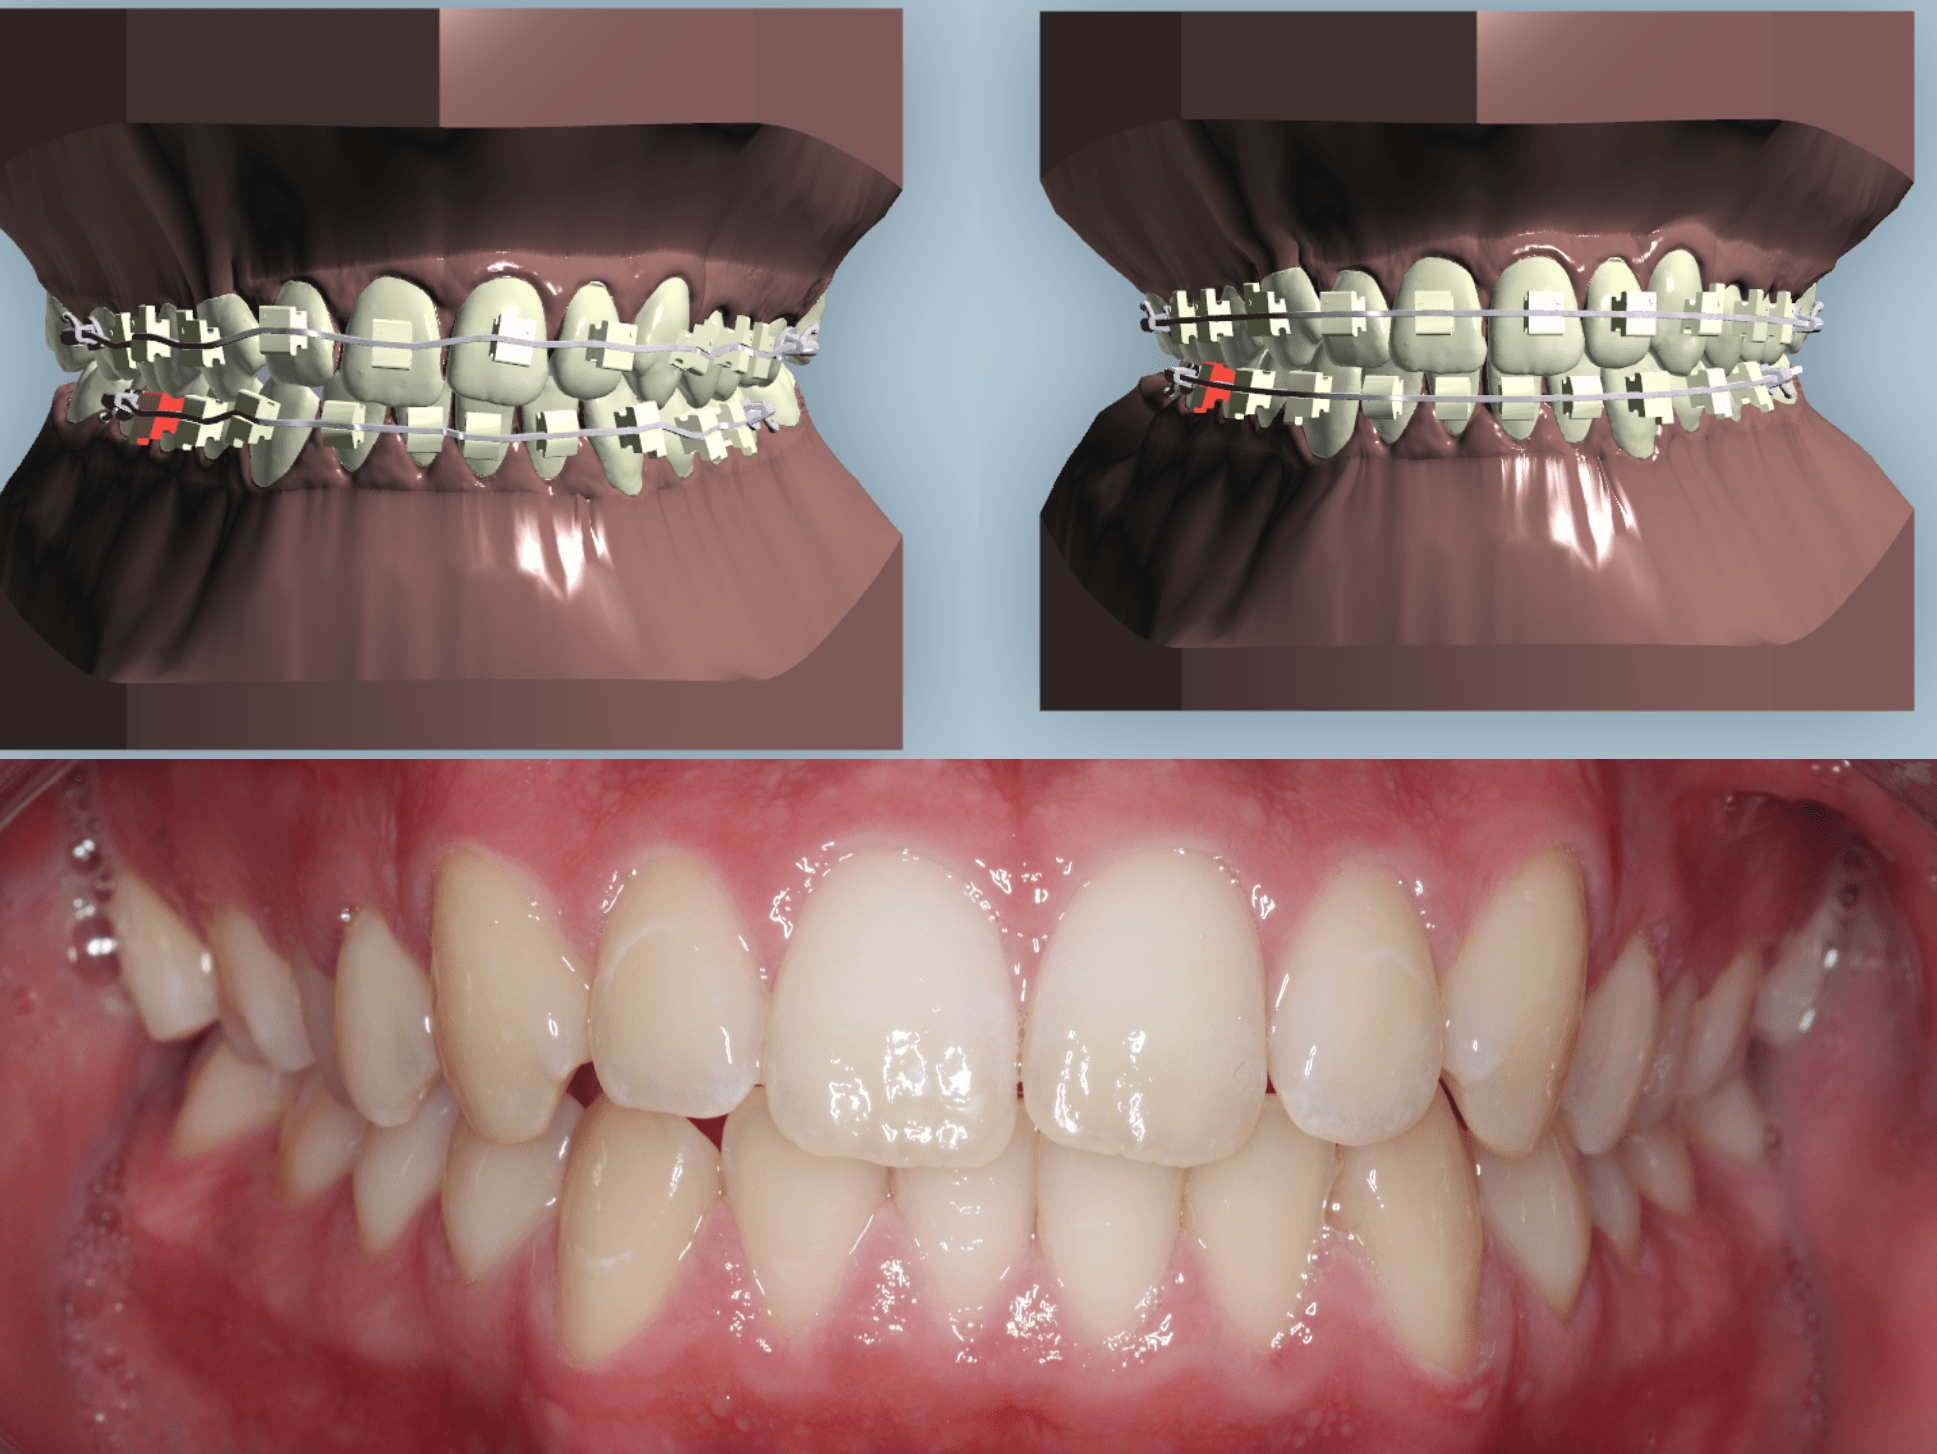
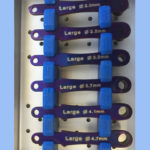
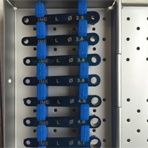
The file was converted via Cerec Connect and Doral Dental Lab to STL. The files, photos and radiographs were sent to Exceed Ortho which works with Great Lakes Ortho. At Exceed an orthodontist plans your case and just like Invisalign. If things don’t track you just send another scan and they will do another set up.$300 for the planning, brackets, trays, wires and ligatures.
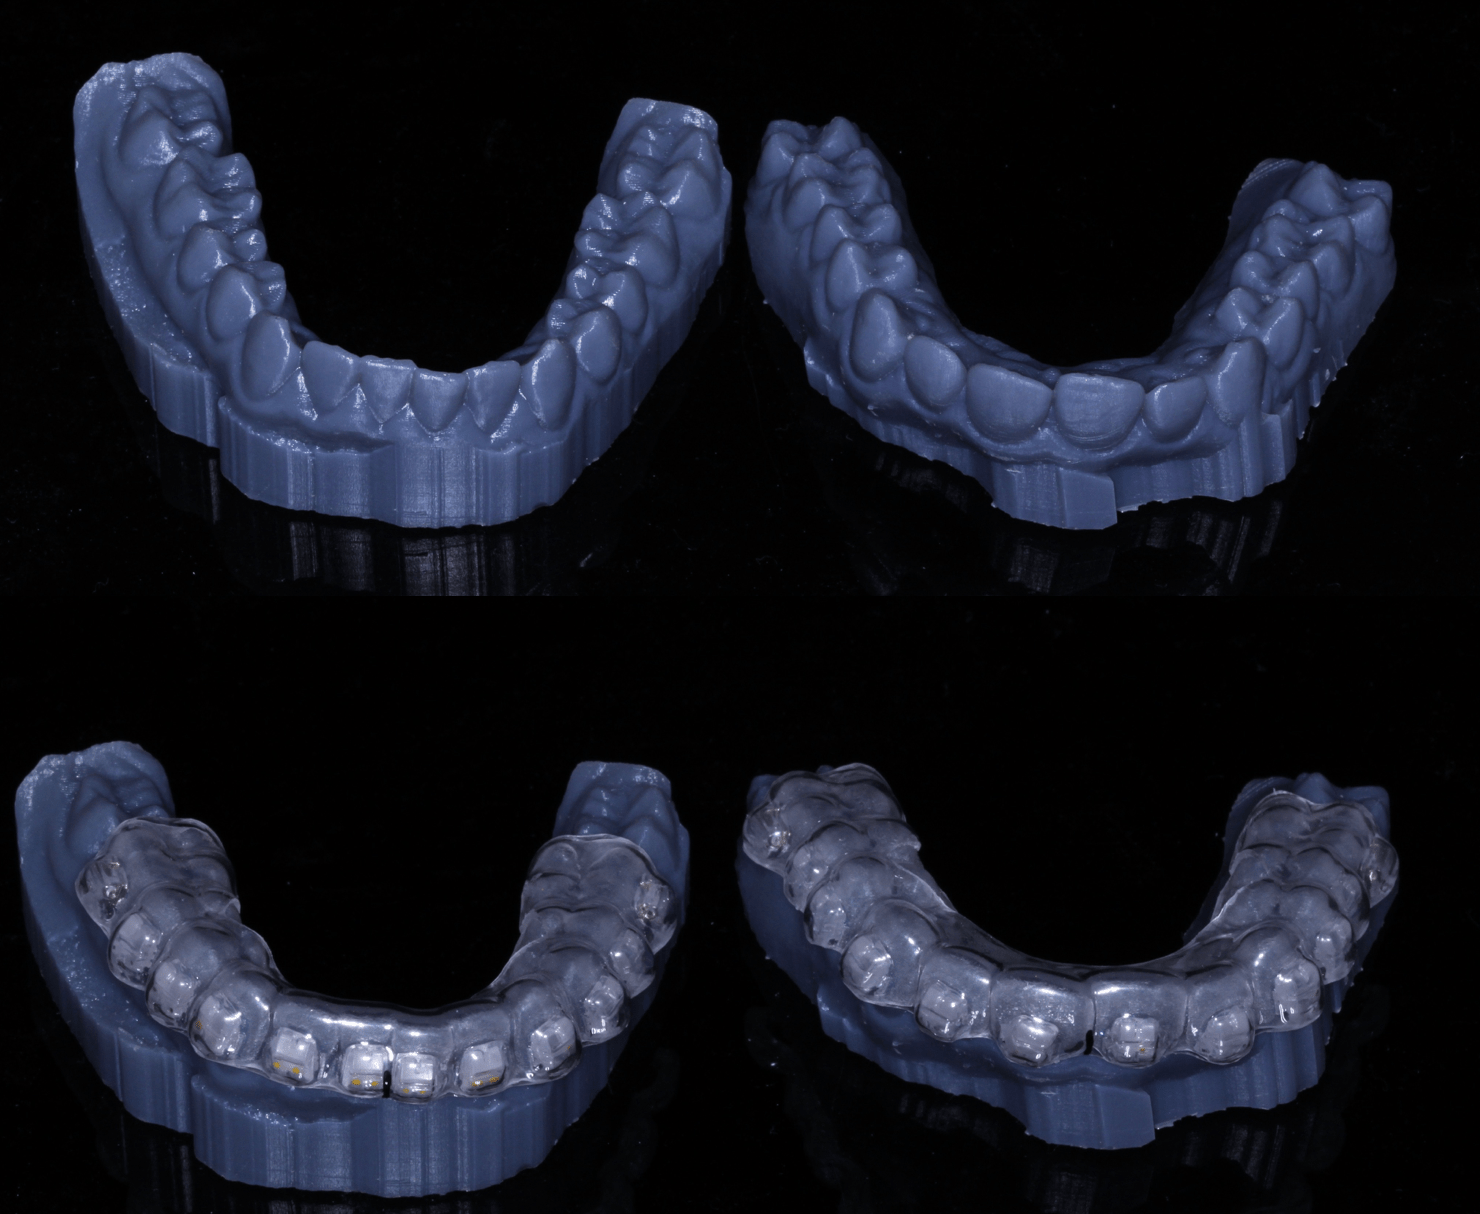
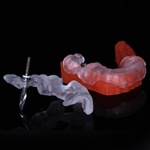
From the STLs you can print a model to check the fit. The trays have an inner and an outer tray that peels off.
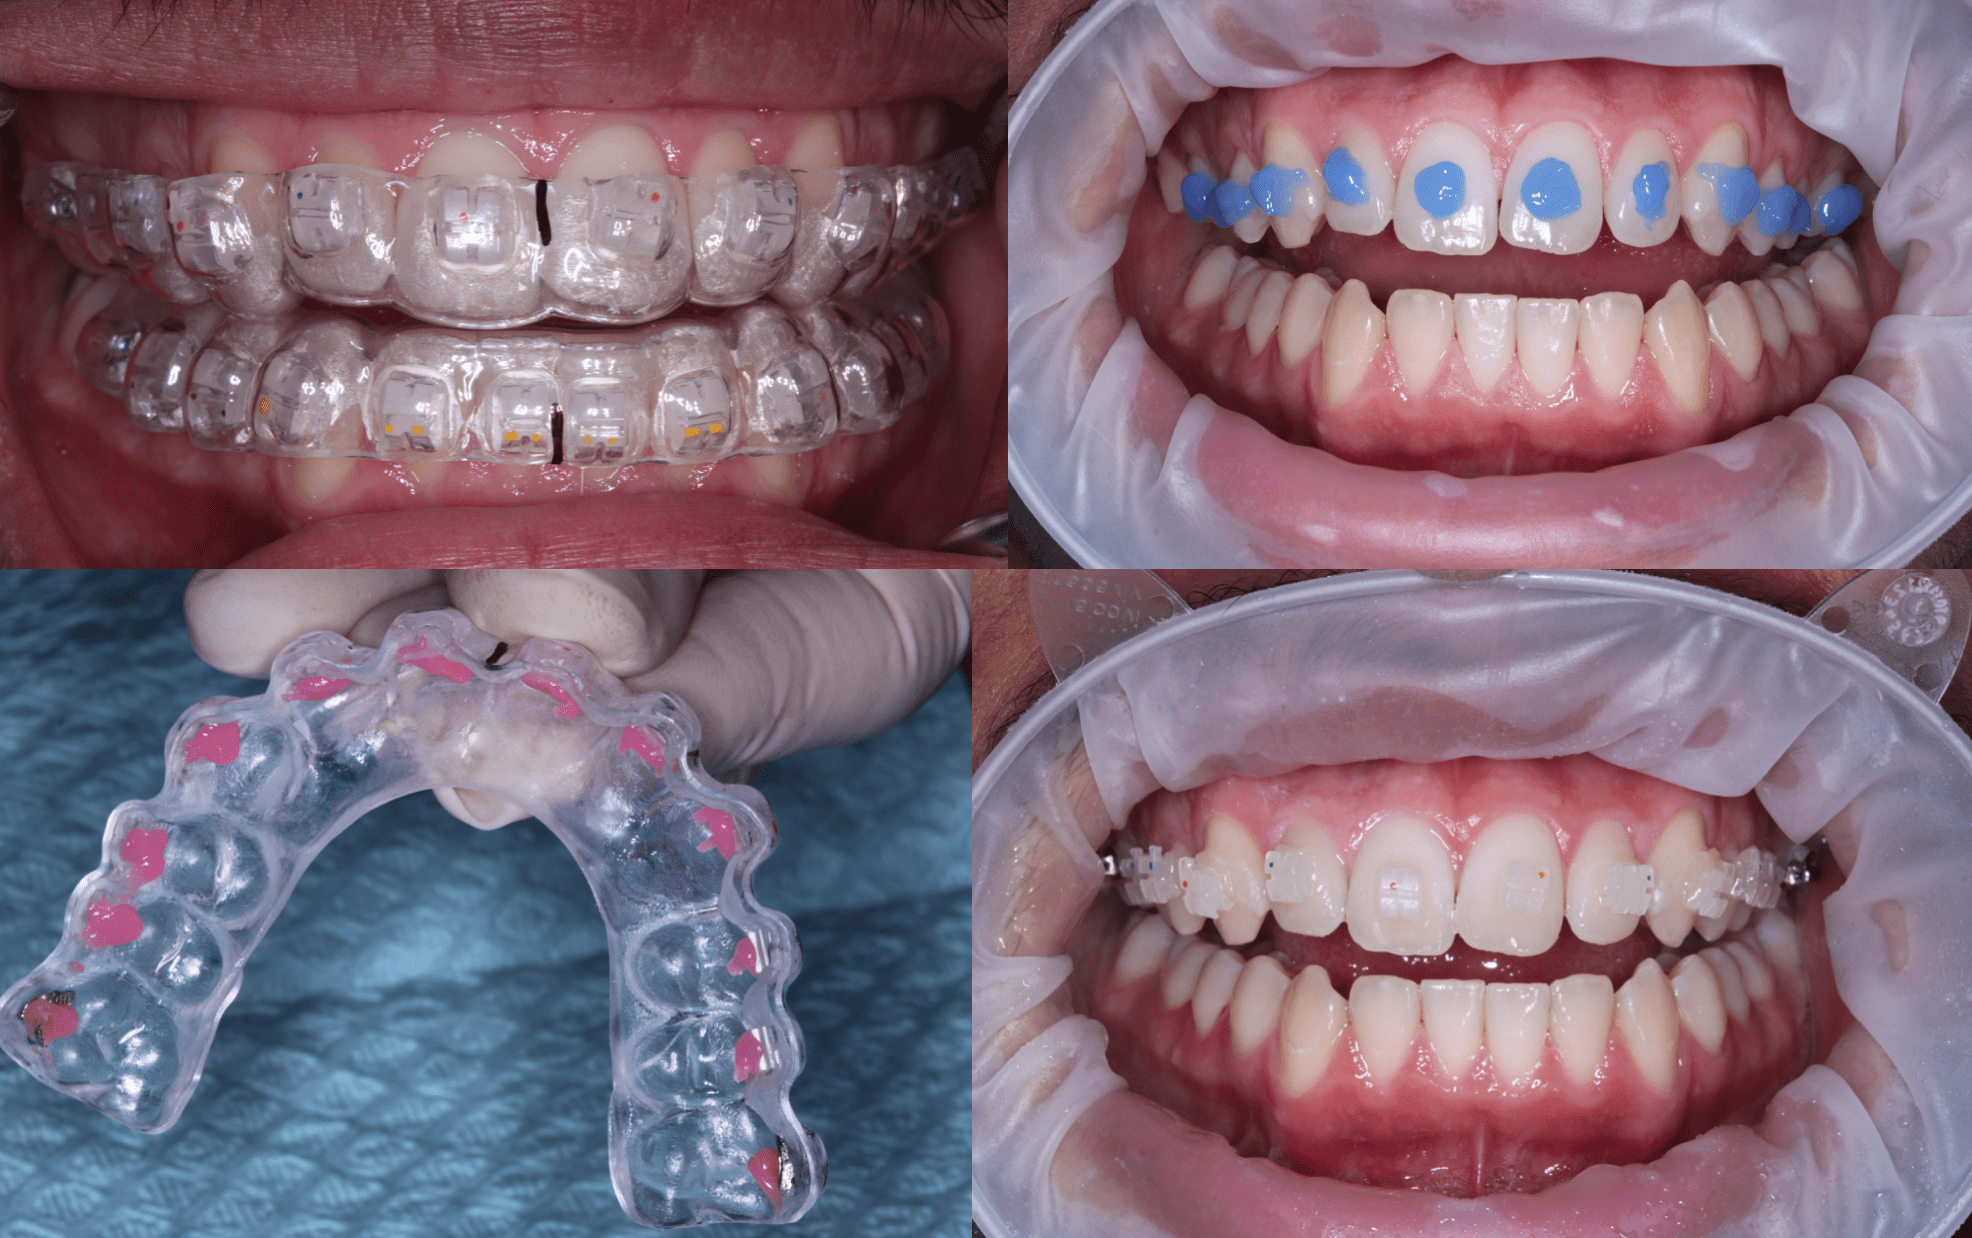
Used Transbond Plus from 3M. It has a color change feature that makes it clear when cured.
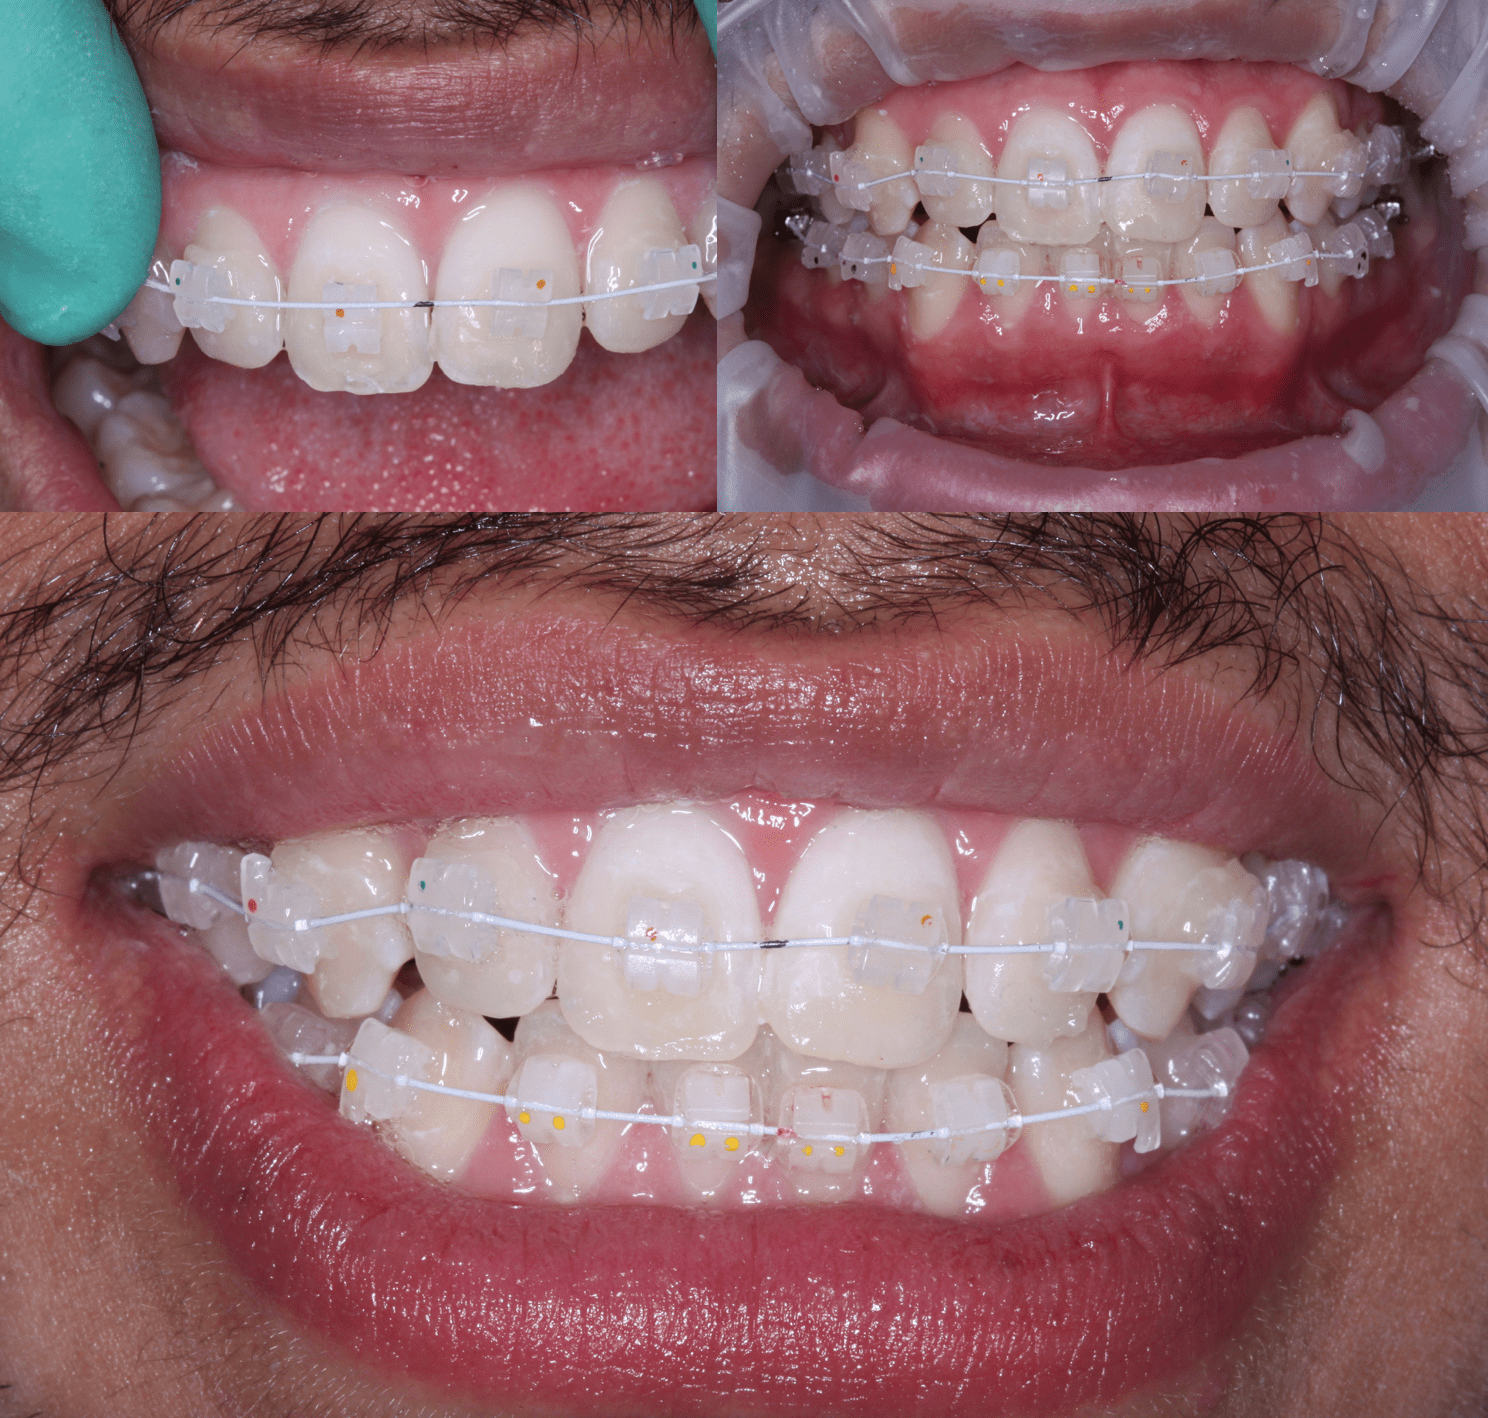
Just match the notch up and ties the rubber ties around the bands! Every three weeks you change a series of wires. This should take under 6 months! I can really see using this on teeth that are a lot more rotated than what Aligners could correct! This took me 30 minutes as it was my first time.
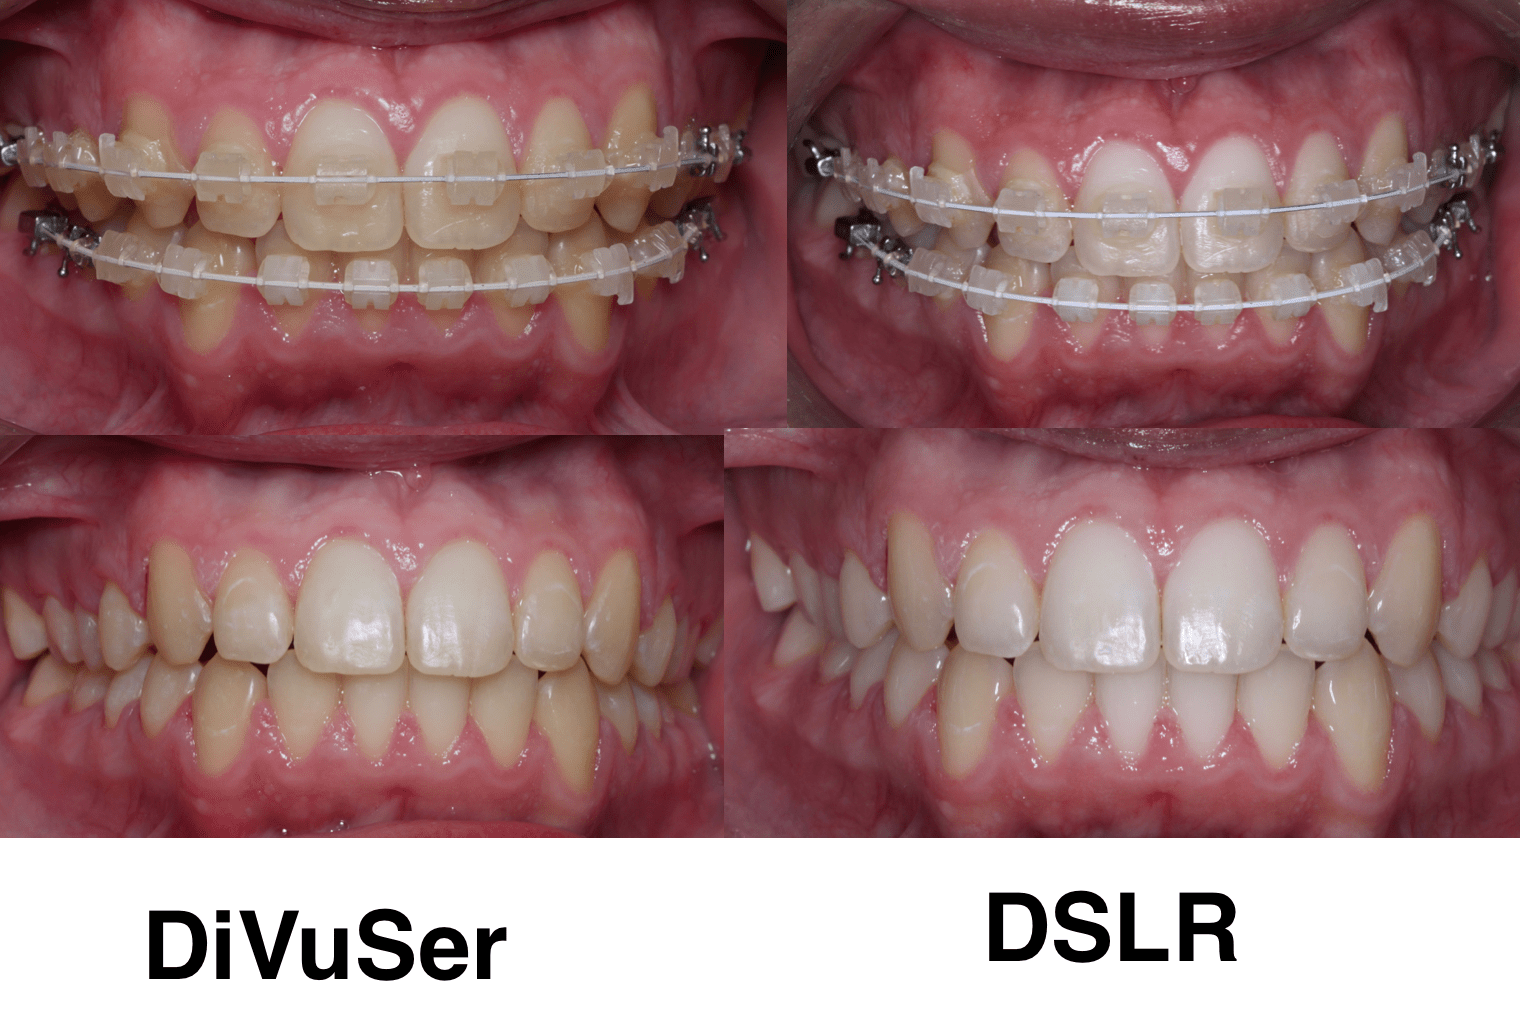
Here is the completed case, TBH this could have been done in under 5 months but it was hard getting the patient in. Not perfect, may tweak a bit with some aligners. The images on the right were taken with a traditional DSLR ring flash set up. The ones of the left were done with Dr Vu Le’s mirrorless camera set up with his DiVuSer, diffuser!
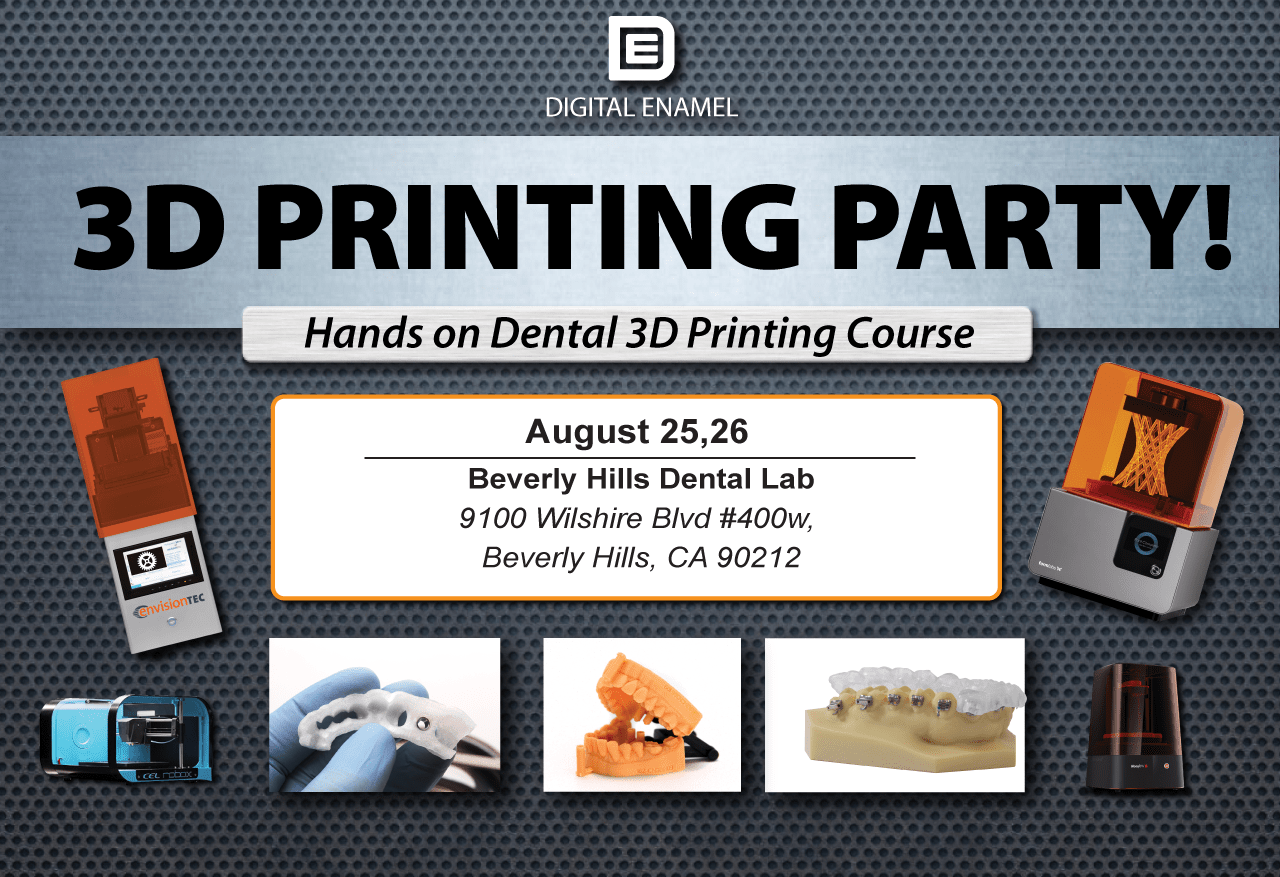
If you want to know more about 3D printing and Vu’s camera come to the 3D printing Party Beverly Hills!
https://www.eventbrite.com/e/dental-3d-printing-party-hands-on-dental-3d-printing-course-beverly-hills-tickets-35969296133?aff=es2


