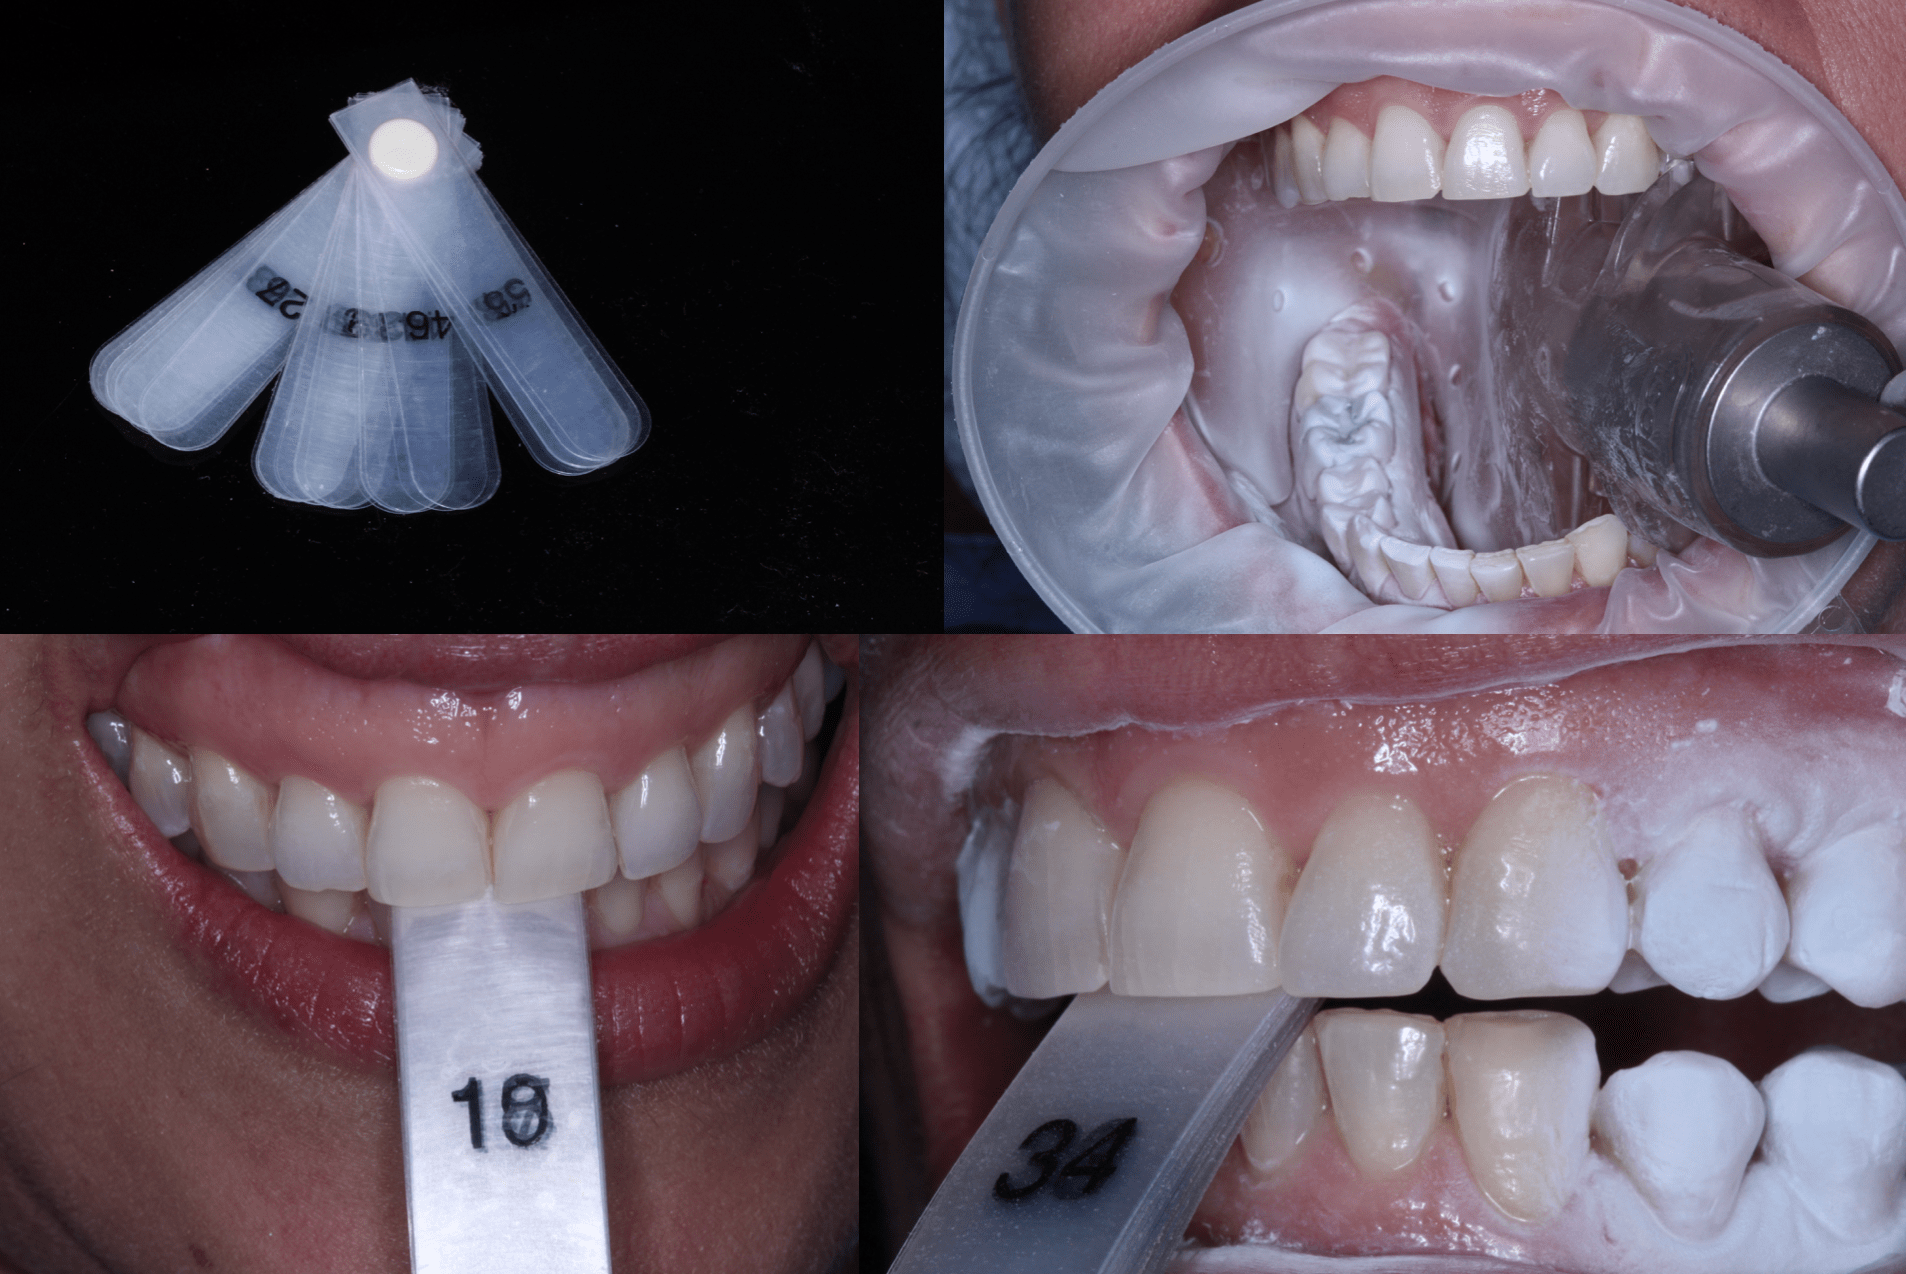
3D Printing with CEREC has so many cool applications! I do about 10 nightguards a month so figuring out how to print them from a CEREC scan is huge for me. The first step is to scan the patient in CEREC Ortho. You want the patient to be biting on a leaf gauge in centric and open them until they are comfortable. This patient has really bad TMJ pain and lost her guard.
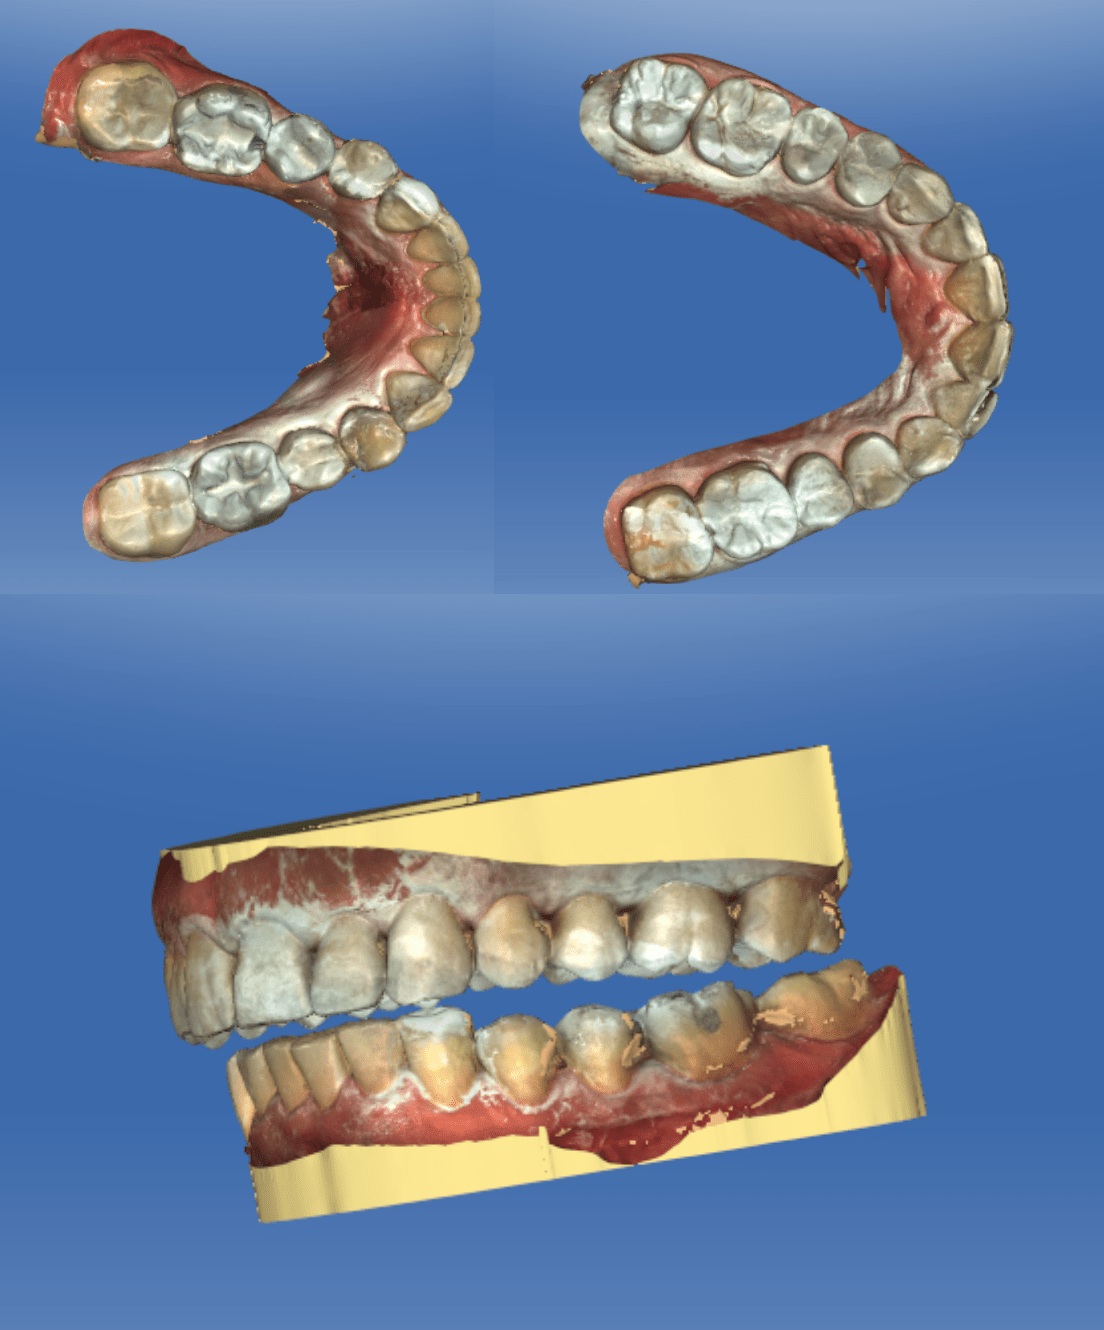
In CEREC ortho scan the patient with the leaf gauge in and check that the bite is open and in the same relationship in the mouth. I will be doing an Endo Guide on #19 and will post next week.
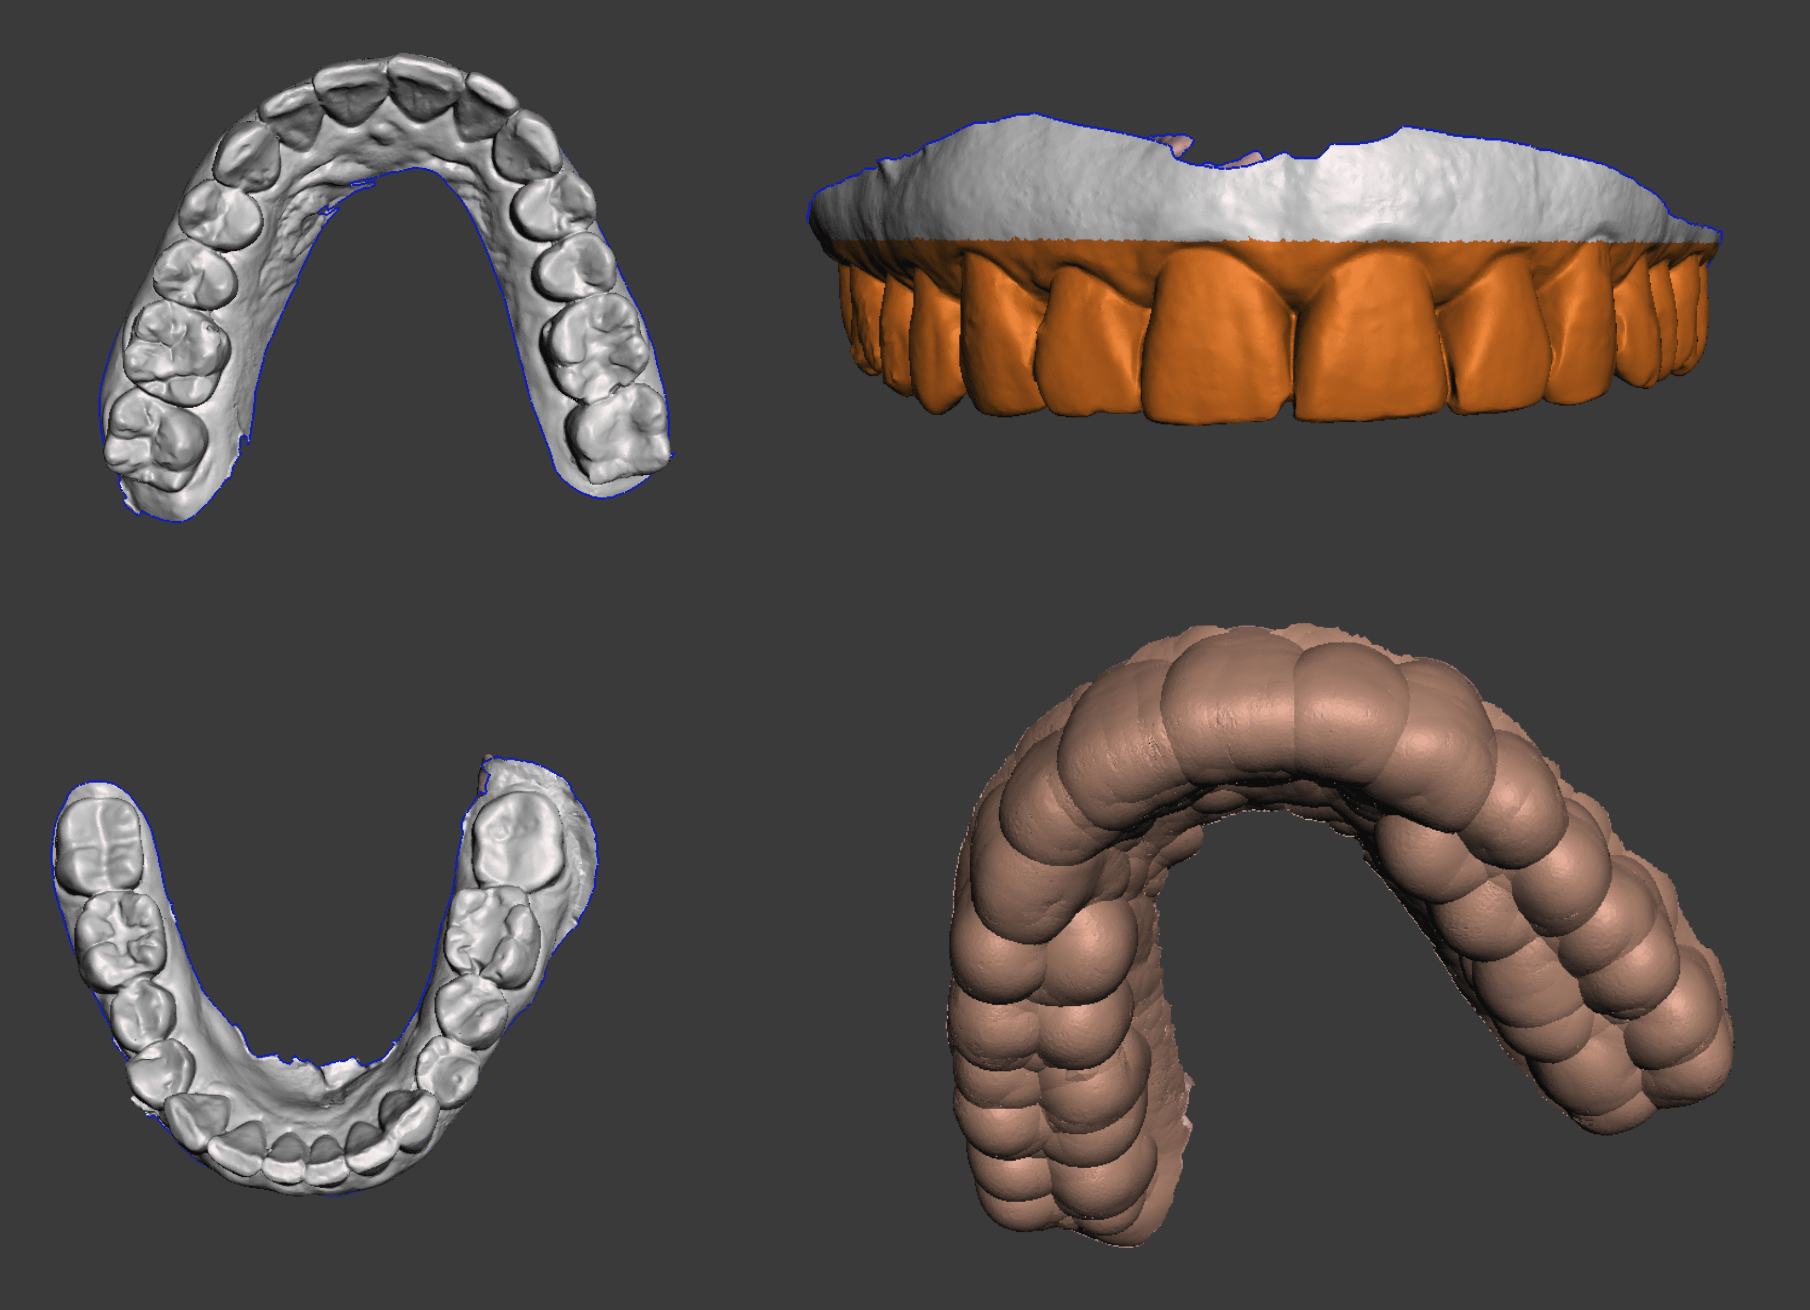
In Meshmixer, go to Select and select the teeth. You initially want the “guard” to be big, but we will cut it down with the “Plan Cut” later. After selecting click “Separate” and discard the gums. Next hit Extrude selecting “Normals” as the direction. Enter 2mm in the offset slider.
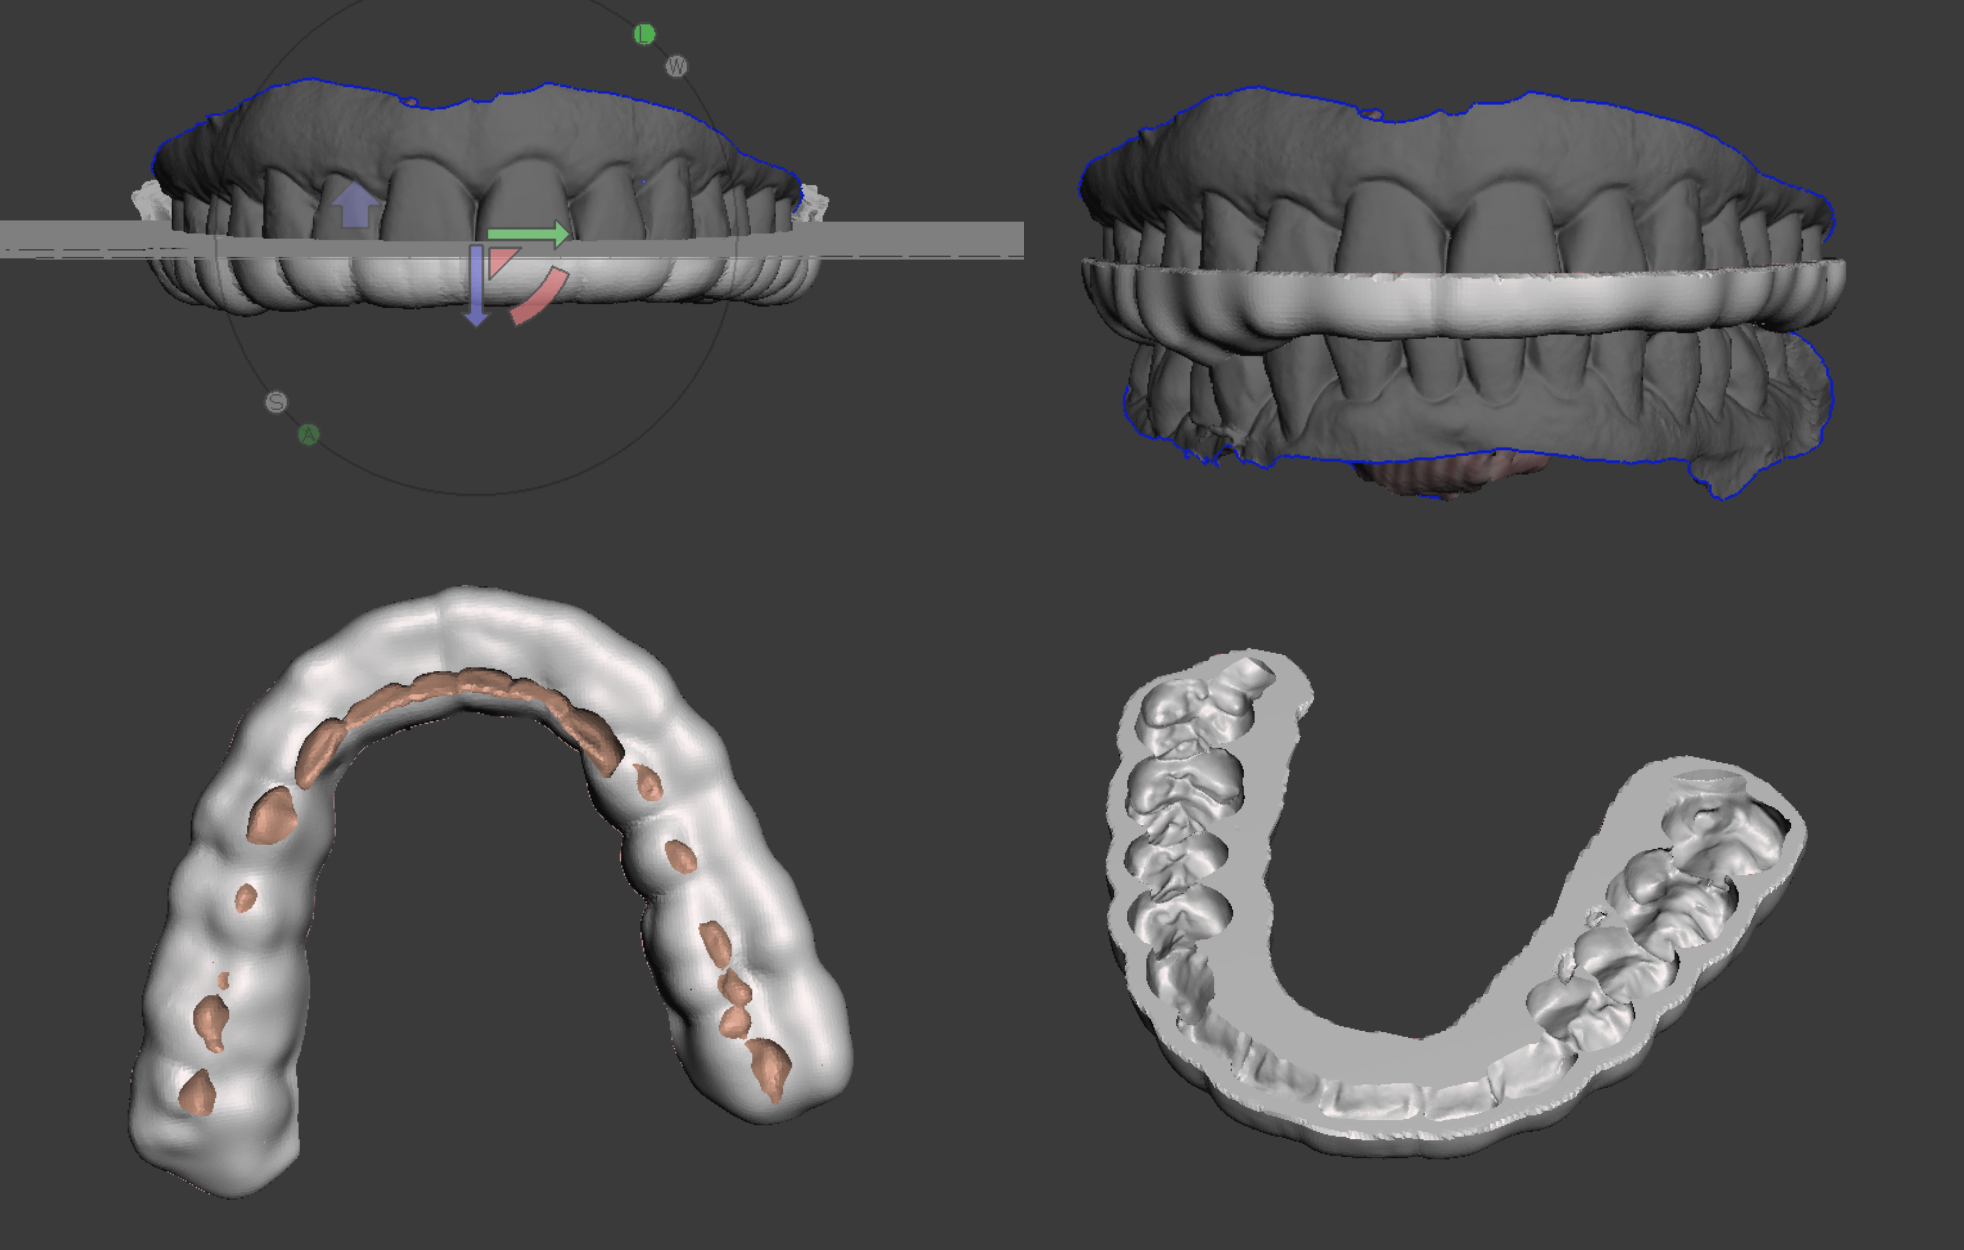
Using the “Make Solid” command and “Boolean Difference” we can punch teeth and occlusion into the guard. Watch the video in the link below to see how to do this.
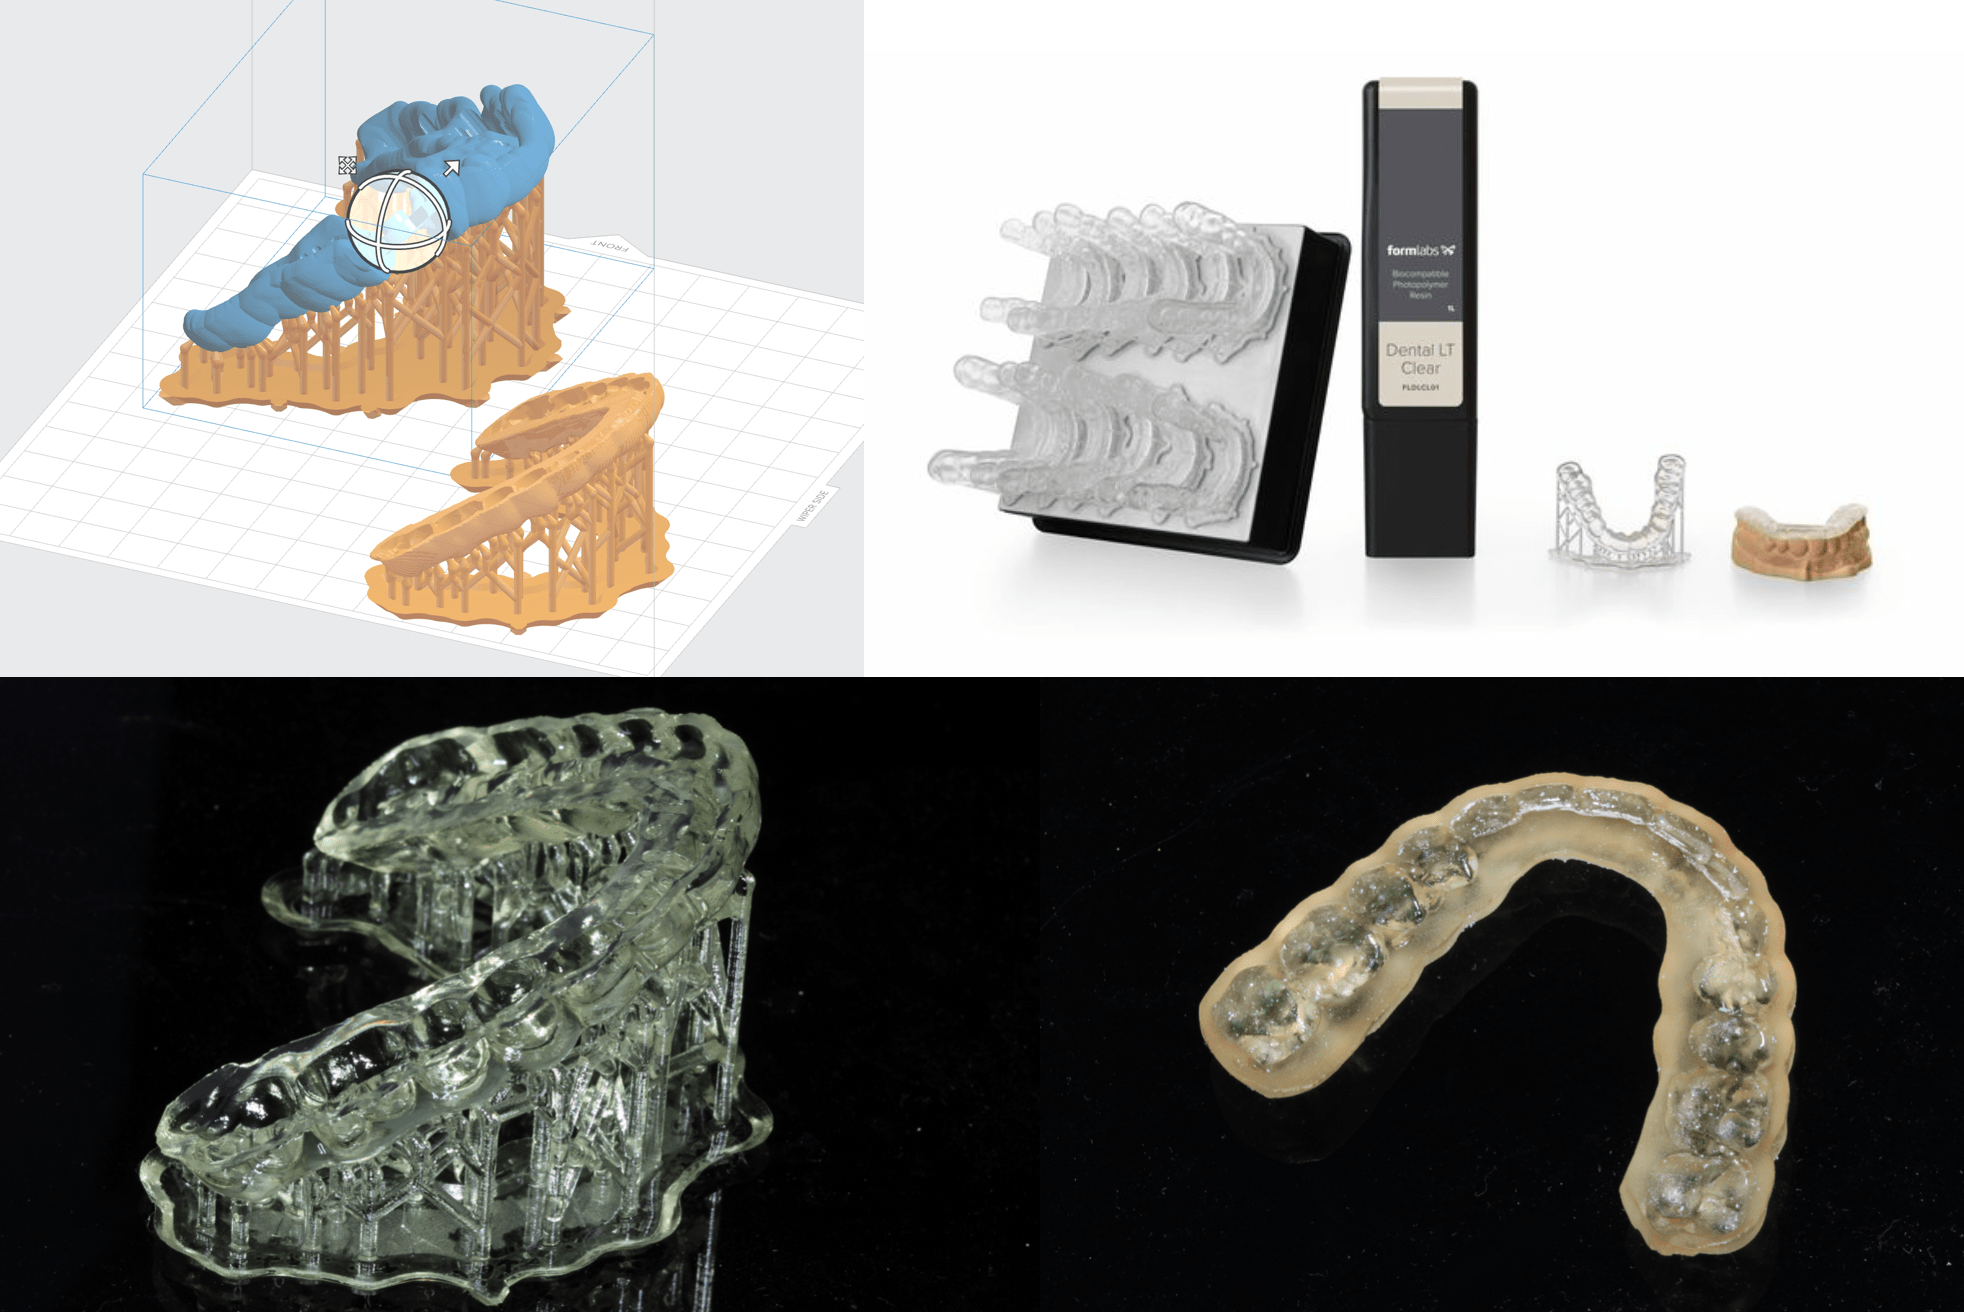
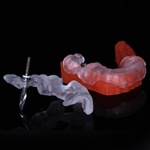
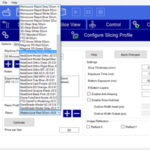
Formulas just announced today that is will be releasing a nighguard clear resin, which I will be all over it as the current SG resin looks “pee colored” I’ll just re print when I get it. Loaded it into Pre Form which is the software for Form2. You can also see the Cerec Guide 2 I am printing for an up coming case.
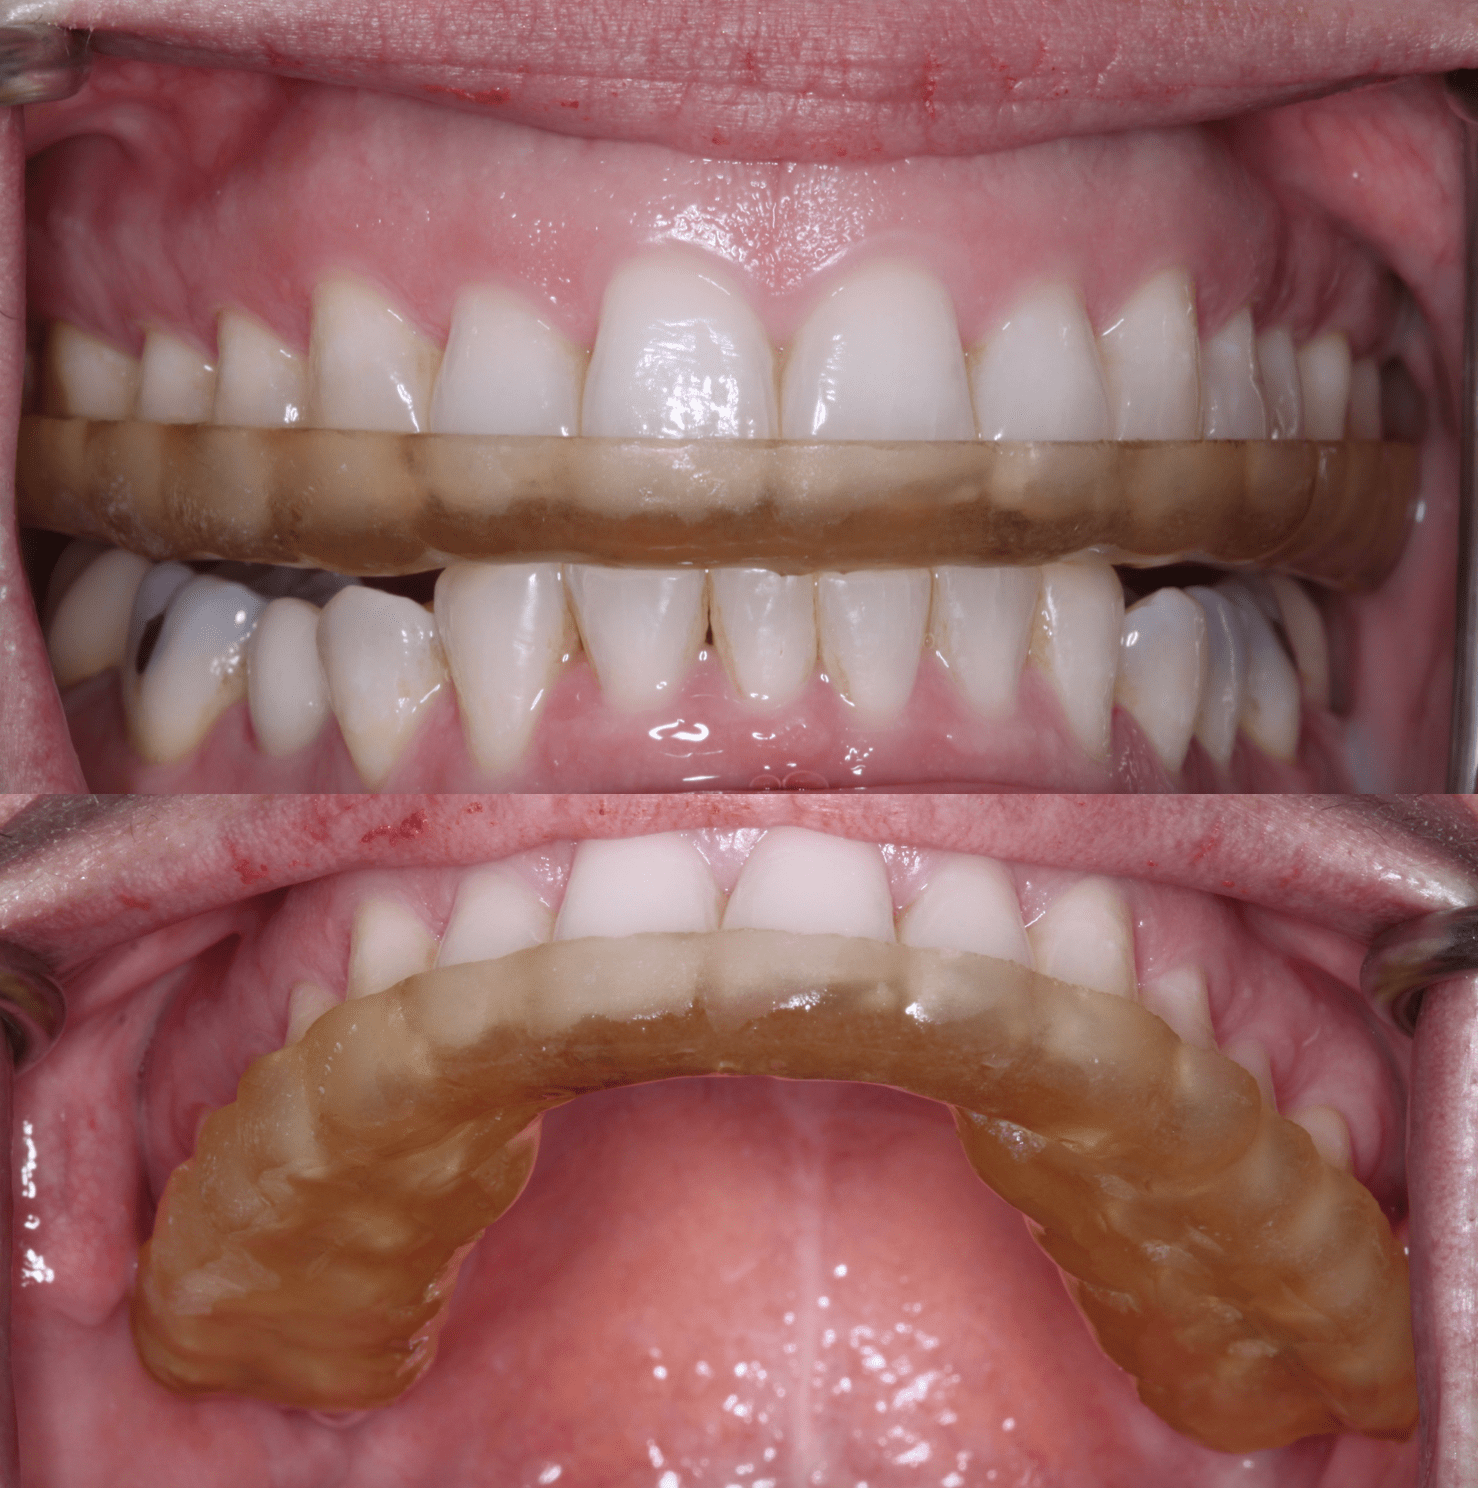
Here is the night guard. Yes its ugly and looks like a 20 year old guard. Will print with the clear material and update! Here is the video:


