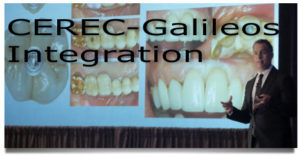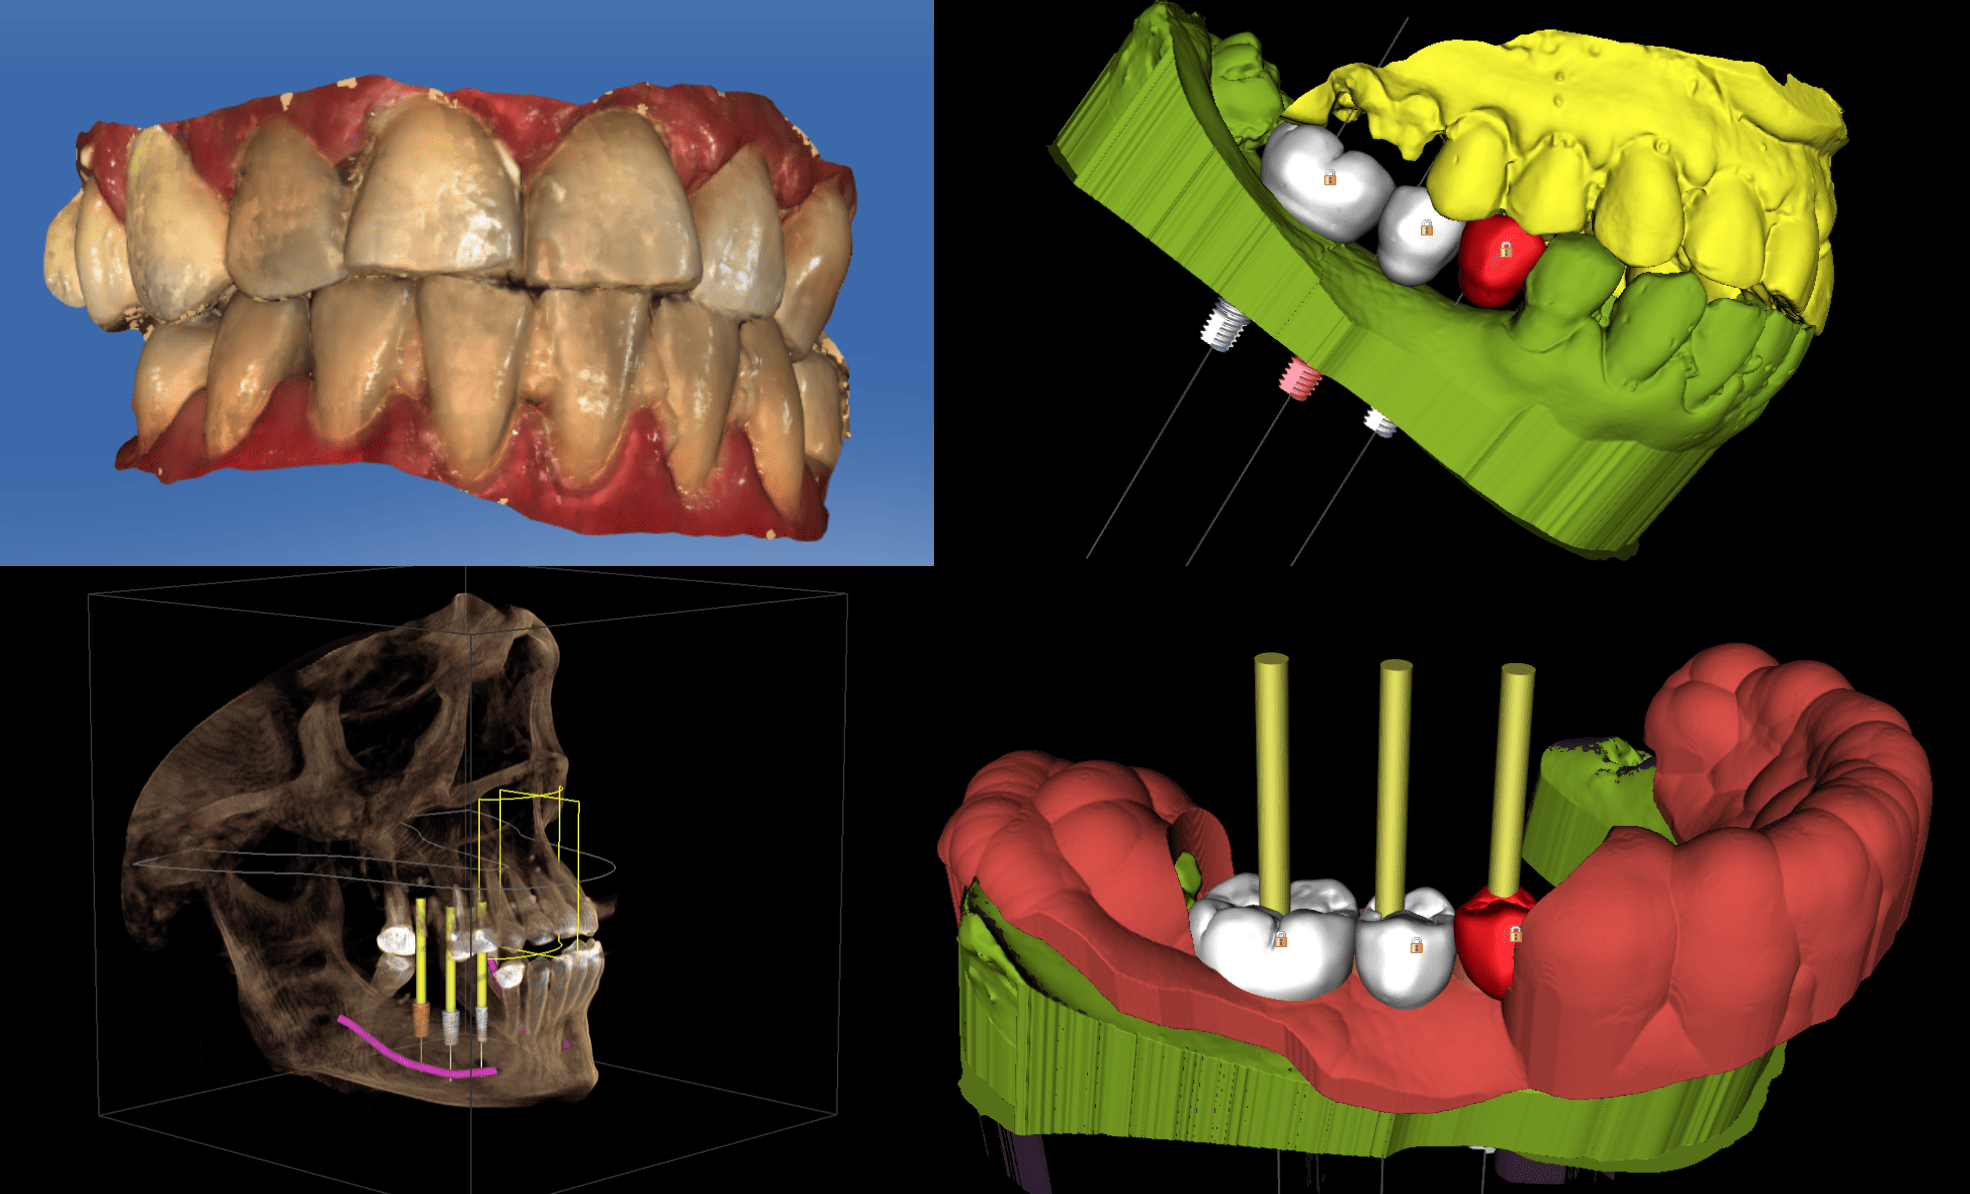
I think I used every piece of technology in my office! #28-30 in need of implants. Scanned in Galileos and CEREC. Articulated the bite and exported that by the help of Frankie Acosta. Frankie charges $20 to convert RST to STL via Inlab 16. Find him on CEREC connect! Loaded the files into BSP and did a wax up with the virtual teeth. Used the buccal bite to get the occlusion down and exported an analog model, the model with teeth and the guide.
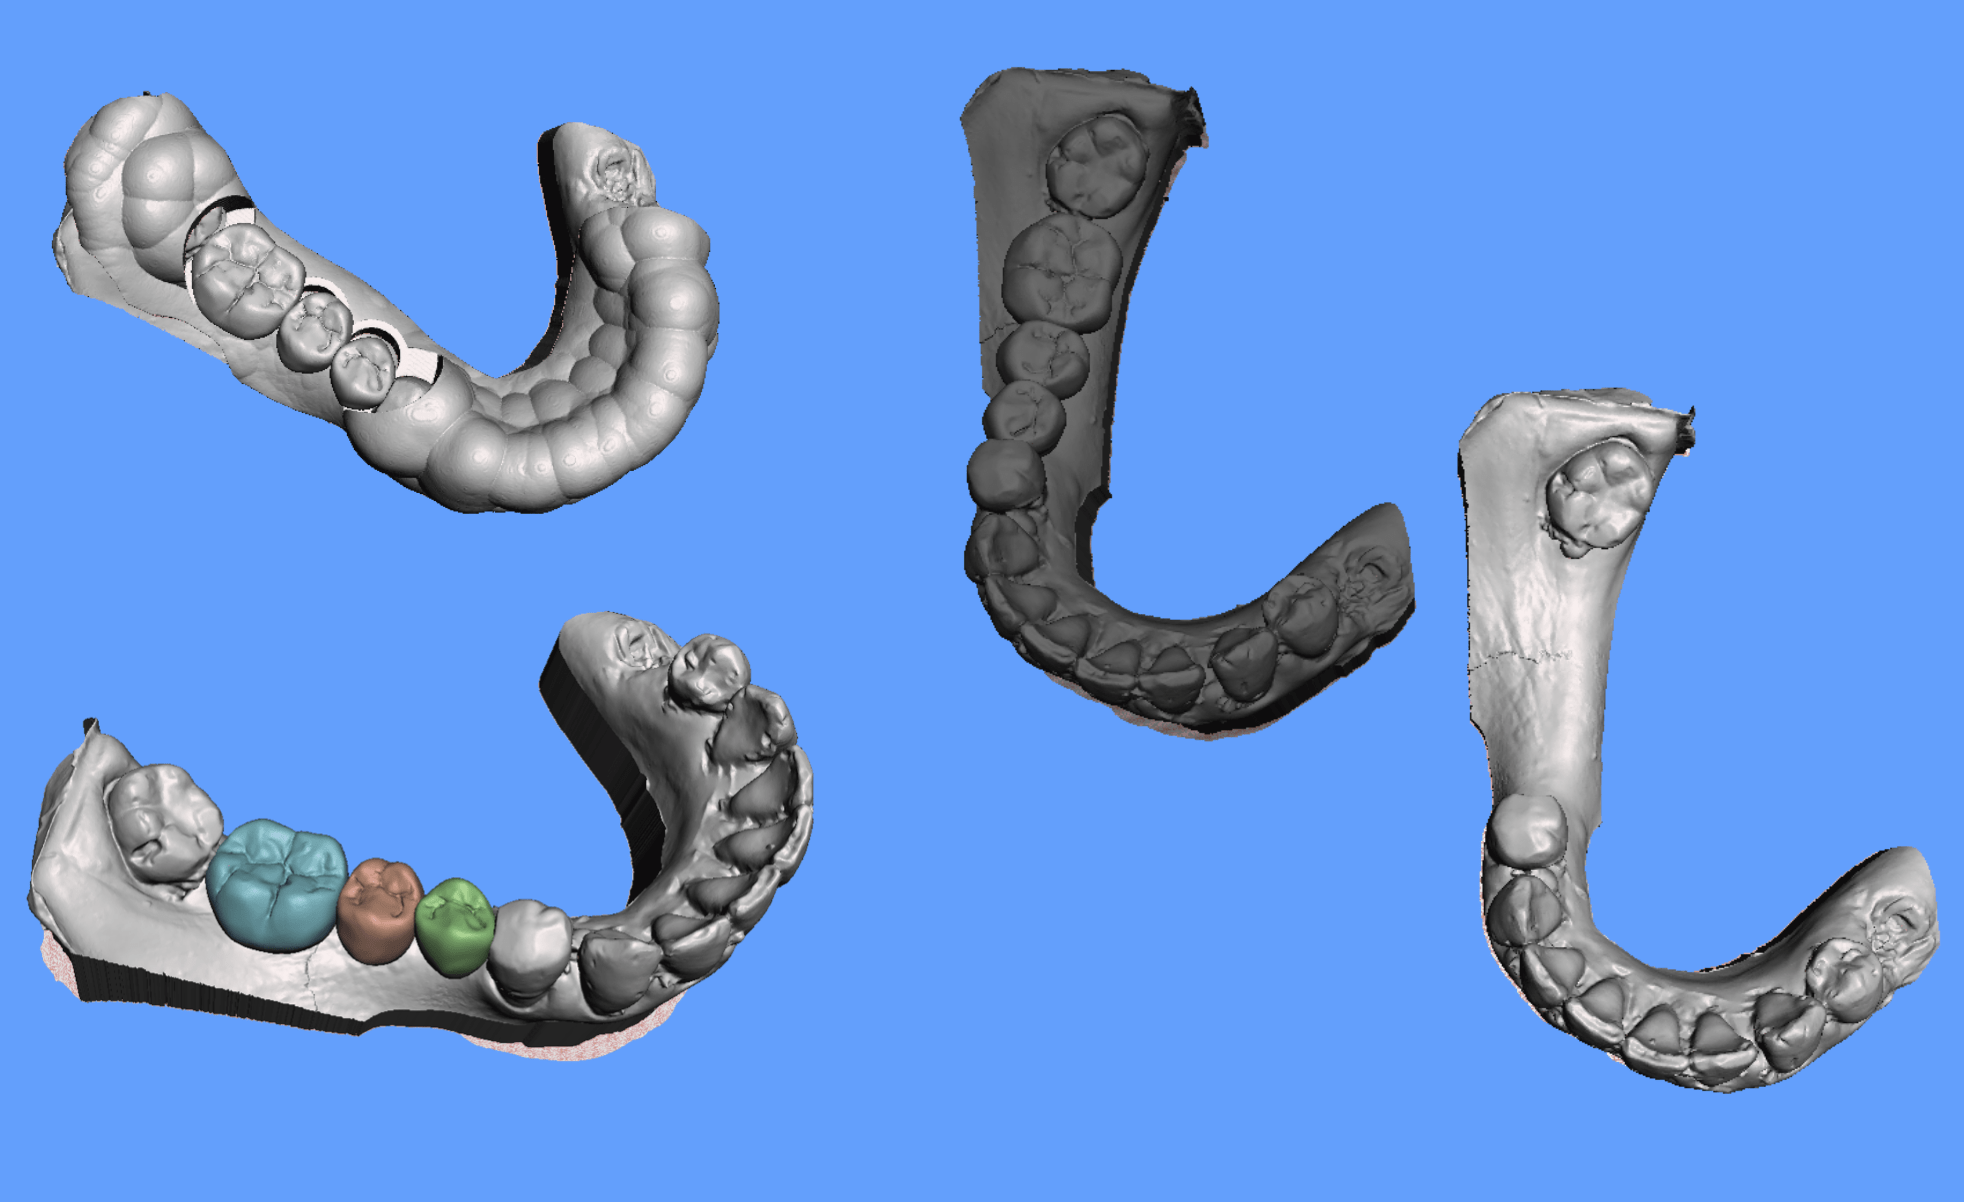
Within Meshmixer select “Separate Shells” to unpack the STL. Combine the teeth and the edentulous model with the “Combine Function”. Boom! We have a waxup and an edentulous model as well as a guide to print.
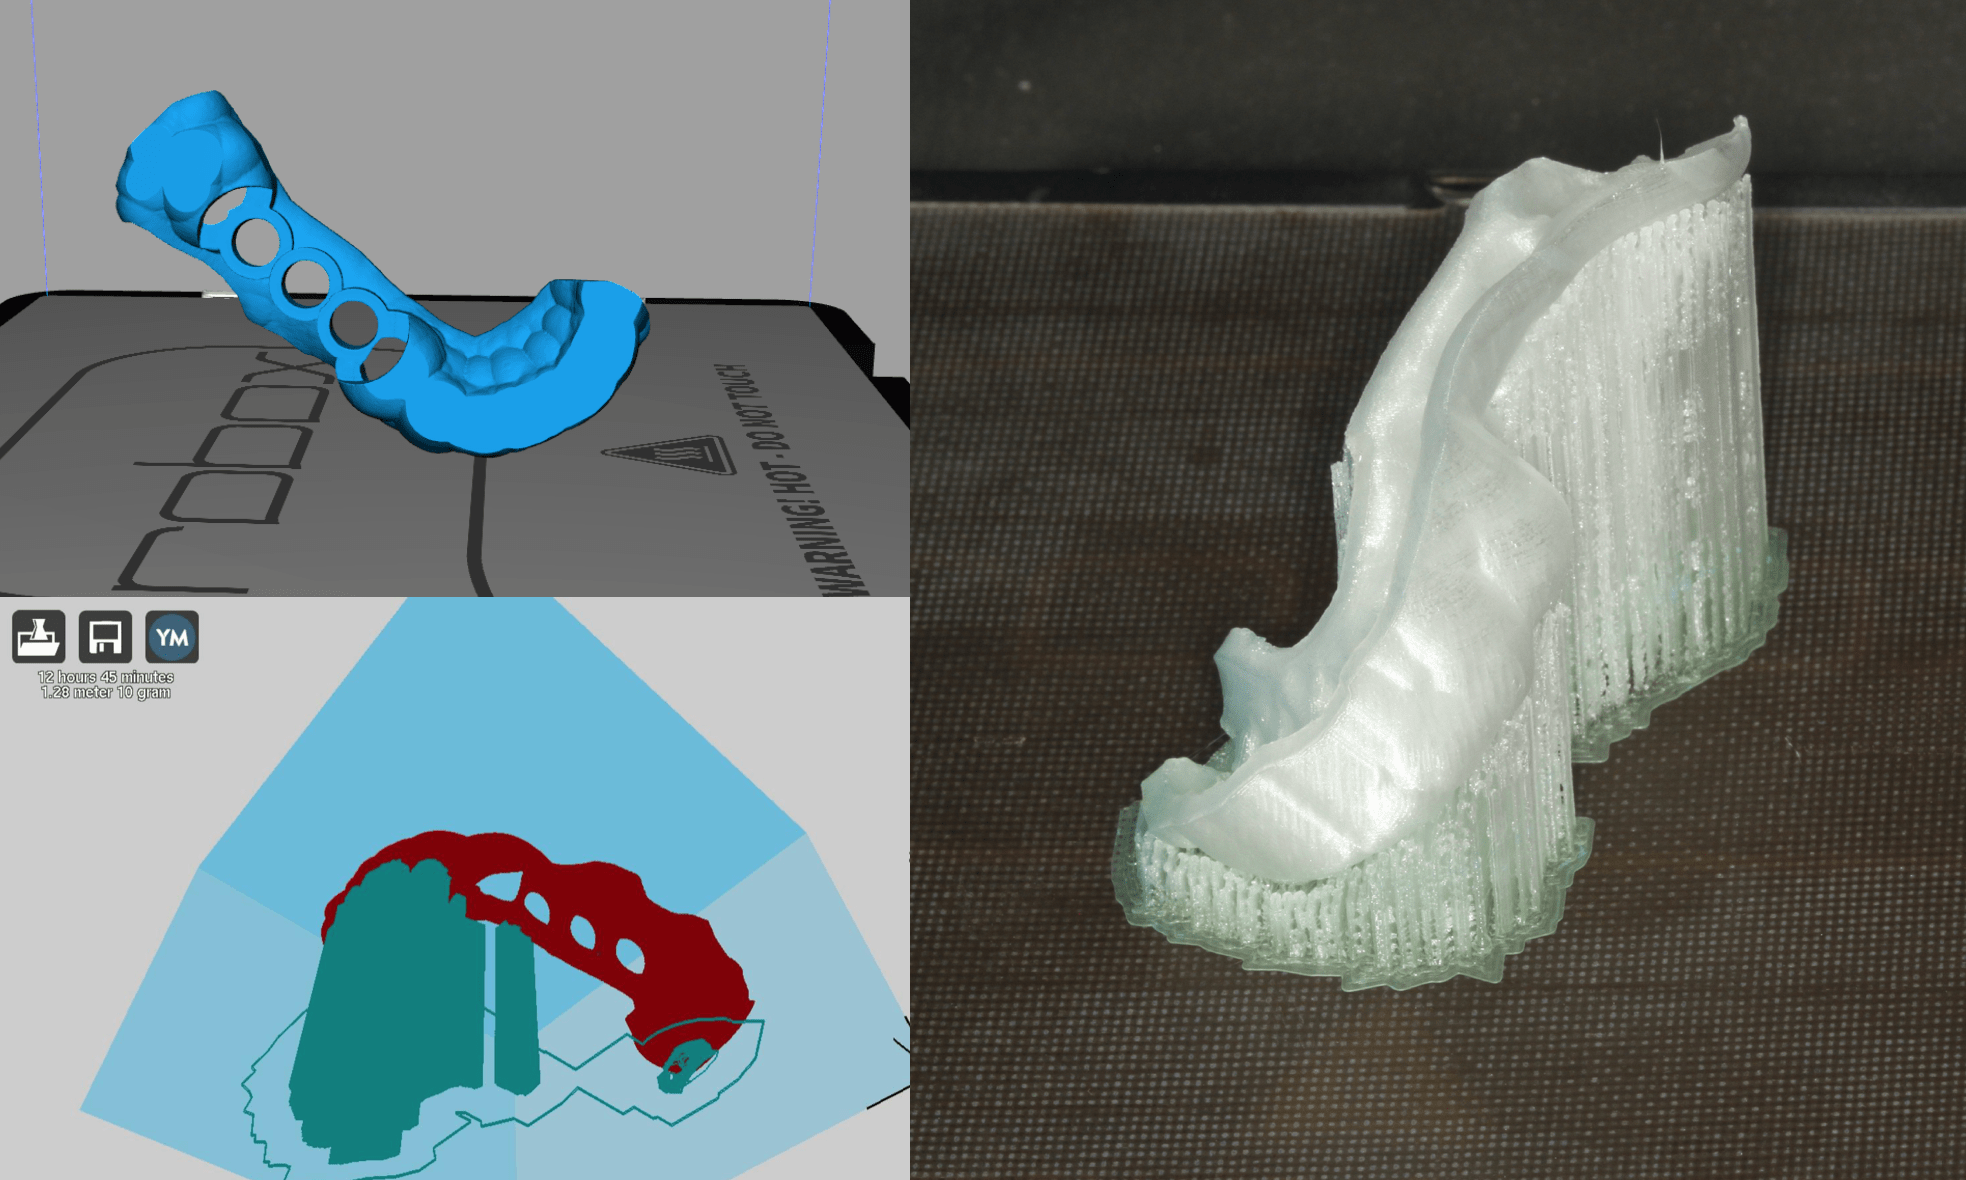
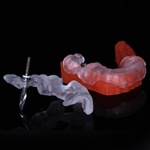
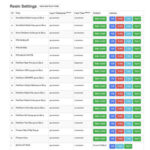
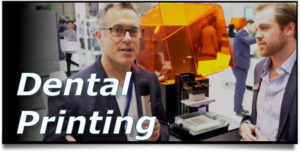
Printed the Models with the Form 2 and then the guide in the Robox. Its about .25 cents to mill out a guide in the Robox vs about $20 in the Form 2. One drawback about the Robox is that you can’t see the supports. Robox uses Cura as its printing engine so you can just download Cura for free and see where supports are generated. I found this after the fact, hence more supports.
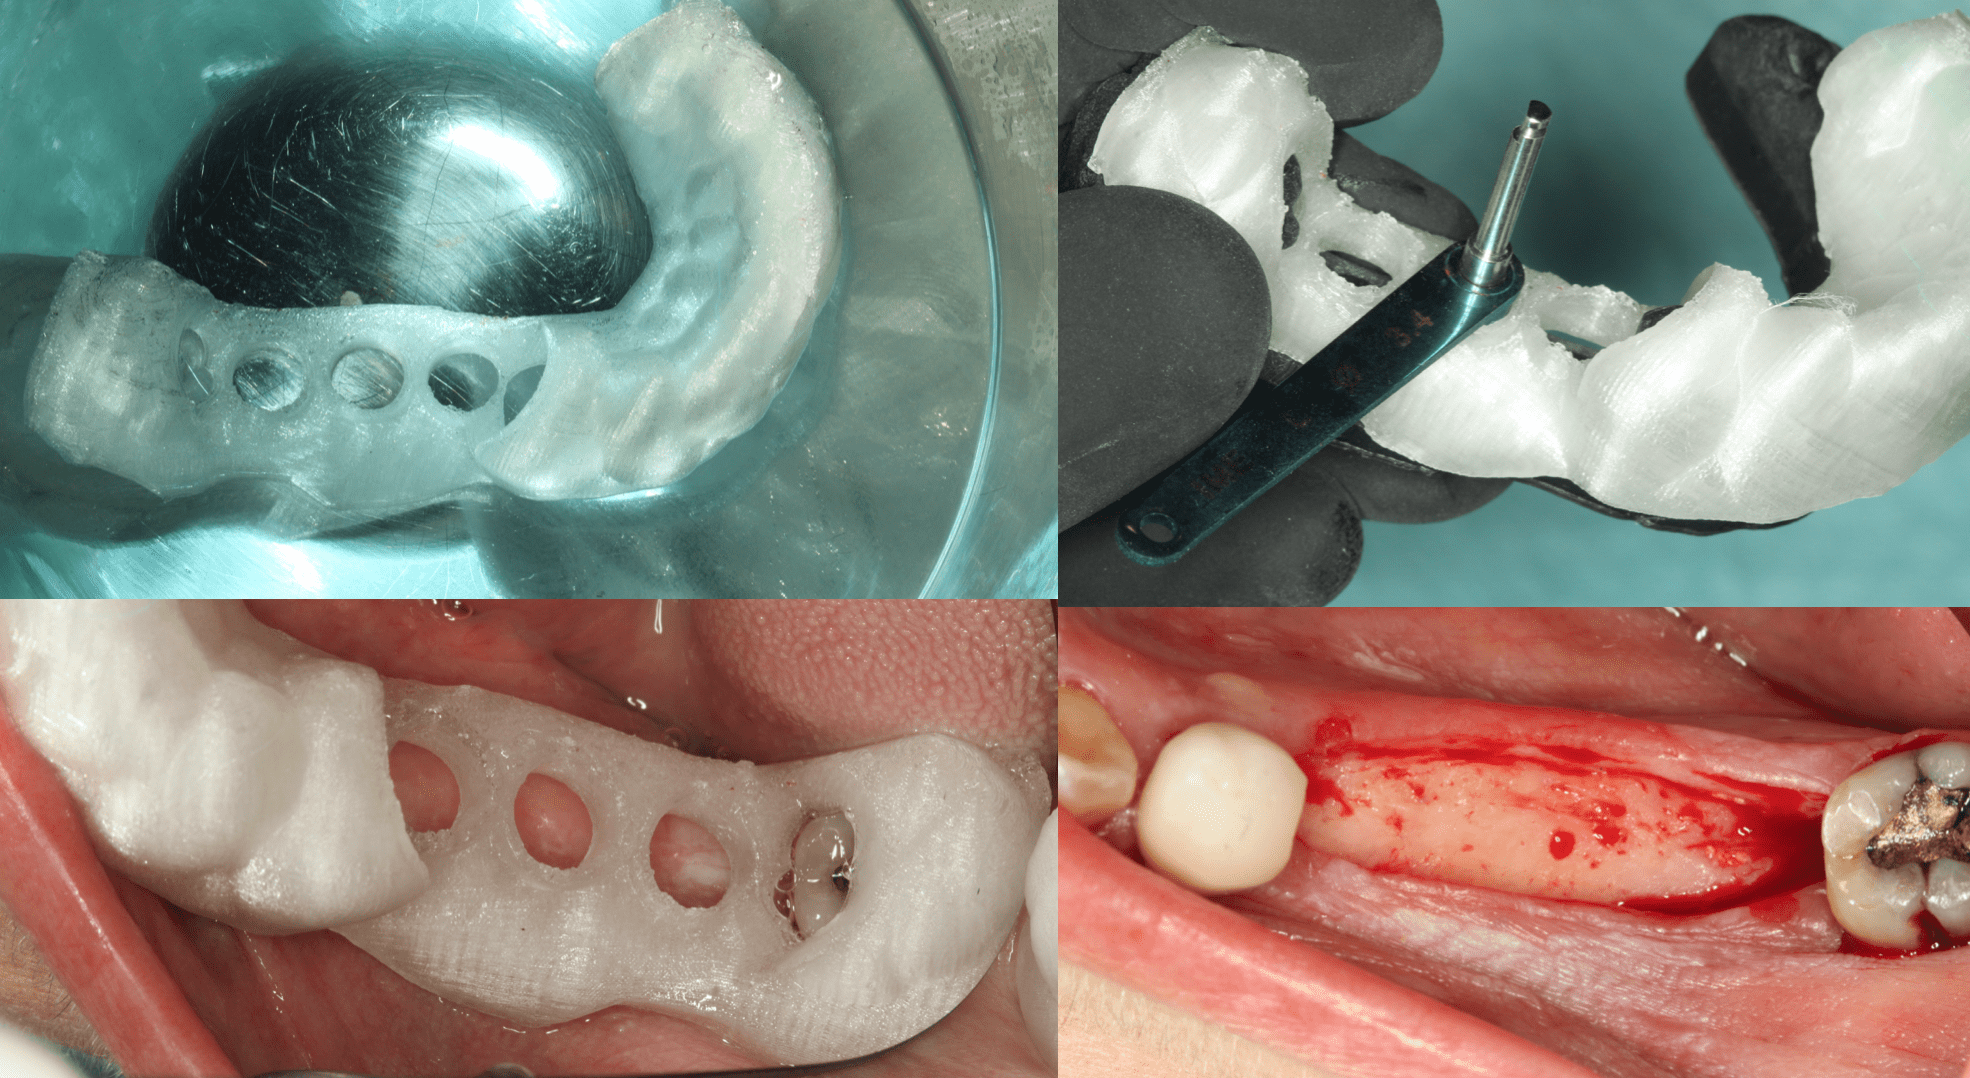
Another really cool feature of BSP is that you can generate an analog model. So you can check your drill depth, make custom healing abutments or make a temp. Soaked the guide in CHX for 30 minutes and opted for a flap and 2 stage as I am just finding I can handle the tissue better this way.
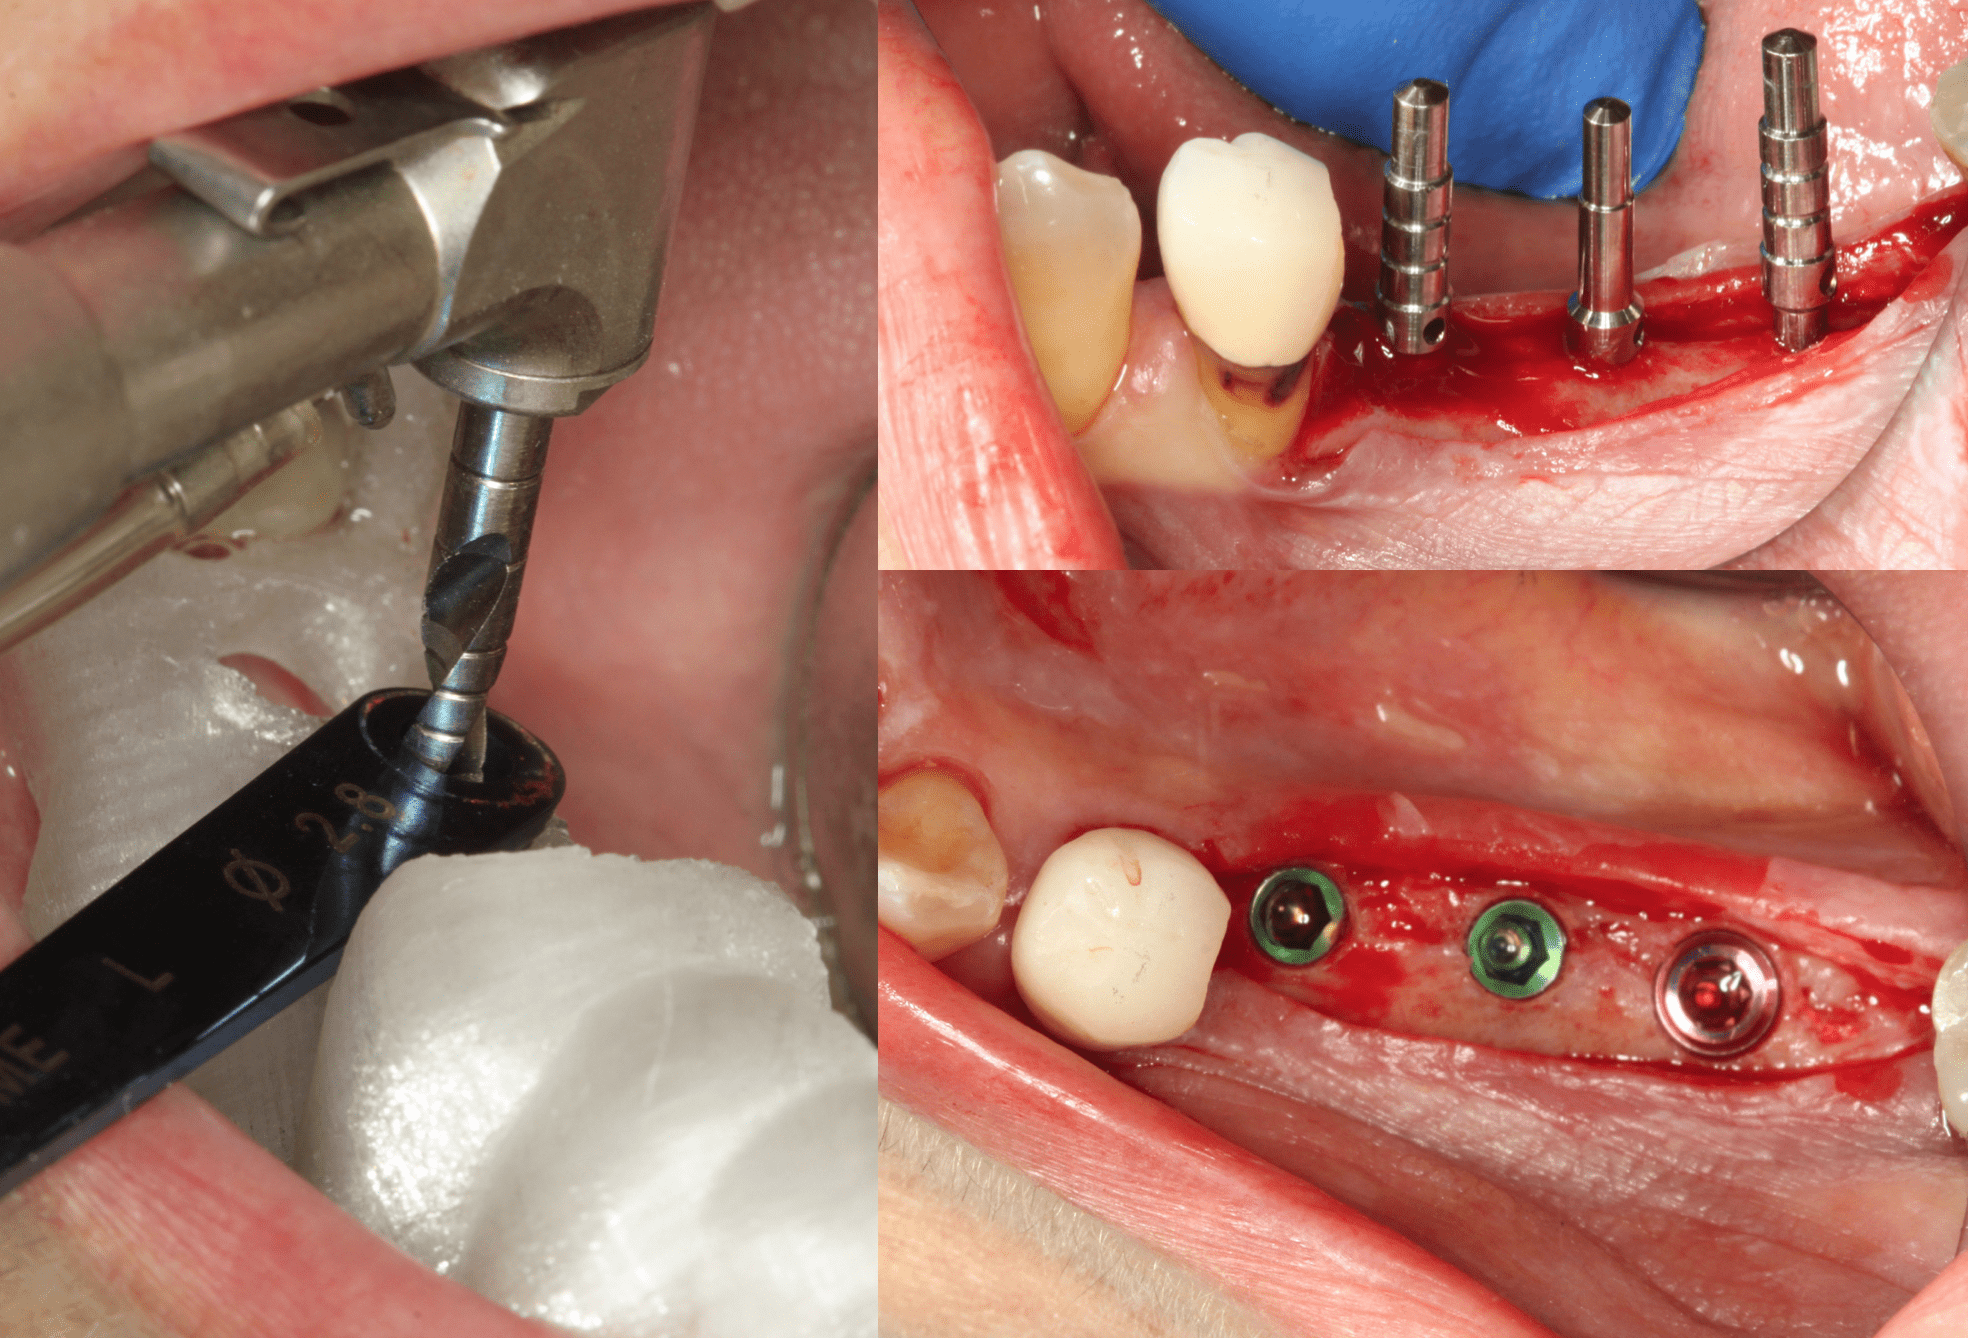
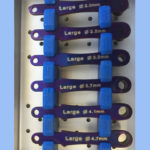
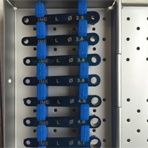
Super smooth surgery. Wanted to play with metal guide tubes but they did not come in on time so did these with my IME keys. This will be my go to multi unit guide and CEREC Guide 2 for singles done on the same day.
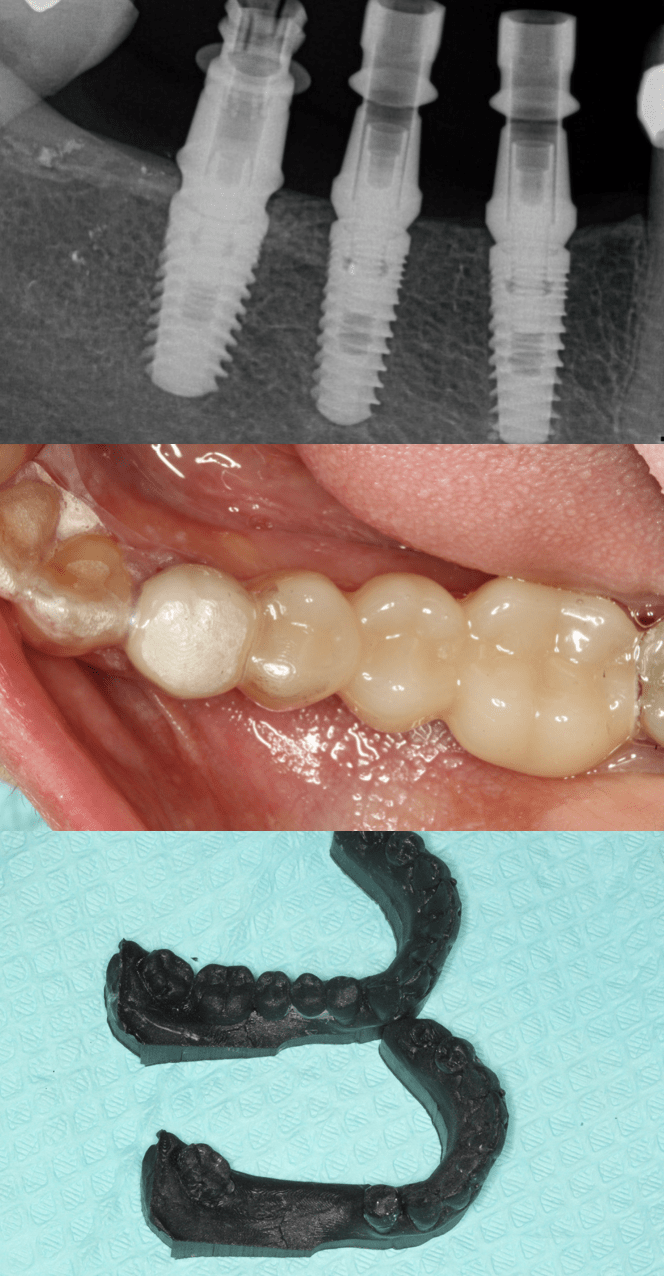
3D printed the wax up and the edentulous model and did a suck down with composite. Inlab currently has this functionality and I hope (I have no clue) that we will get wax ups or splints one day. So much fun, a great service to the patient and done at minimal cost!


