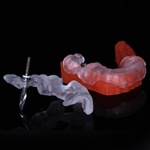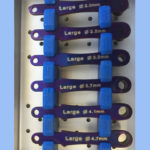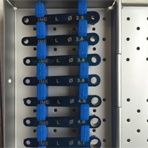
To do a Guided Internal Lift with the MIS expanders you really want to use a large Reference Body and thus the large keys, unfortunately, the edentulous space was too narrow so I had to go with the medium and just start the osteotomy Guided and use the expanders manually:

The way these expanders work, you drill up to the floor of the sinus and the expanders in-fracture the floor or if the floor is perforated, they lift the sinus lining up:

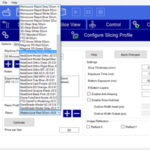
Used my Omni Cam this time. To be honest, I have been using my Blue Cam as I have to make a model anyway for the Radiographic Guide, so its just easier to scan off the Mach Two Scannable, but thought I’d give it a go:

Assembled, I removed some thermoplast with a bur, messy but faster. I think’ll stick with the scalpel. You can see the height of the drill body. Remember the D2 was set at 22mm and the implant is only 5mm in the bone.

Used the punch and the 2.0 and 2.8mm drills to the sinus floor:

You can see the end of the angulation pin is angled towards the pre molar to get the maximum amount of bone around the implant:

The compressors are started with a drill and finished with the ratchet. You start with a sharp expander then when the floor is reached you switch to blunt:

Here you can see the expander past the floor, lifting the membrane:

I opened the osteotomy to the 4mm expander and let the implant lift the membrane and expand laterally. The membrane was really thin and fragile (and maybe a little torn), so I did not add graft. I don’t like tearing the membrane, but that being said, it re-forms fairly quickly and a new floor is formed as well. Lost some style points, but it will still fly:

Implant is well centered, if a little closer to the pre-molar than ideal. I’m still about 2mm. There was more bone there. Should still be a breeze to restore:

Planned and Final. You can see where I planned the case, at the sinus floor, and we got about 5mm up into the sinus. Overall its not perfect, but we should have a nice end result.


