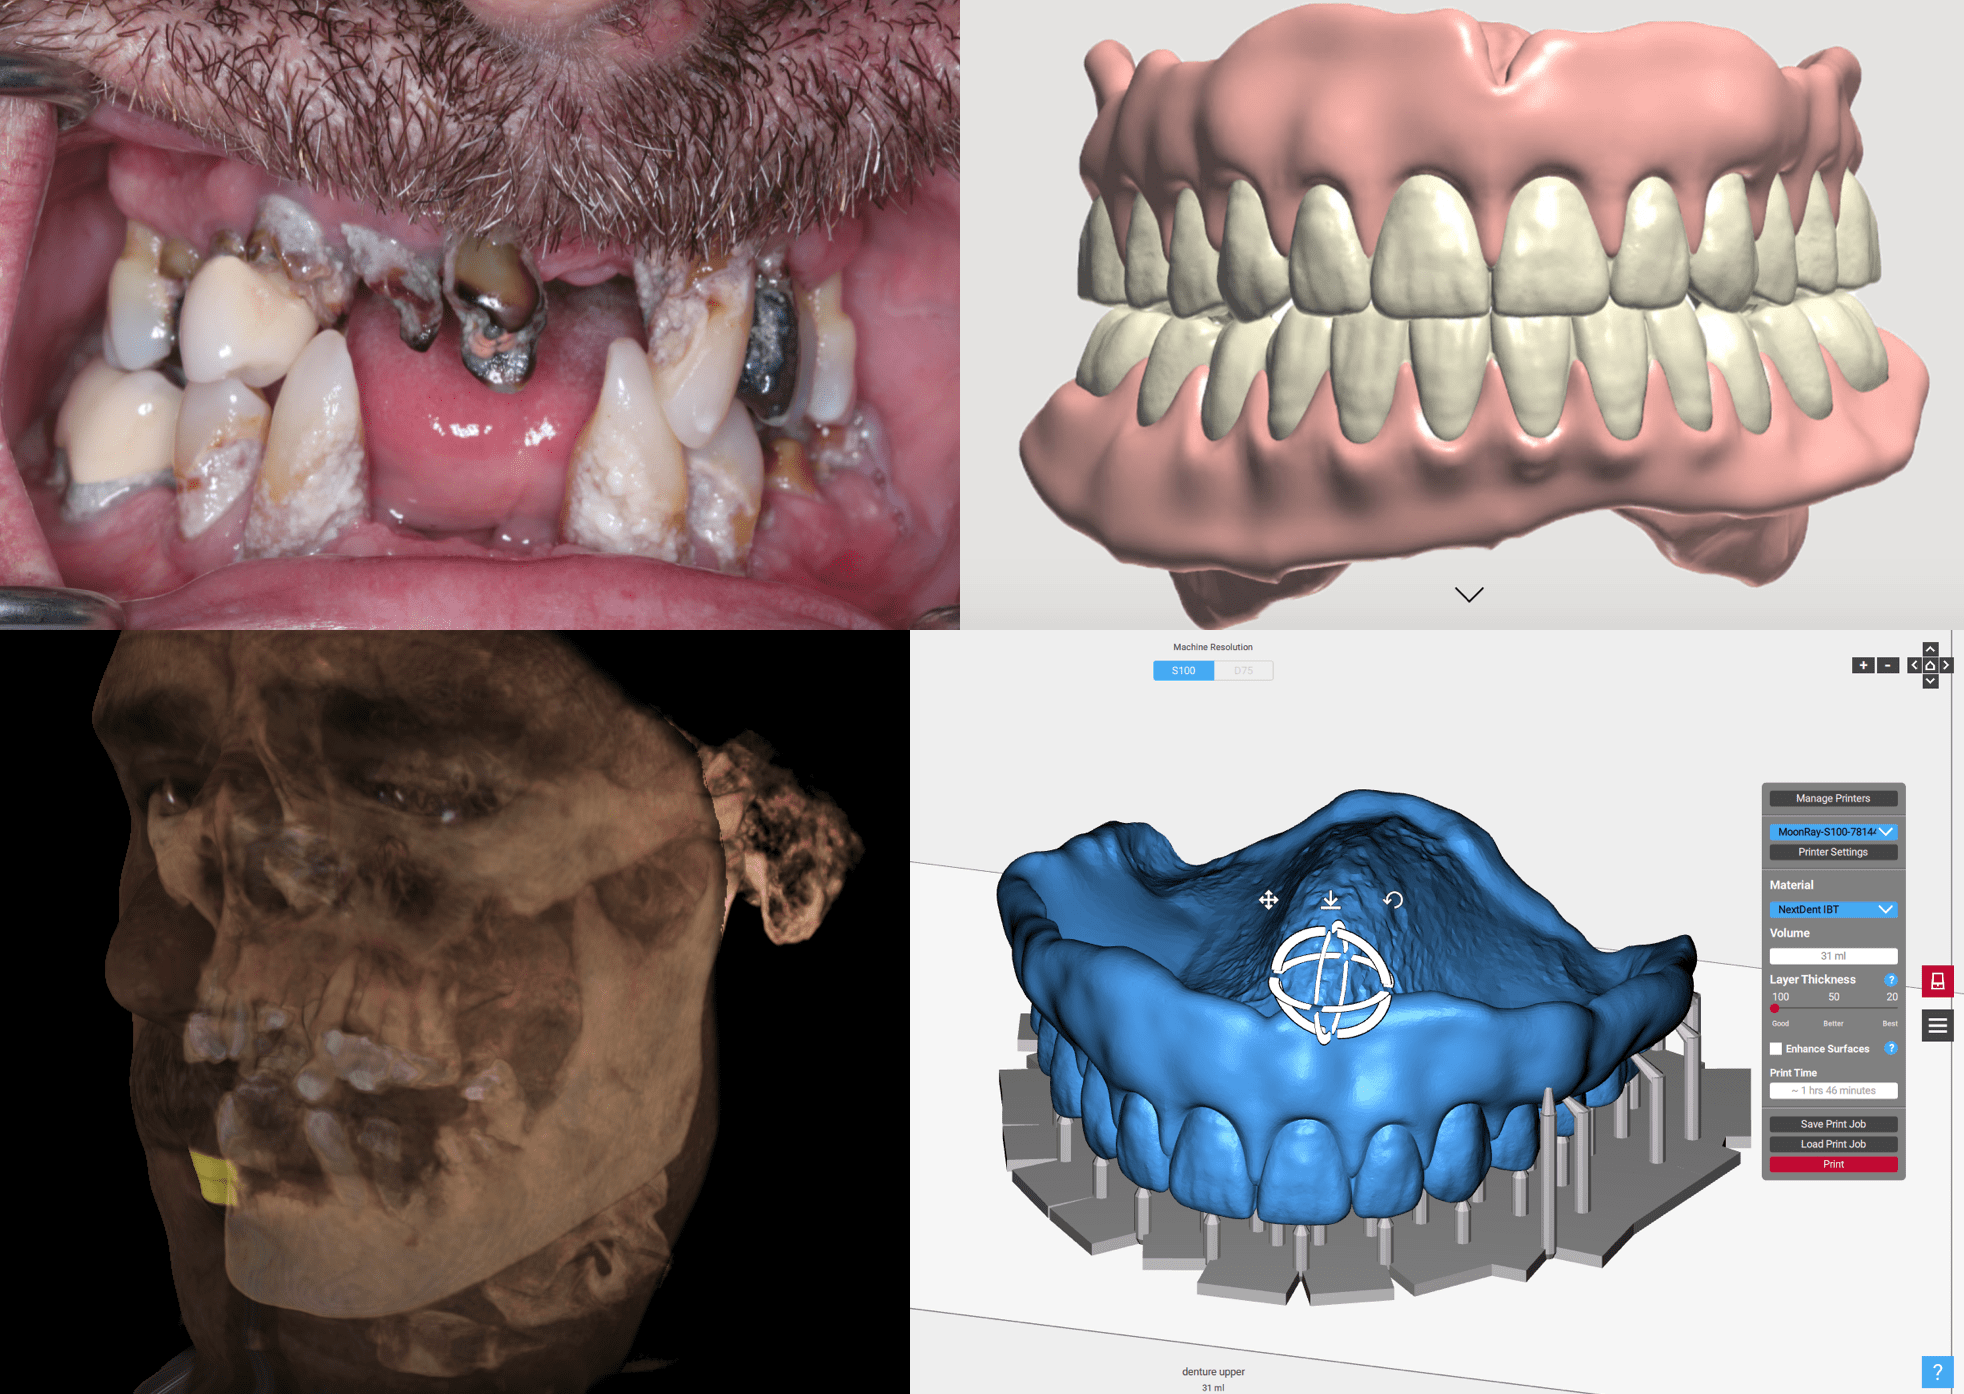
Its funny, I really hate dentures, but I have really wanted to try a digital denture. Well lo and behold this patient came in. Took upper and lower alginates and had my buddy Jesse Flor scan them for me as my Shining was out, but you could also do this in CEREC. fullcontour.com is a design only service that I am helping Beta test their digital denture workflow. This case was designed by fullcontour using 3shape’s Lab system.
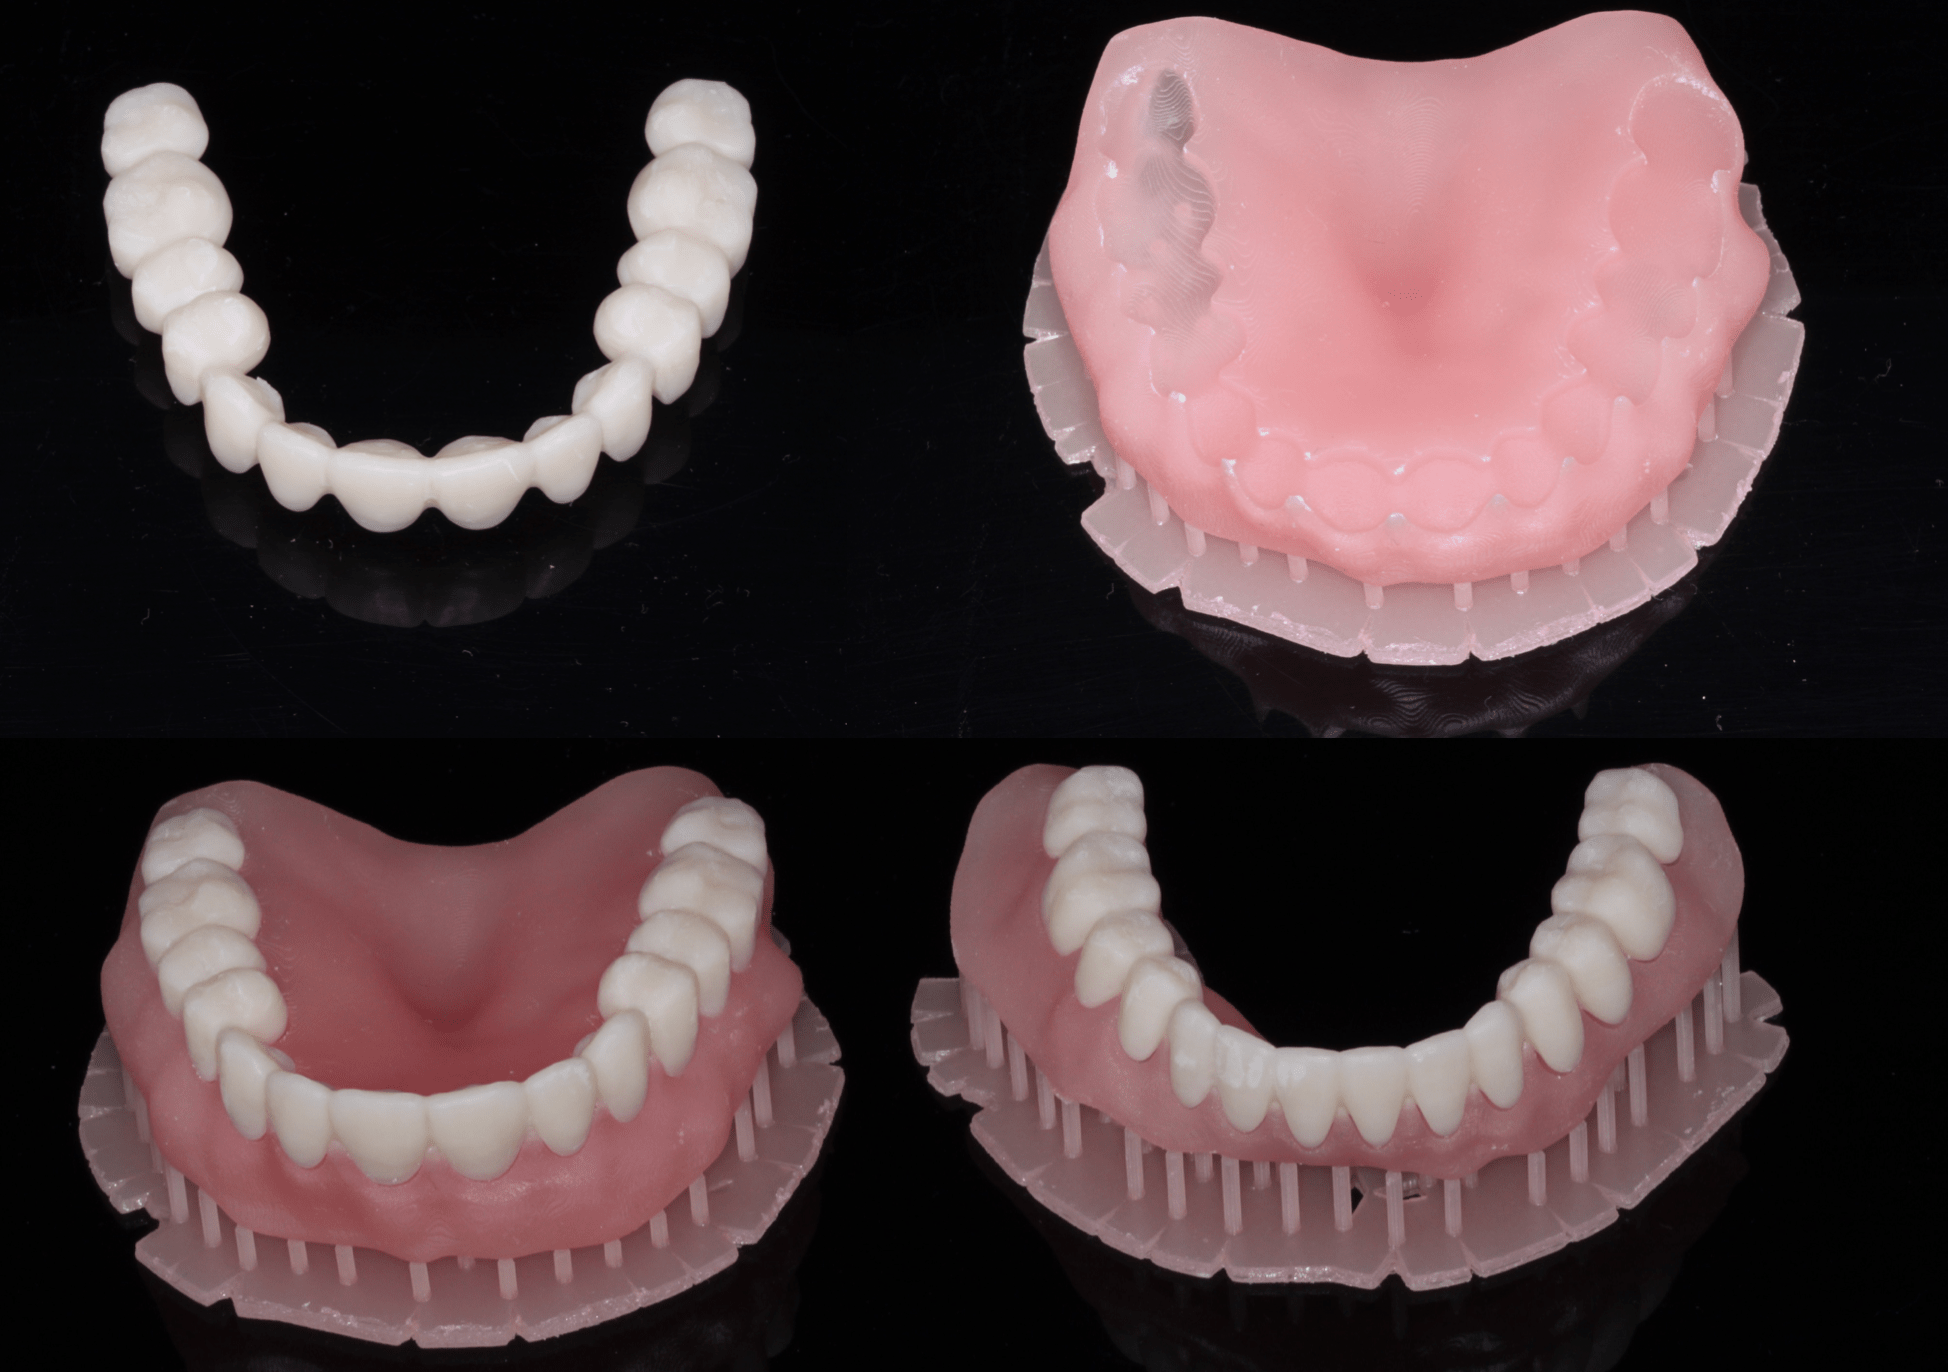
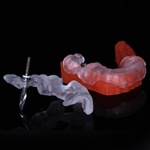
I decided to try both ways. I printed the base and teeth separately using Nextdent Base and Nextdent C and B. I noticed if you cure the C and B for about 2 hours it turns around an A3 even though it says A3.5. The teeth were luted to the base with more Nextdent Base and light cured with a chair side curing light then put in the light oven. This cost about 20 bucks an arch.
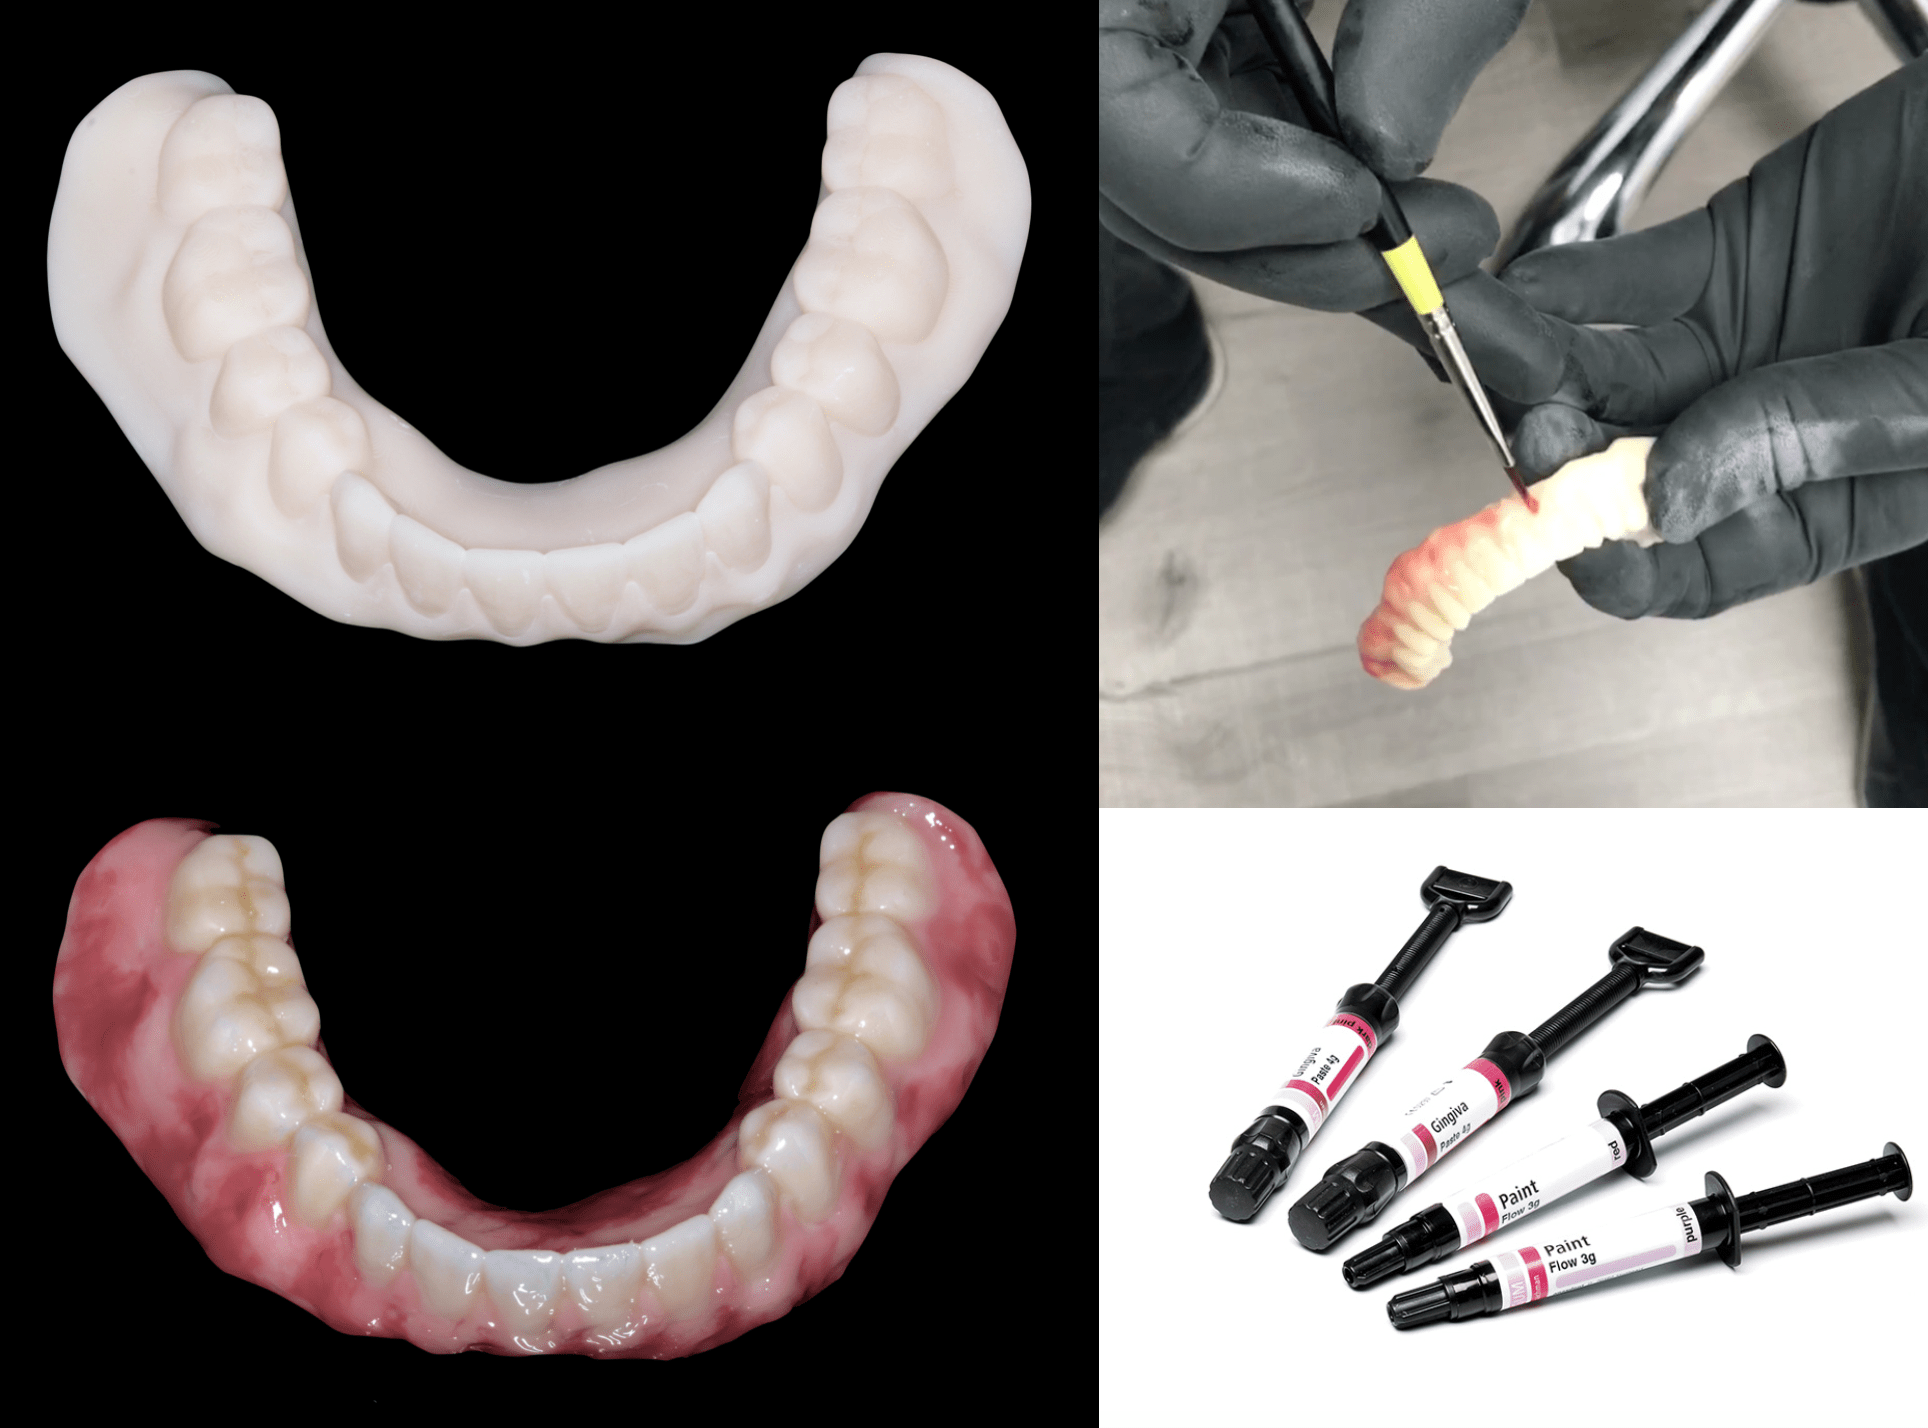
The other method I used was printing the denture as one big hunk! Still used Nextdent C and B and cured about 2 hours, but layered with gingival composite. In this case we used Anadext Gingiva using Orange Pink and using red “paint” that I mixed in to simulate unattached tissue and space between root eminences. Also used Vita Enamic stains and covered in a composite temp glaze and put in the light box again. This was about 15 bucks an arch.
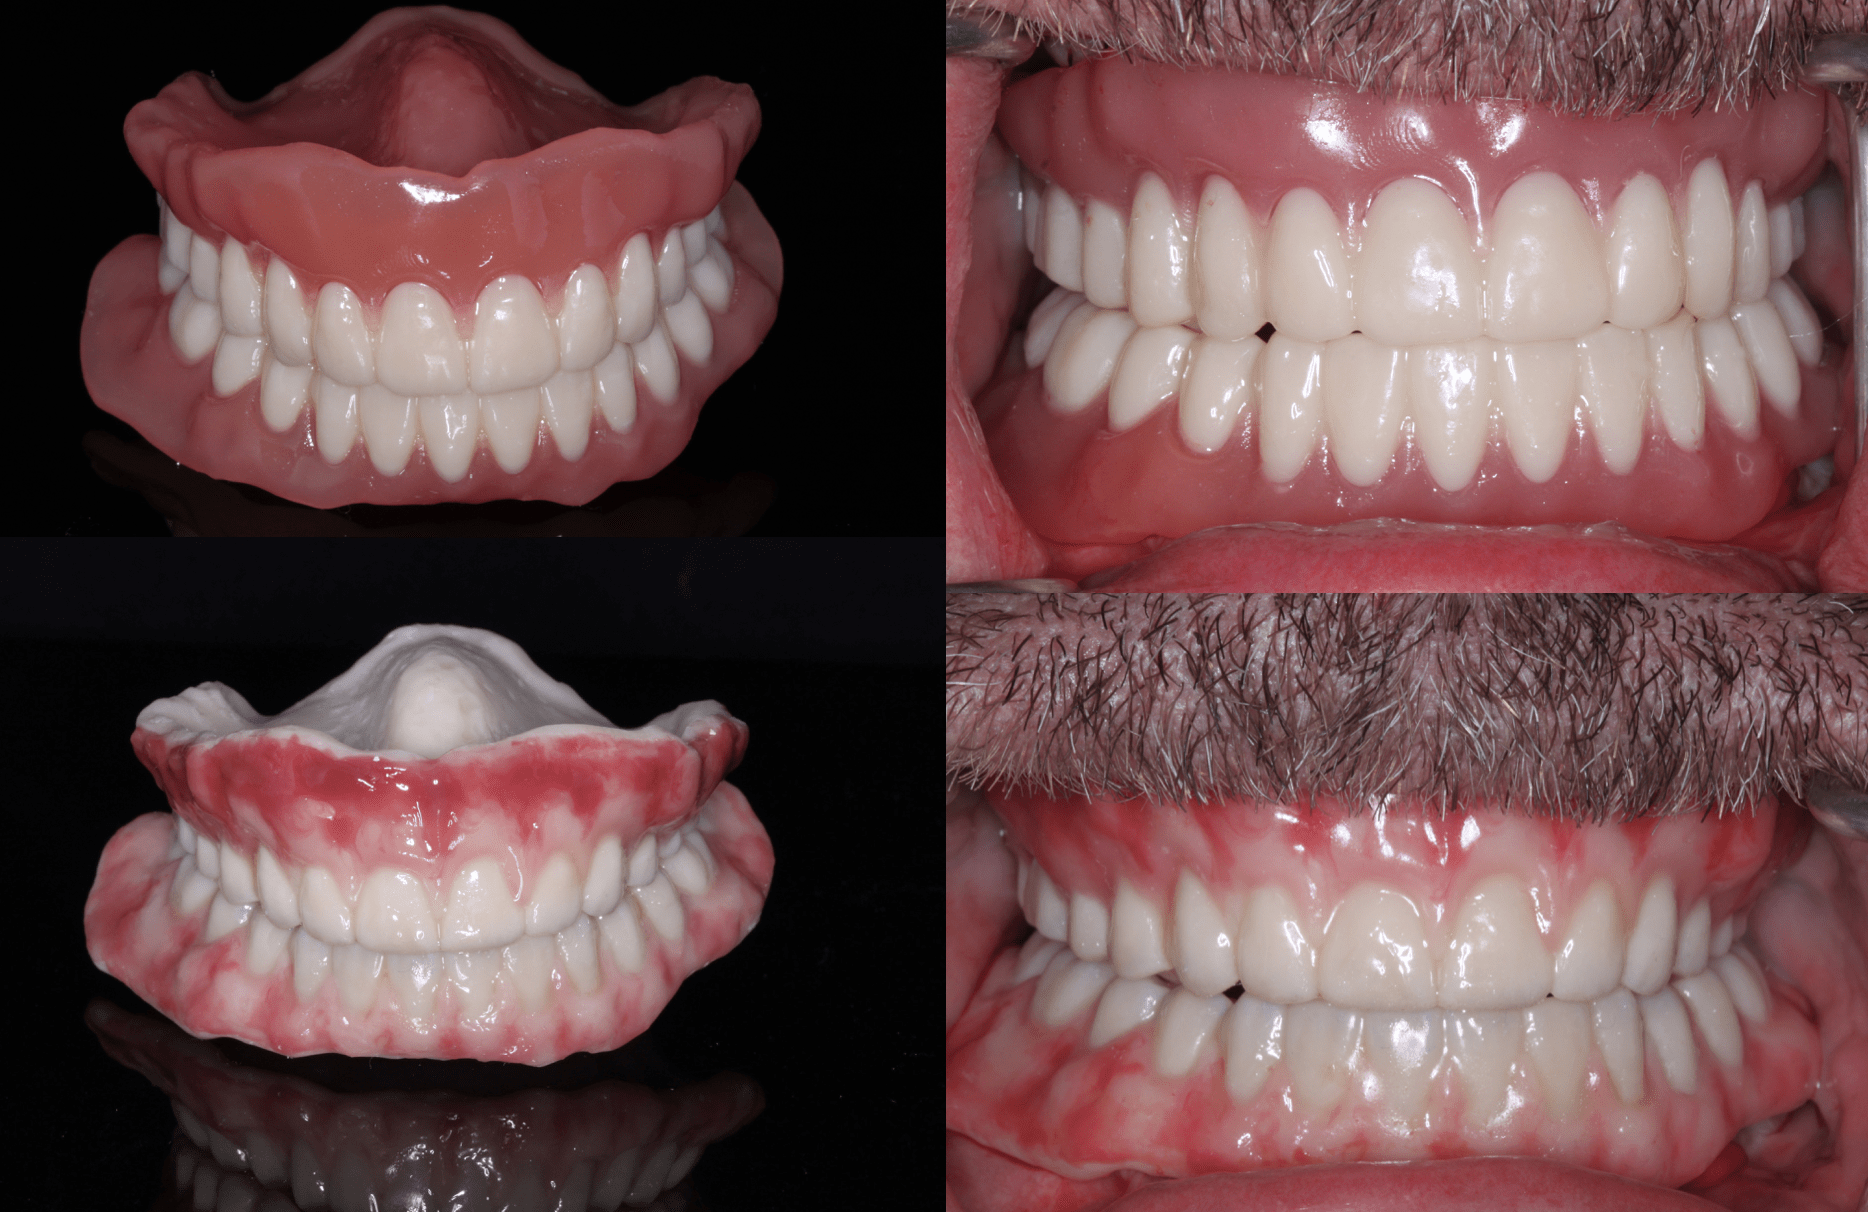
Definitely like the monolithic better. Got a little crazy with the red. Relined with Parkell Mucosoft. Will do a milled denture in 6 months.

What a life changing procedure!!! Imagine also that if the patient is not happy with the teeth position or color, just print another pair!
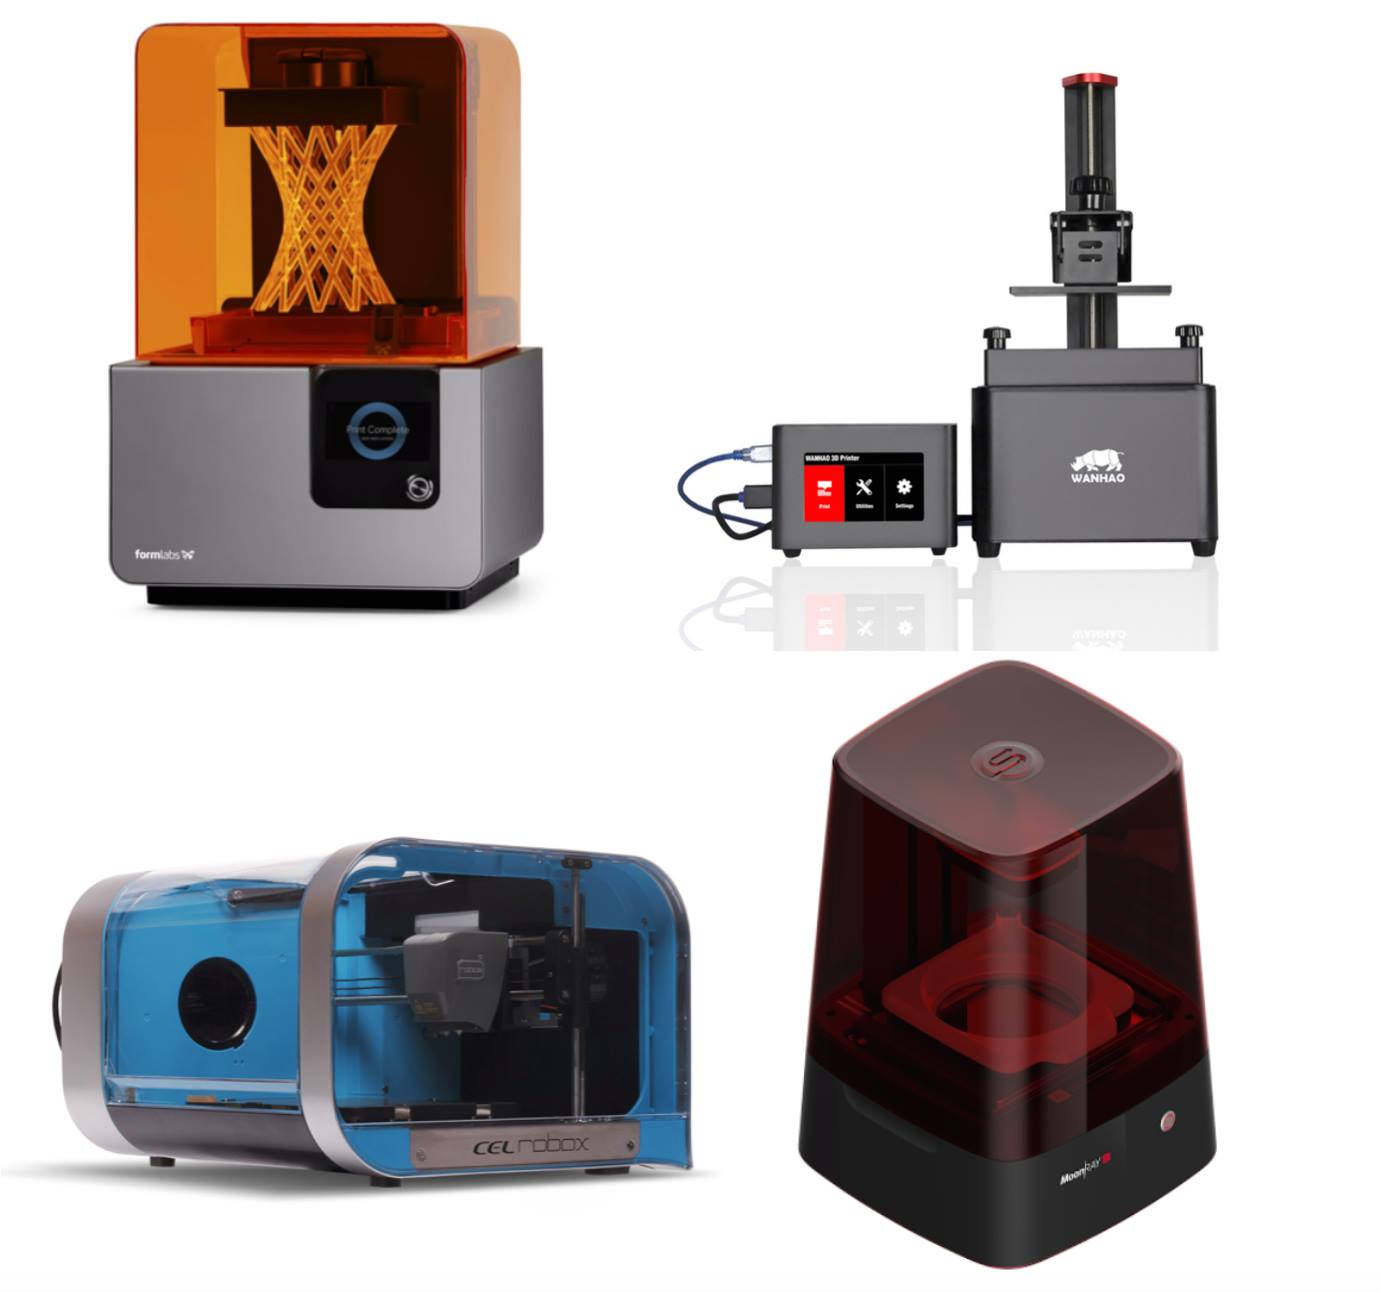
If you want to learn more about printing and digital dentures come to the next printing party Oct 12 and 13 in Austin!! Register below
https://www.eventbrite.com/e/dental-3d-printing-party-hands-on-dental-3d-printing-course-austin-tickets-34857861803


